Making clothes based on an imaginative concept always sounds appealing. You envision a unique design, and this guide provides resources for you to make it real. We will lead you through the process of excellent custom printed clothing in every step.

The steps will select the most suitable printing method. It will also deal with preparing your design and finding a partner. You may be starting a brand new business, an event for personal use, or a community service project. You will find all the answers here. TZ Streetwear is your partner in the streetwear industry. We provide you with our knowledge and expertise to help you be successful.
Learning About Core Printing Methods
Awareness of the top methods of creating customized clothes is essential since you will place the order. Identifying the techniques is the first step of knowing what to get to do your project. Each method has its unique advantages.
Screen Printing
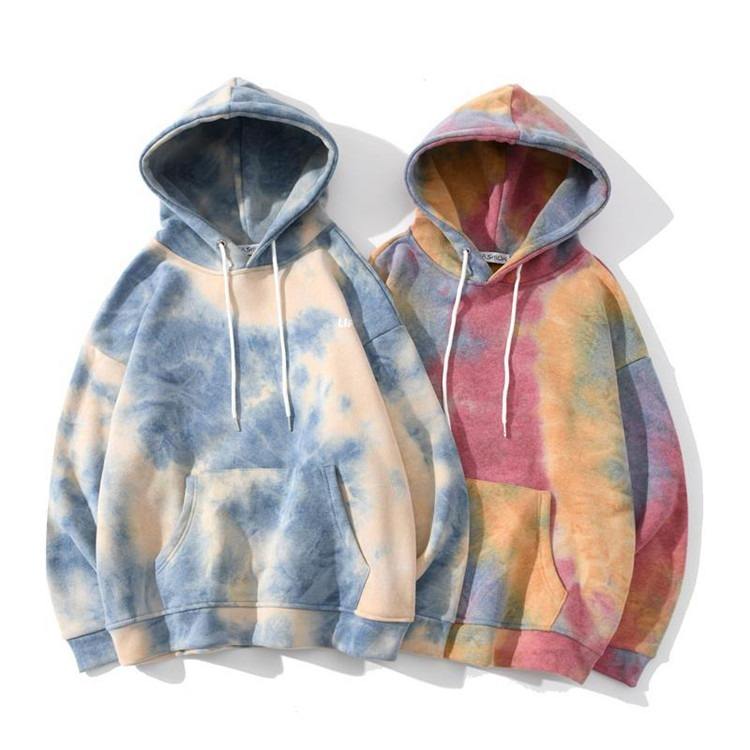
Screen printing is an ink-push method that pours ink through a mesh screen onto clothes. Individual colors require a separate screen. While this traditional method gives a thick and strong ink on top of the fabric.
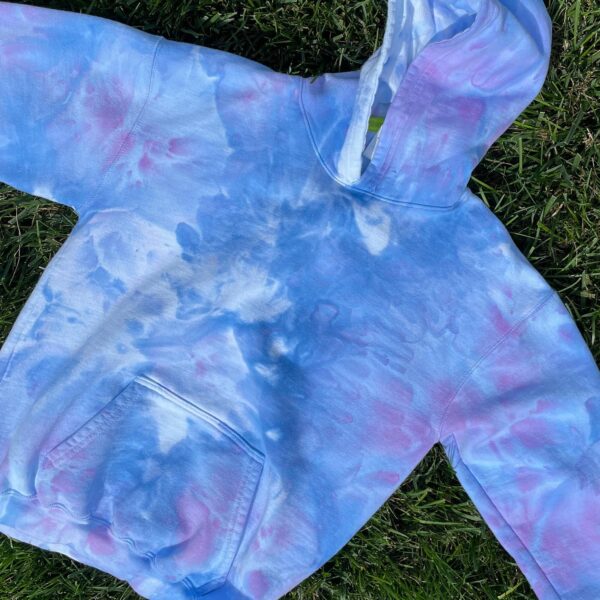
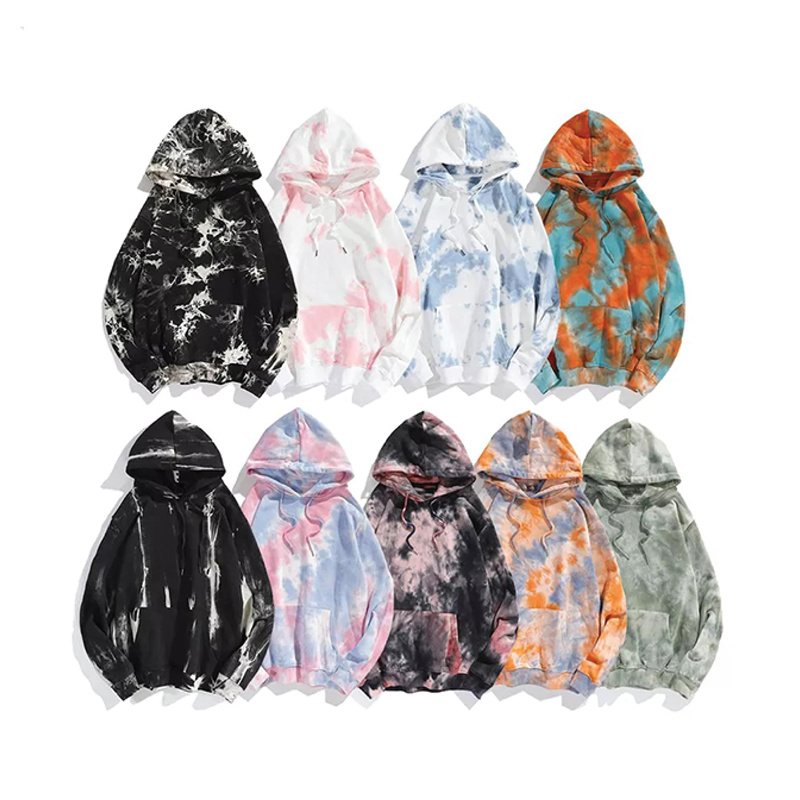
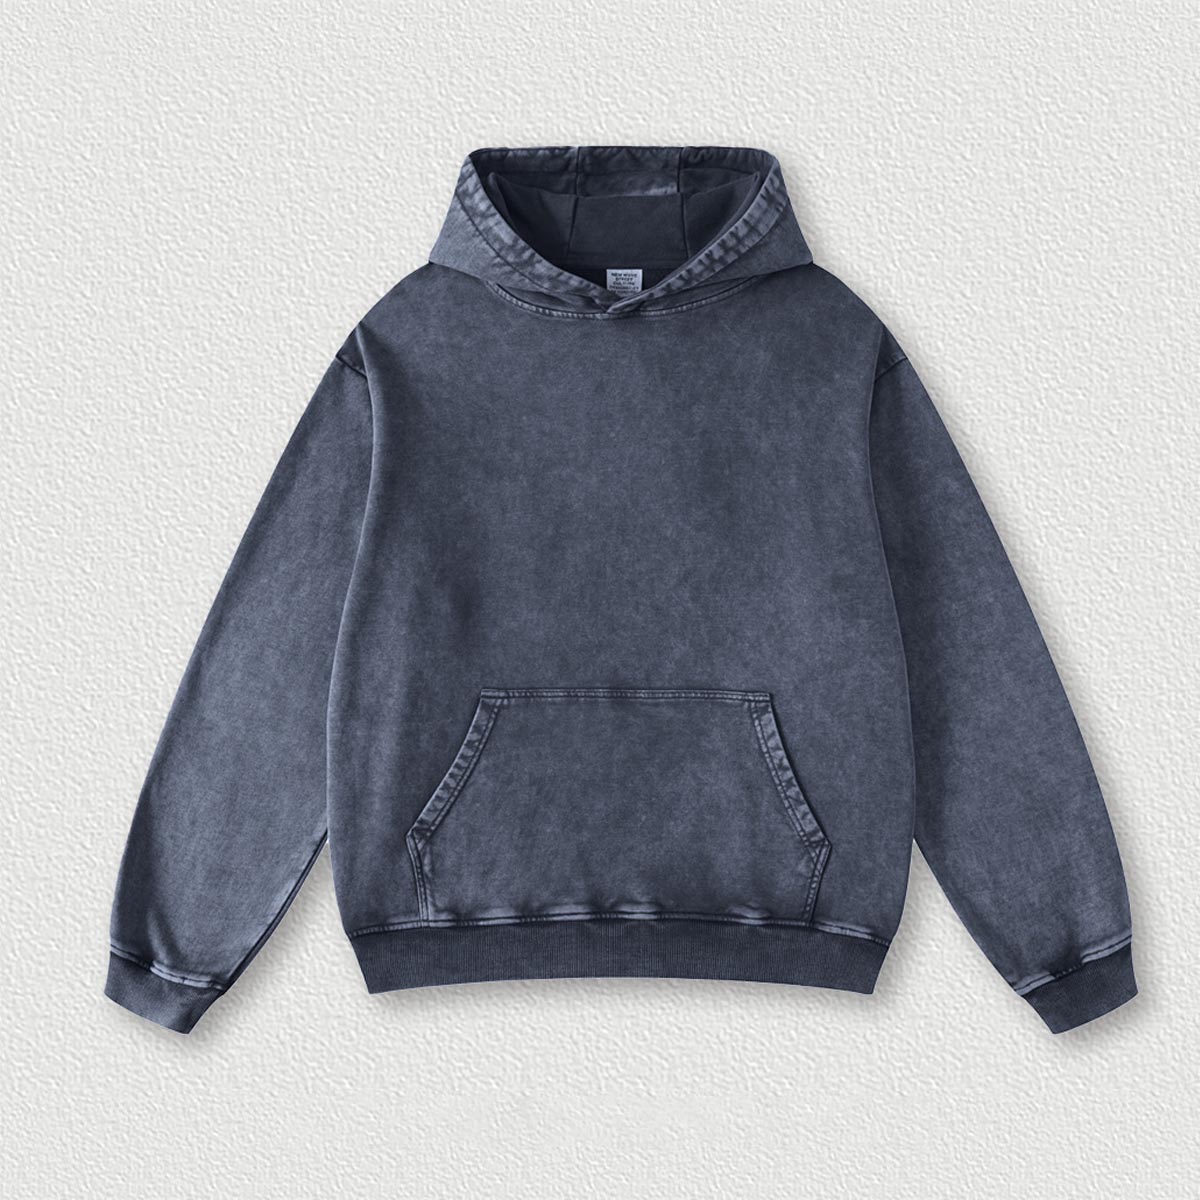
Cotton is the best material to work with, especially if you have an order of 24 or more pieces. It’s a great choice for simple designs of one to four colors. Team logos or event shirts are examples. The prints are quite robust and will last for a long time.
Direct-to-Garment (DTG)
Direct-to-Garment is like a regular inkjet printer that is used for fabric printing. The printer applies ink based upon a water-based formula to the item. The ink is absorbed by the textile fibers.

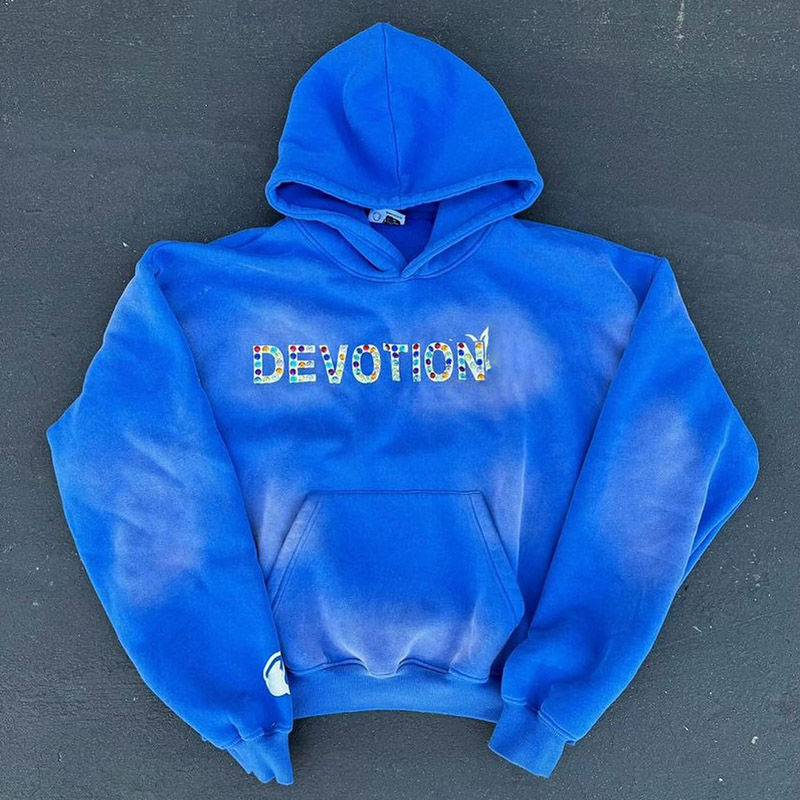
This option is for detailed designs to have many colors. It also includes it to be applied to pictures. Simple items are printed with DTG, less setup than screen printing. This is the selling point for it. You can use it for small orders or just one item of apparel.
Direct-to-Film (DTF)
Direct-to-Film is a state-of-the-art process. It begins with your design printing onto a transfer film and then that film is placed on the garment. Using heat and pressure it is transferred.
DTF works well on different types of textile materials. In addition to cotton, polyester, and blends, it’s a great choice for even more materials. Bright colored polyester sports apparel or goods where color hue is essential are the recommended items.
Embroidery
Even though embroidery is not a printing method, it is a common technique for custom clothing. It is a process that uses needle and thread to sew the design on a fabric. It provides the fabric with a three-dimensional look of luxury and high quality.
It is an excellent option for introducing logos on hats, polo shirts, and jackets. Using embroidery is a solid way to show professionalism it is also very durable.
What is the Most Suitable Printing Method for You?
The key to your custom printed clothing lies in the printing method you choose. Beyond your design and budget, the quantity of the items you need is also crucial. With this guide, you can make your best decision.

The table below allows you to compare the different printing methods available. To get the best indications, find the row that corresponds to your project goals. You will get the answer to the suitable printing technique to use.
| Printing Method | Best for Quantity | Design Complexity | Durability/Feel | Cost-Effectiveness | Ideal Garments |
|---|---|---|---|---|---|
| Screen Printing | 24+ pieces | Simple (1-4 colors) | Very high / Thick ink layer | Best for bulk orders | T-Shirts, Hoodies, Totes |
| DTG | 1-24 pieces | High (Full color, photos) | Good / Soft, breathable | Best for single items | 100% Cotton T-Shirts |
| DTF | 1-50+ pieces | High (Vibrant, detailed) | Very high / Smooth plastic feel | Good for small to mid-size runs | Cotton, Polyester, Blends |
| Embroidery | 1-50+ pieces | Simple logos, text | Highest / Stitched, textured | Best for a premium look | Hats, Polos, Jackets, Hoodies |
Let’s analyze some common scenarios:
“I am starting a new clothing brand and I have a very detailed graphic…”
You can go for DTG or DTF which are your best options. DTG works perfectly with 100% cotton shirts and is very soft on touch. DTF achieves vibrant colors and supports a larger range of fabrics. For example, it works on blends of polyester that are currently in vogue.
“We need 100 shirts for a company event with our 2-color logo…”
Your solution is screen printing. It would be less costly to have fewer pieces with a simple design and to create this printing method. The print lasts long and is fully visible on the shirt. This makes it a good choice for uniforms or event shirts.
“I want to put our company logo on premium hoodies and hats…”
You should go for embroidery as the best option. It is a way to give a high-end professional look that introduces the quality. It is very strong and can be applied to thick fabrics like the ones found in hoodies or structured hats.
From Vision to Identity: Your 5-Step Journey
We have learned about many designs that came our way over the years. However, the best results are always achieved by using high-quality files. Here are some steps we suggest. They not only help you avoid the common problems of printing but also make sure that the finished product looks as you intended it to.

Step 1: Find the Right Resolution
Resolution is of utmost importance in your design file. The recommended quality for print is 300 DPI (dots per inch). A low-resolution image will appear pixelated. Always use a 300 DPI canvas for the design.
Step 2: Set the Color Mode to CMYK
Computer screens use RGB (Red, Green, Blue) light to display colors. Printers make use of CMYK (Cyan, Magenta, Yellow, Black) ink to produce colors. For the best clothes appearance, you should always configure your design to CMYK color mode.
Step 3: Distinguish Vector from Raster
Raster files (like PNG or JPEG) are composed of pixels. Vector files (like AI or EPS) are mathematically-path-based files. So vector is the best option for logos and basic graphics. It is resizable with respect to quality. Photos and detailed artwork need a raster file of high resolution.
Step 4: Outlines the Fonts and Expand Strokes
If your art has lettering, you must convert your font to shapes. It’s called outlining fonts. It assures the text will appear correctly even in case the printer hasn’t got it. Furthermore, expanding strokes takes lines and converts them to solid shapes. This results in a better-quality print.
Step 5: Export in the Correct File Format
The most suitable file format is contingent upon the printing method. For both DTG and DTF, a PNG file with a clear background is ideal. It allows the printer to avoid an area of white space not covered by your design. For screen printing, vector files like AI, PDF, or EPS are often the best.