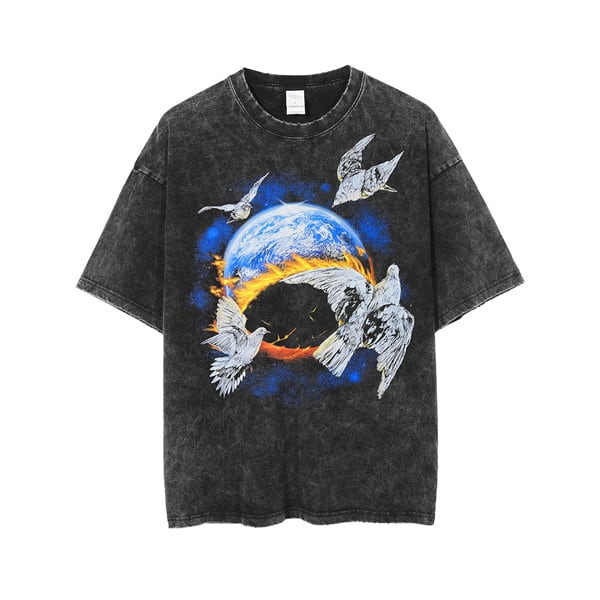
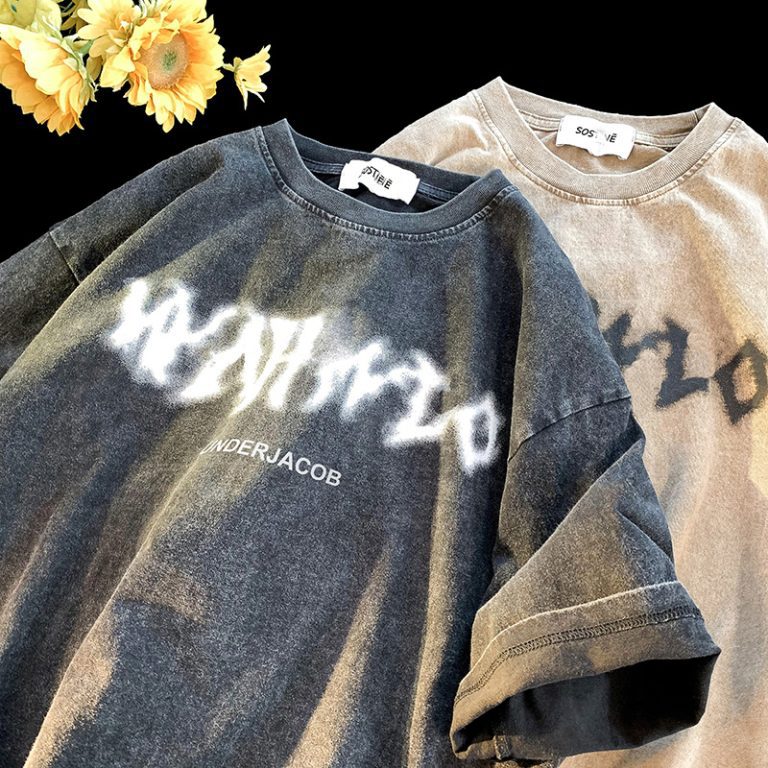
Tie dye is more than just a trend. It’s a statement. It’s about color and creativity. It shows off a style that is all your own. A custom tie dye hoodie is wearable art that is totally unique to you.

This guide will teach you everything you need to know. We will cover how to pick the right hoodie and dyes. We’ll explore popular patterns. You’ll learn whether to start a fun DIY project or order from a pro service like TZ Streetwear.
The Foundation of a Great Hoodie
H3: Choosing the Right Hoodie Blank
The secret to amazing custom tie dye hoodies starts with the fabric. Cotton is the best choice. Its natural fibers soak up dye really well. For the brightest colors, pick a 100% cotton hoodie.
Many hoodies are made from cotton and polyester mixed together. A common blend is 80% cotton and 20% polyester. This mix gives you bright color and soft feel. A 50/50 blend will give you a faded, vintage look. The polyester doesn’t hold the dye as well.
Think about the hoodie’s weight too. Weight is measured in GSM (grams per square meter). A heavier hoodie feels cozier. It can also absorb more dye. This leads to deep, rich colors.
H3: Fiber-Reactive vs. All-Purpose Dyes
For a project that lasts, you need the right dye. We always recommend fiber-reactive dyes. These dyes form a strong bond with cotton fibers. This means your colors will stay bright. They won’t wash out.
All-purpose dyes just sit on top of the fabric. You can find these in some craft stores. They will fade quickly. Your hoodie will look old before its time. Stick with fiber-reactive dyes for pro results.
A Visual Guide to Popular Patterns
Getting the perfect custom tie dye hoodie is all about the pattern. There are endless ways to fold and dye your garment. Pro dyers offer a vast array of tie dye patterns. These range from simple to complex. Here are some of the most popular styles to inspire you.
H3: Classic Patterns
- The Spiral: This is the design most people think of. It creates a classic swirl of colors. The swirl starts from a single point in the center. It’s great for beginners and always looks fantastic.

-
The Crumple/Scrunch: This is the easiest technique. You simply scrunch the hoodie into a tight bundle. Then apply dye. It creates a random, cloud-like pattern. No two ever look the same.
-
The Bullseye: This pattern creates circles of color. The circles spread out from the middle. You make it by pulling up the center of the hoodie. Then tie rubber bands down its length.
H3: Modern & Advanced Techniques
-
Ice Dye: This method uses ice to apply the dye. You place ice cubes over the folded hoodie. Then sprinkle dye powder on top. As the ice melts, it creates soft effects. These look like watercolors.
-
Bleach Dye (Reverse Tie Dye): This technique removes color instead of adding it. You start with a dark hoodie. Tie it up and apply bleach solution. It creates a cool, edgy look.
-
Geode & Shibori Styles: These use more detailed folding methods. Geode dyeing aims to look like the inside of a rock. It has crystal-like rings of color. Shibori is an ancient Japanese technique. It uses precise folds to create beautiful patterns that repeat.
DIY Project vs. Professional Service
One big question is whether to make your own custom tie dye hoodie or buy one. Both options are great. But they suit different needs. Let’s break down which path might be right for you.
H3: The DIY Experience
Making your own tie dye is fun and rewarding. You have total creative freedom. You choose your colors and patterns. For a single hoodie, it’s also cheaper. It can be a great activity to do with friends or family.
However, it can be very messy. There is also a learning curve. Getting a complex design right on your first try is tough. Your results might not be what you expected. It takes time to prep, dye, and clean up.
H3: Ordering from a Professional Service
When you order from a pro, you get a perfect result every time. This is key if you need matching hoodies. These might be for a team, brand, or event. Pros have the tools and skills for advanced techniques. They can make sure every hoodie looks great. They can also add logos or graphics.
The main downside is the cost. A single custom hoodie will cost more than a DIY project. You also miss out on the hands-on fun of making it yourself.

| Feature | DIY Method | Professional Service |
|---|---|---|
| Cost | Lower for a single item ($20-$40) | Higher per item, but cheaper in bulk |
| Time | Several hours of work + 8-24 hours to set | A few minutes to order; 1-3 weeks production |
| Quality/Consistency | Unpredictable, varies with skill | Guaranteed high quality and consistent results |
| Customization Level | Total creative freedom with colors/patterns | Limited to offered styles, but can add logos |
| Best For | Fun projects, single unique items, learning | Brands, teams, events, gifts, complex designs |
Your Step-by-Step DIY Guide
Ready to make your own custom tie dye hoodie? We’ve done this hundreds of times. We’re here to help. Follow these steps for a great result.
H3: Step 1: Gather Your Supplies
You will need:
* A white or light-colored hoodie with high cotton content
* A fiber-reactive tie dye kit (with dye powders, squeeze bottles, and soda ash)
* Rubber bands or string
* Gloves
* A plastic drop cloth or trash bags to protect your work area
* Plastic wrap or a plastic bag
* A bucket or tub for soaking
H3: Step 2: Prep Your Workspace & Hoodie
First, cover your work surface with plastic. Tie dye is messy! Next, wash your hoodie. Use hot water and detergent. Do not use fabric softener. Fabric softener can block the dye from soaking in.
While the hoodie is still damp, soak it in a soda ash solution. Follow your dye kit’s instructions. This step is crucial. It helps the dye bond to the fabric. Wring it out so it’s damp, not dripping.
H3: Step 3: Fold, Tie, and Dye!
Let’s use the spiral pattern as an example. Lay the damp hoodie flat. Pinch the center and start twisting. Keep twisting until the whole hoodie forms a flat, tight circle. This includes the thick seams and sleeves. It should look like a pizza. Secure it with 3-4 rubber bands. This creates 6-8 wedge shapes.
Now, apply your dyes. Squeeze a different color into each wedge. Be sure to flip it over and dye the back too. Make sure the dye gets deep into the folds.
H3: Step 4: Let it Set
Once dyed, wrap your hoodie tightly in plastic wrap. You can also place it in a plastic bag. This keeps it damp while the dye works. Let it sit for at least 8 hours. But 24 hours is even better for deep, bright colors. Keep it in a warm spot.
H3: Step 5: The Big Reveal

This is the best part! While wearing gloves, take your hoodie to a sink. Rinse it under cold water. Keep rinsing until the water runs clear. Then, carefully cut the rubber bands and open it up. Rinse it again.
Finally, wash your new custom tie dye hoodie by itself in the washing machine. Use a cold cycle. You can then dry it in the dryer or hang it to dry.
Level Up: Ordering for Your Brand
Custom tie dye hoodies are perfect for brands, teams, and groups. They are on-trend and have a high-quality feel. Each one is slightly different, which customers love.
H3: Why Tie Dye Works for Brands
A unique hoodie can become a signature item for a streetwear brand. It can also be fun merchandise for any group. It shows off a creative and bold identity.
H3: Key Considerations for Bulk Orders
When ordering many hoodies, consistency is important. A pro service can create patterns that are very similar across the whole batch.
Adding a logo is also a great option. The best way to do this is with a simple, one-color design. Use black or white. This helps it stand out against the colorful background. When you’re ready to produce a whole line, find the right custom hoodie manufacturer. They should understand how to work with tie dye.
H3: From Idea to Product Line
A unique hoodie can be the start of a great brand. For those serious about building a business, learn how to craft an introduction for your brand. This is a helpful next step.
How to Care For Your Hoodie
You’ve got your perfect hoodie. Now, how do you keep it looking great? Proper care will keep the colors bright for years. Experts agree that proper washing techniques are key for all popular tie-dye sweatshirt styles.
- For the first two or three washes, wash your hoodie by itself in cold water.
- After that, always wash it with similar colors.
- Turn the hoodie inside out before washing to protect the design.
- Use a mild detergent.
- Tumble dry on low heat or hang it to dry to prevent fading.
Frequently Asked Questions
H3: 1. Can I tie dye a 100% polyester hoodie?
It is not a good idea to use standard tie dye kits on polyester. Those kits are for natural fibers like cotton. Polyester needs special dyes called disperse dyes. It also needs a high-heat process to work. For the best and easiest results, use a hoodie with high cotton content.
H3: 2. How much does it cost to get a custom tie dye hoodie made?
The cost can change a lot. A DIY hoodie might cost between $20 and $40. This includes the hoodie and a dye kit. A single pro custom hoodie can cost from $50 to over $100. However, if you order in bulk for a brand or group, the price for each hoodie goes down a lot.
H3: 3. Will the tie dye colors bleed in the wash?
If the hoodie was dyed correctly with fiber-reactive dyes, it should not bleed after the first few washes. The initial rinse and wash cycles will get rid of any extra dye. To be safe, always wash it alone or with dark colors for the first 2-3 times.
H3: 4. Can you put a logo or print on a tie dye hoodie?
Yes, you can! The trick is to make the logo easy to see. A simple logo in a single, bold color usually looks best. White or black work great. It creates strong contrast against the busy tie dye pattern. A pro service can help you choose the best placement.
H3: 5. How long does it take to make a custom tie dye hoodie?
A DIY project involves a few hours of work for prep and dyeing. Then, the dye needs to sit for 8 to 24 hours. For a pro order, it can take 1 to 3 weeks to produce the hoodies. Add shipping time too. The exact time depends on how many you order and how complex the design is.