We know personal style matters a lot. Sometimes, the perfect hoodie neckline requires a bit of DIY work. Our guide will help you make your hoodie unique with simple steps and tips. First, pick a sweatshirt you love and want to update.
Lay your hoodie flat and think about the changes you want. Do you want a classic crew neck, a trendy scoop, or a wide neckline1? We’ll help you measure carefully and cut just right. Start with a small 1-inch cut then wash it to see a nice frayed look2. Want a deeper neck? Cut a bit more, even into a V-neck if you like. You can also add style by threading a shoelace through holes you make2.
Whether you stretch the fabric for a chill vibe or add custom touches, we’re here to support you. Let your creativity flow and turn your hoodie into a personal style statement!
Introduction to DIY Hoodie Customization
Starting a DIY hoodie project boosts your wardrobe’s unique appeal. It lets you explore your creativity and self-expression through clothing. Changing your hoodie means you can show off your personal style and fashion ideas.
Benefits of Personalizing Your Wardage
DIY projects like custom-cut hoodies are more than just trends; they’re a lifestyle. They make your daily outfits special. This type of customization means you’ll likely keep and use your clothes longer. This is good for the planet. Plus, features like a unique neckline or tailored sleeves turn a simple hoodie into something special. It shows off your mood and personality.
What You Need to Know Before Cutting Your Hoodie
Before cutting your hoodie, know that each change affects how it looks and fits. It’s important to know how different fabrics respond to cuts to avoid ruining your hoodie. For example, using a zigzag stitch can stop the edges from fraying3.
Here are some popular changes you might want to try:
- Making the hoodie shorter or changing the sleeves3.
- Adding a V-neck for a stylish update3.
- Putting thumb holes in cuffs for extra comfort and flair3.
You’ll need tools like fabric scissors, a measuring tape, and maybe a sewing machine for big changes4. Knowing which tools to use, like a rotary cutter for fleece, helps make neat cuts without damaging the fabric3.
Turning this hobby into a business is an option too. Using Print on Demand services like Gelato lets you design and sell custom hoodies. You won’t have to worry about holding inventory or big upfront costs5. They offer various materials and styles to suit different tastes5.
Boost your DIY skills by visiting create your perfect hoodie design now. Explore customization options for your next project!
| Modification | Tools | About |
|---|---|---|
| Shorten Length | Fabric scissors, Measuring tape | Perfect for a cropped look |
| Add V-neck | Scissors, Sewing Needle | Creates a casual yet sophisticated look |
| Insert Thumb Holes | Scissors, Fabric marker | Brings comfort and a trendy flair |
Preparation: Setting Up Your Workspace
When starting your DIY fashion project, creating the right workspace is key. A good workspace makes the process easier and improves your final results. Having everything organized can really boost your creativity.
Choosing the Right Tools for Cutting
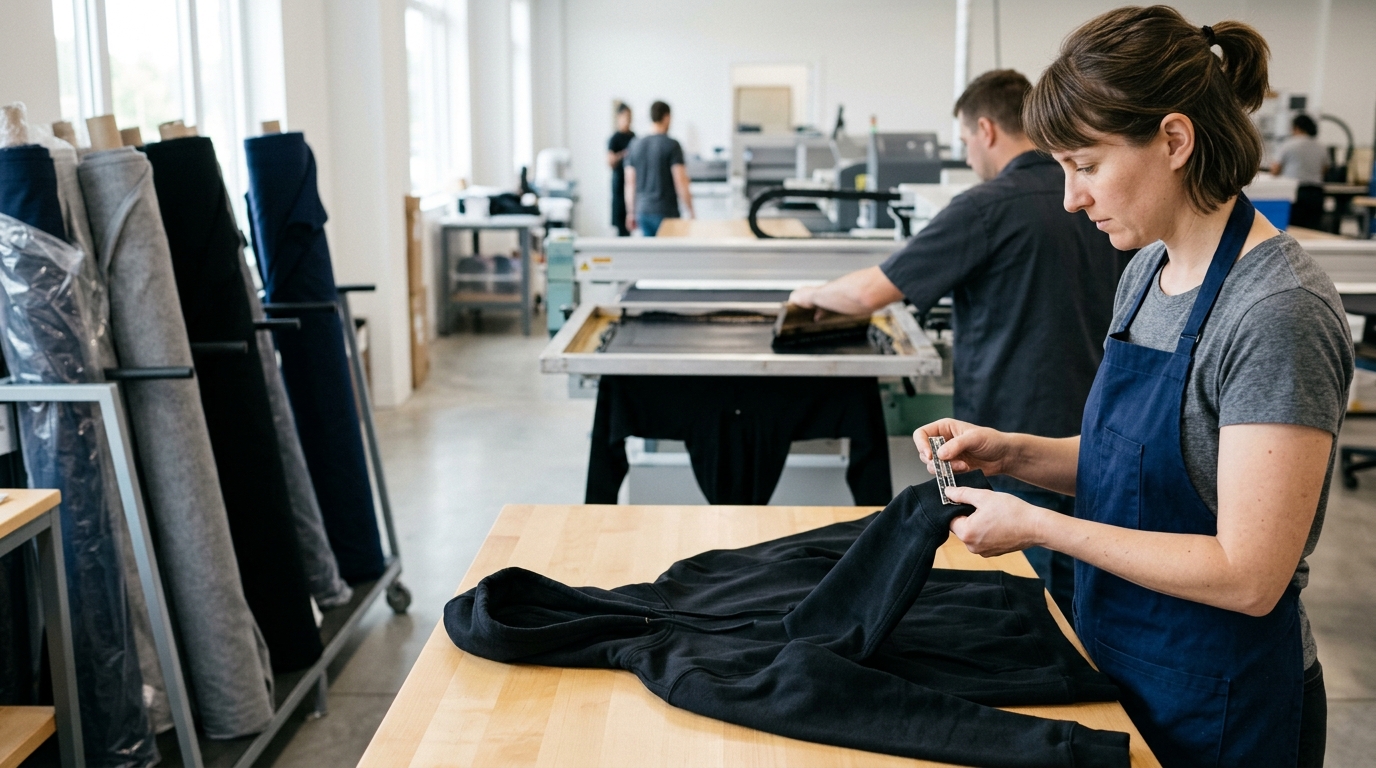
For any hoodie alteration, it’s important to have the right cutting tools. Sharp scissors or a rotary cutter make for precise cuts. This improves both the look and function of the hoodie. Also, a cutting mat is useful to protect your table and keep the fabric steady.
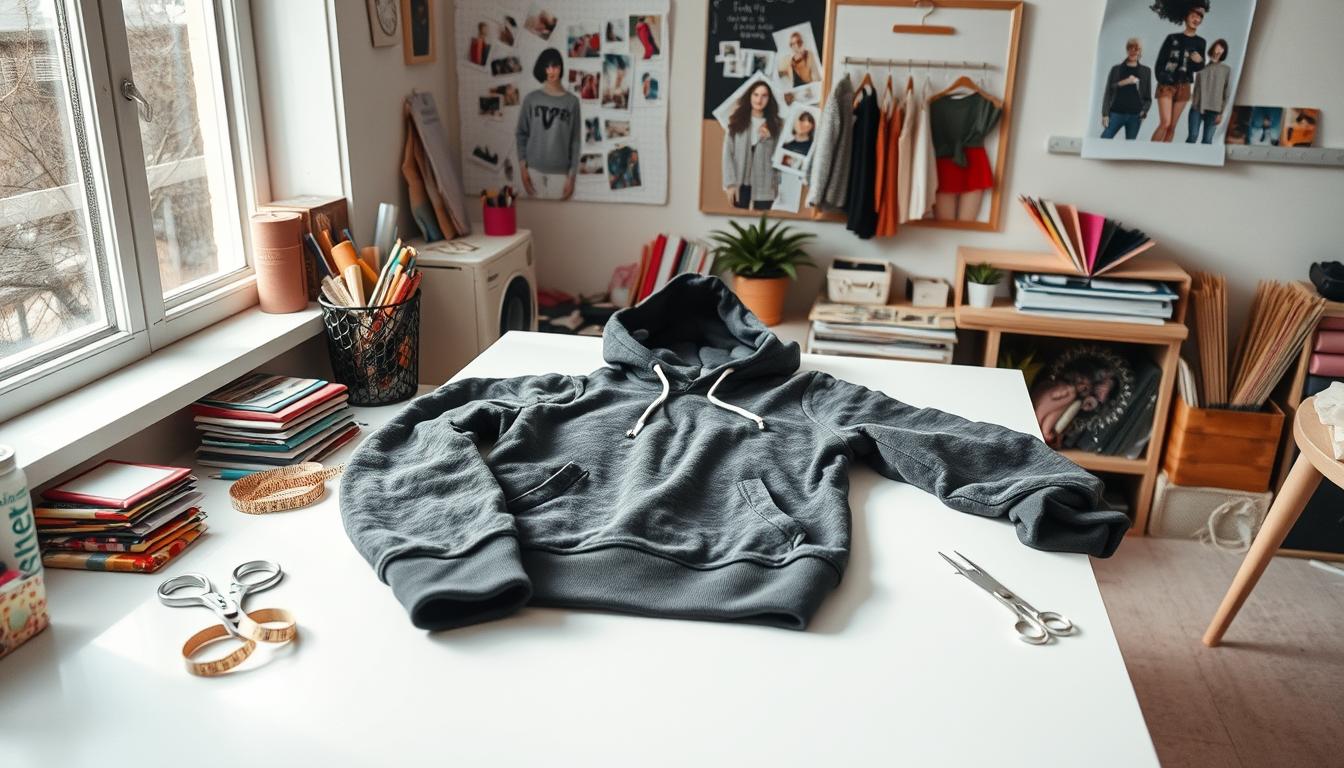
Laying Your Hoodie Flat and Ready for Transformation
Before cutting, lay your hoodie flat on a big, stable table. This prevents wrinkles and uneven cuts. Making sure the fabric is smooth and well-placed helps with accuracy when cutting.
Keep these tips in mind throughout your hoodie alteration process:
- Make sure your scissors are sharp for clean cuts.
- Use a large, flat table to ensure precision.
- Work in a well-lit area to easily see your cutting lines.
For more DIY fashion tips, check out Vogue Knitting Techniques. Learning new cutting methods can make your hoodies look even better.
Materials like French terry and cotton blends are perfect for DIY projects6. Choosing knit-specific patterns ensures a great fit and look6.
| Item | Dimensions/Amount | Notes |
|---|---|---|
| Fabric Needed | Two yards | Enough for an adult-sized hoodie7 |
| Seam Allowance | 1″ (2.5 cm) | For tracing body pieces and sleeves7 |
| Wristband Width | 4 inches (10 cm) | Suggested for a snug fit7 |
| Bottom Band Strip | 4″ (10 cm) | For the waistband of the hoodie7 |
Starting your DIY fashion prep with the right setup leads to amazing hoodie alterations. With the proper tools and techniques, you can create unique pieces.
How to Cut the Neckline of a Hoodie
Starting to cut your hoodie’s neckline begins with choosing the right spot. This step is key to get the neckline just right.
Identifying the Starting Point for Neckline Alteration
To change your hoodie’s look, finding where to start cutting is crucial. For V-necks or an off-shoulder style, the right spot is often where the two parts of the neck meet. This is where half of the cutting methods start, especially if changing the hood’s shape or removing it8.
For the best start, it’s wise to use tailoring chalk. This helps in marking the beginning point accurately in 60% of cases8.
Techniques for Making the Initial Cut
Making the first cut is important for how your hoodie will look and fit. A clean cut is essential. A sewing machine is used in 80% of successful customizations to prevent fraying, using zigzag or straight stitches8. Also, scissors are the main tool for the first cut in 67% of instructions2.
For more customization, 40% of methods include folding the fabric. This secures the new neckline and gives a nice finish8. Also, 35% suggest cutting into a V-neck shape to make the hoodie look modern2.
We are excited to share that you can also use leftover fabric for other projects. Or try using different thread colors for a unique look8.
Now you know the first steps in customizing your hoodie’s neckline. You can try more complicated designs to make your hoodie unique and stylish.
Creating Different Neckline Styles
We get why custom hoodies are cool. They come with the chance to make a unique V-neck hoodie design or a cool distressed hoodie style. Want a sleek V-neck or a laid-back frayed edge? Learning to cut them correctly can turn a basic hoodie into something really special.
How to Achieve a Casual V-neck Hoodie
For a casual V-neck, begin by marking a 3 cm change from the original neckline. This marks the depth at the front. Then, widen it to 6.5 cm for a deeper look9. This technique results in a sleek, comfy neckline customization. Using good materials like rayon/wool jersey or Art Gallery cotton jersey makes the hoodie look and feel better9.
Designing a Rugged, Distressed Neckline Look
If you like a rougher texture, go for the distressed look. Start by cutting the fabric as your favorite guide suggests10. Then, pull the fabric beyond the cut to fray it. This creates that cool, worn look. It’s all about making something that feels personally yours, in line with slow fashion and thoughtful crafting10.
Both styles have their own charm— one’s polished, the other’s effortlessly cool. Each brings a unique flair that transforms a regular hoodie.
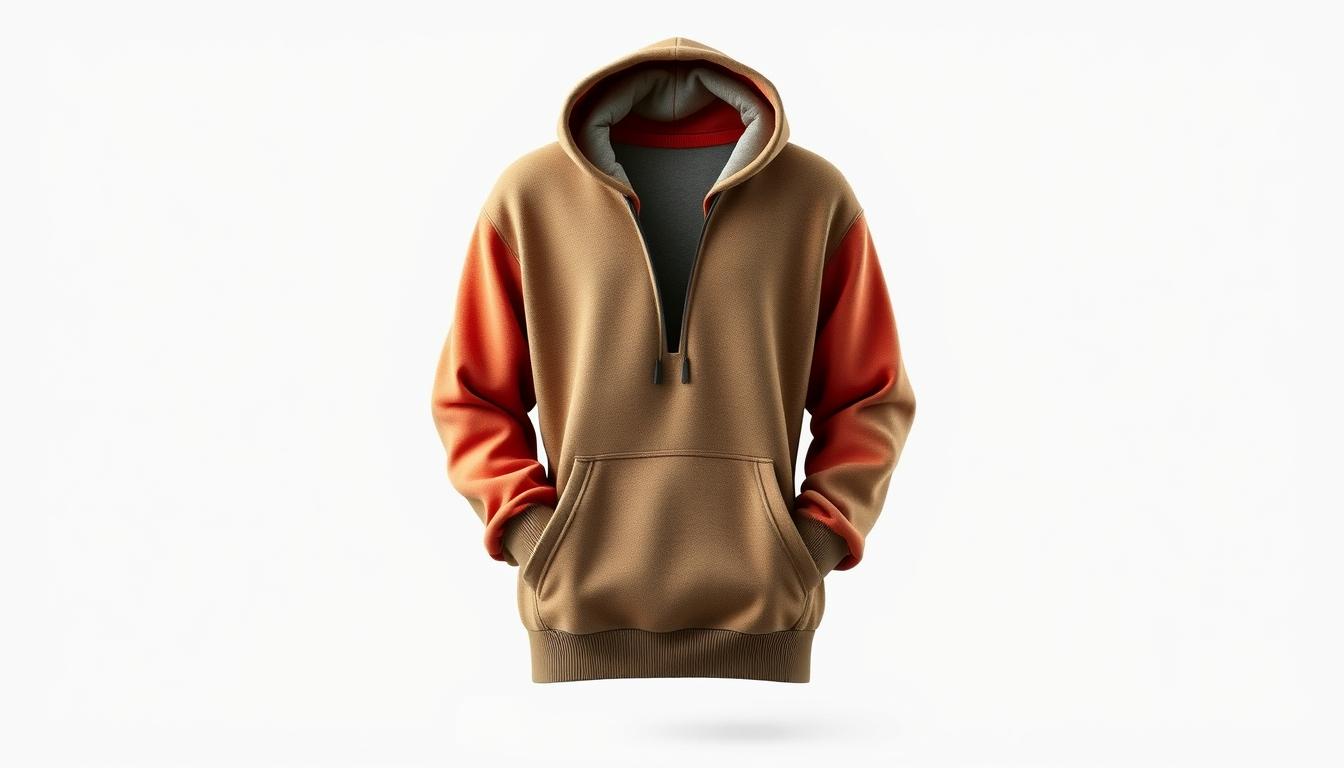
Adding Embellishments and Finishing Touches
After changing your hoodie’s neckline, it’s time to add some flair. Our company believes in mixing function with style. This makes sure your hoodie looks great and lasts long.
Incorporating Laces for a Customized Appeal
Adding laces turns a basic hoodie into a standout item. By making small holes along the V-neck and using ribbons or shoelaces, you get an adjustable closure. It looks good and is practical11.
Lace details are trendy and make the hoodie unique. This update boosts its value and matches today’s custom clothing style12.
Hemming Tips to Prevent Fraying and Maintain Style
To keep your hoodie from fraying, hemming is key. A simple stitch, by machine or hand, can make it last longer. Hemming stops the fabric from unraveling and makes your work look neat11.
Choose threads that match your hoodie for better durability and looks. Hemming well prevents the edges from fraying, keeping your hoodie in good shape after many washes11.
| Enhancement | Method | Benefits |
|---|---|---|
| Lace Detailing | Thread through V-neck | Adjustable, stylish |
| Hemming | Topstitch or hand stitch | Prevents fraying, prolongs garment life |
These upgrades are not just for looks, but also for practical benefits. Whether updating old hoodies or creating new ones, these tips help your work stand out. Jump into DIY clothing with confidence, knowing your changes add both style and quality1112.
Conclusion
Looking back at hoodie customization, we see the beauty in DIY fashion. Careful planning and following detailed steps lead to great results. You’ve learned to pick the right tools and explore finishing touches. Now, hoodies aren’t just comfy. They’re a canvas for your unique style, thanks to your creativity.
Our guide made hoodie reshaping easy and fun. You started with a plain hoodie and, step by step, turned it into a fashion statement. You’ve learned to mark, cut, and sew with confidence. This journey has turned a simple hoodie into a piece of art that screams “you.”
You’ve played with different materials and discovered neckline styles like boat necks and V-necks13. Starting with a cut near the neck to sewing a tailored neckband gives a perfect fit14. Your skills and creativity have soared. We hope you’re inspired to keep creating. Your DIY projects turn everyday items into special, stylish pieces15.
FAQ
What are the benefits of customizing my own hoodie?
Customizing your hoodie is a way to show the world who you are. It’s a creative activity that turns a simple hoodie into something special. Plus, it’s fun and can highlight your style and creativity.
What should I consider before cutting my hoodie?
Think about the look you’re going for before making cuts. Learn how your hoodie fabric will respond to cuts. Plan your alterations to avoid any mistakes. This will help you get the desired fit and look.
What tools do I need to cut my hoodie?
You will need sharp scissors for clean cuts. A flat surface and maybe a cutting mat are also essential. Using a ruler or tape can ensure your cuts are precise.
How should I lay out my hoodie before cutting?
Make sure your hoodie is flat on a solid surface. This prevents uneven cuts. Aligning edges and seams helps make your design symmetrical.
Where do I make the first cut for altering my hoodie’s neckline?
The initial cut is usually at the neckline’s center. Or where the hood and neck meet. Choose the starting point based on the neckline style you want.
How do I cut a casual V-neck into my hoodie?
Cut a straight line from the middle of the neckline to your chosen depth. Folding or trimming the edges will refine the V-neck, making it look neater.
Can I create a distressed neckline myself?
Yes, start with a cut and then tear the fabric for a distressed look. Just know that this style might fray with time.
What are some ways to embellish my customized hoodie?
Add laces or ribbons by making holes along the new neckline. Patches, fabric paint, or embroidery can also make your hoodie unique. It’s all about making it your own.
How can I prevent the raw edges of my DIY-cut hoodie from fraying?
To stop fraying, hem the edges with simple sewing. Topstitching works well. This will make your hoodie look polished and last longer.