It is now easier than ever to learn the sweatshirt design. Make yourself a unique piece from scratch. Start the clothing brand you always wanted. You can even make matching gear for your team. It is so easy when you know how to go about it.

This guide is going to be your travel companion throughout the whole journey. We’ll explore three main alternatives here. You can go the DIY route. You can utilize an online service. Finally, you could work with a professional maker.
The entire process is being covered, right from the brainstorming of the first idea to the printed sweatshirt. You’ll have a map to the creative journey by the time we finish the lesson. Let’s begin now.
Step 1: The Foundation of Your Design
An excellent sweatshirt design starts with good planning. Before you even think of using the design software, you need to visualize the whole thing first. The prep work you do can help you achieve your end product just as you imagined.
State the Perspective and Target Market
To begin, ask yourself – what is the purpose of your sweatshirt? It will be the compass that guides you in making every choice, such as the type of style and budget.
- For Yourself: Is it your personal style that you are bringing to life or intending it to be a present for someone?
- Team or Group: Are you planning for a sports team, a company event, or are you organizing a family reunion?
- Brand Merchandise: Are you commencing a clothing line and therefore need products to market?
The audience – the customer you target – is also pivotal. A design belonging to a corporate team will differ entirely from a sweatshirt made for a streetwear brand. When you know your “why”, it is so much easier to come up with the right sweatshirt design.
Collect Ideas Using a Mood Board
Inspirations can be just the source for great ideas. Browse through other people’s projects before you start your designs. Pinterest, Instagram, and Behance are overflowing with ideas. Visit custom hoodie design ideas for you to gain encouragement from what’s possible.
Mood boards are a perfect choice to keep your ideas organized. You can create a digital folder or a physical board wherever you wish. Choose images, color combinations, fonts, and styles that you find appealing. This visual guide will keep your sweatshirt design focused.
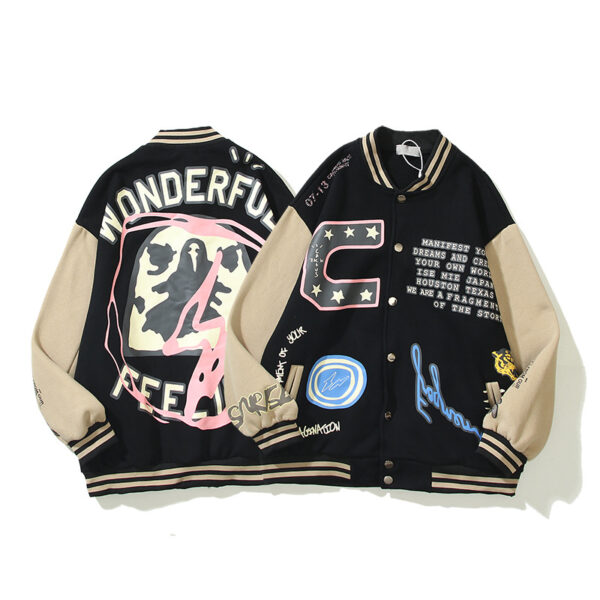
Pick Out the Correct Sweatshirt Type

The sweatshirt is, after all, your canvas. The type you choose determines how your design will look. The styles provided differ between art placement options.
| Sweatshirt Type | Style Description | Design Placement Options | Best For… |
|---|---|---|---|
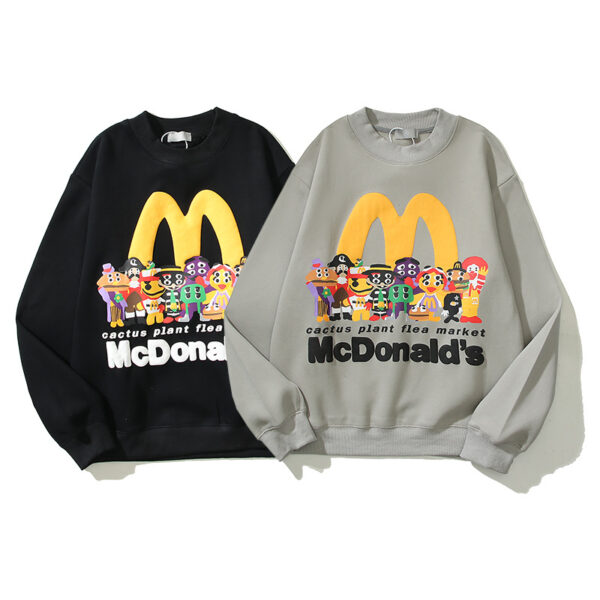
| Crewneck | A classic, round-necked pullover. | Front chest, back, sleeves. | Timeless looks, layering, brand logos. |
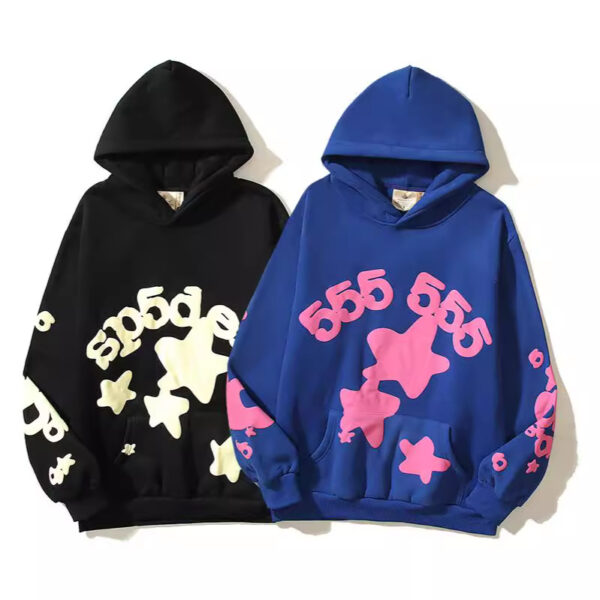
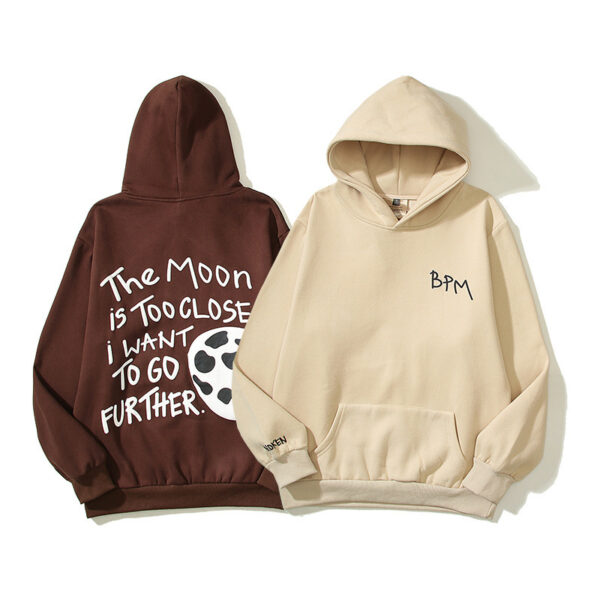
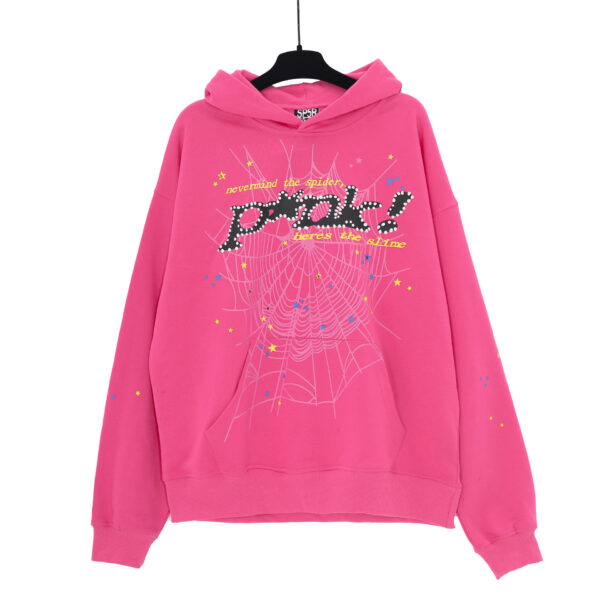
| Pullover Hoodie | Has a hood and a large front pocket. | Front, back, sleeves, hood. | Casual wear, streetwear, team apparel. |
| Zip-Up Hoodie | A hoodie that zips up the front. | Left/right chest, back, sleeves. | Versatile layering, easy to wear open. |
The material you choose is also a big factor. A popular blend is 50/50 polyester/cotton, which is also quite cheap. 100% cotton is softer and feels more premium. Tri-blends are the softest but usually tend to be more expensive. The fabric has an impact on the feel, print quality, and cost.
Step 2: Choosing Your Creation Method
When you draw out a plan, you should also decide on how to proceed with making your sweatshirt. There are three primary paths to take when it comes to producing designs. Each of them carries its own perks and downsides. These may depend on costs, lot size, as well as the extent of the design.
Here is a handy chart to help you find the most appropriate option for the design of a sweatshirt.
| Method | Cost Per Item | Minimum Order | Quality Control | Best For… |
|---|---|---|---|---|
| DIY | Low to Medium | None | Variable | One-off gifts, personal projects. |
| Print-on-Demand | Medium | None | Limited | Starting a brand with no stock. |
| Bulk Manufacturer | Low | High (50+) | High | Established brands, large groups, teams. |
The DIY (Do-It-Yourself) Approach
The DIY route gives you absolute freedom of creation. You can also use the technique like Heat Transfer Vinyl (HTV) on the machine like Cricut. Alternatively, you can print screen at home. You can bring back the fabric paint, for example.
This avenue is ideal for singular projects. The startup costs are minimal. However, it is a real lot of work to do. Also, quality is sometimes hard to maintain. This route is not recommended if you want to make many items.
The Print-on-Demand (POD) Method
An increasing number of entrepreneurs are hiring print-on-demand services to design their sweatshirt lines. Simply upload your design to the company’s web page. When a client buys a hoodie, the company will do the printing and shipping.

The method is simply a means of marketing a brand without carrying inventory. The start-up is straightforward. You are free to offer a range of products. The downside is that you are left with lower profit margins. You are also limited in the options of garment design and printing techniques. Our advanced platforms even offer a 3D design maker that helps you visualize the product you want.
The Bulk Manufacturer Approach
The best-suited collaboration fashion is with a bulk manufacturer for companies, brands, and huge teams. This method is characterized by the masterminded savings of costs. Bulk orders of clothing have the highest level of customization possible. You can choose different fabrics, and even add tags.
A serious problem is the minimum order quantity (MOQ) which is pretty high. Most manufacturers would require an order of 50 or more pieces. Therefore, you have to spend money in advance for sure. Streetwear brands buried in their growth with a partner like a dedicated custom hoodie manufacturer to help pull the pro-grade look together.
Step 3: The Creative Process: A Standout Design
Next, we have the exciting step: designing the actual design. A brilliant idea needs a skill and creativity. Following some fundamental rules will help you create a sweatshirt that not only looks professional but also prints perfectly.
Key Principles of Apparel Design
Three core elements stand for the success of a sweatshirt design: placement, scale, and color.
- Placement: The position of your design is vital. Traditional positions include the center chest, left chest, full back, and sleeves. Try out your imagination, but see to it that it goes well with the sweatshirt’s style. Sketching these areas onto a basic diagram can guide you.
- Scale: The measurement of your design should correspond to the measurement of the sweatshirt itself. A design that appears good on a small shirt could be considered small by an extra-large person. Make sure your art is sized correctly for the printable area.
- Color: Contrast is fundamental so that your design can be proper and easy to recognize. A limited color palette (1-4 colors) can also be a cost-effective choice for screen printing and set a bold look.
Essential Tools for Your Design
There is no need to be a top-level artist to realize a great design. There is a tool for every skill level.
- Beginner-friendly: Services like Canva or Placeit are ideal due to their easy-to-use feature templates and pre-designed graphics. They are perfect for text or graphic-based designs.
- Professional: Software like Adobe Illustrator or Procreate gives you complete control. Illustrator is ideal for creating vector graphics, which can be scaled infinitely without losing quality.

Technical Specs for a Perfect Print
Pixelated or blurry prints will be avoided if the file is designed correctly. Using a high-resolution file is the company rule you cannot ignore. The standard is at least 300 DPI (Dots Per Inch).
File types are also important for your designs. Raster files (PNG, JPEG) use a grid of pixels to form images. They are excellent to use for very detailed graphics like photography. Vector files (AI, EPS, SVG) are constructed from mathematical coordinates. They are useful for logos and graphics that must be resized. For most print-on-demand services, a PNG file with a transparent background is the best choice. Printer services consistently stress that to achieve high-quality results one has to use high-quality images.
Step 4: From File to Fabric: Bringing It to Life
After you confirm the design file, it is the moment for production. At this final act, you are turning your digital illustration into a sweatshirt of the real world. Knowledge of the process will help you to discard the most common mistakes.
Choose Your Printing Technique
You can imprint a design on a sweatshirt in three basic ways. Each of them has its advantages.
- Screen Printing: A stencil through which the ink is pushed to the fabric forms the basic element of this method. It is best utilized for single designs that are colored with a limited quantity of 1 to 4 colors. It helps to save costs as it is the best option for bulk orders. The prints are solid and long-lasting.
- Direct-to-Garment (DTG): This type of printing directly inks the fabric similar to an inkjet printer. It is the best choice for complicated, full-color prints like photographs. It is designed for small orders. The ink elicits a soft touch on the material.
- Embroidery: This is the method that affixes the design to fabric through thread stitching. It not only gives a premium look but also is three-dimensional. It is a perfect solution for logos and text.
Prepare Your Files for a Manufacturer
When working with a bulk manufacturer, you’ll need to be quite specific. The most effective way to do this is by creating a tech pack. A tech pack is a detailed map of your clothes that tells the factory what to make.
In its simplest form, the tech pack includes:
- Flat Mockup: A basic drawing of the sweatshirt, showing the front and back.
- Design Placement: Exact measurements for where the design should go (e.g., “3 inches below the collar”).
- Color Codes: Specific Pantone or CMYK color codes to ensure color accuracy.
- Material & Sizing: The fabric blend you want and the number of sweatshirts needed for each size.
A tech pack is essential when the work is placed with an all-in-one apparel partner, such as TZ Streetwear, to the letter of your vision being achieved. This rule applies too when your line gets expanded with expert t-shirt manufacturers. Clear communication is the essential factor behind getting excellent results.
Frequently Asked Questions (FAQ)
What is the best software to design a sweatshirt?
If you’re a novice, then online instruments such as Canva can do a great job. They are user-friendly and possess a variety of templates. Adobe Illustrator is the industry standard for professionals who want total control and scalable vector graphics.
How much does it cost to design one sweatshirt?
The cost for a single sweatshirt can range from $25 to $60+ when using a print-on-demand service. The price depends on the sweatshirt’s base cost. It also depends on the complexity of the design (e.g., front and back printing) and the printing method used.
What’s the difference between screen printing and DTG?
Screen printing functions by laying down different layers of ink on a surface using stencils. This proves to be a cost-effective route for simple designs produced in large quantities. Direct-to-Garment (DTG) on the other hand is like an inkjet for clothing. It sprays ink directly onto it. DTG is great for more elaborate designs that have more colors and a little be of added detail.
Can I put a photograph on a sweatshirt?
Yes, 100%. The most suitable method for affixing a photo on a sweatshirt is a Direct-to-Garment (DTG) printing technique. DTG can reflect millions of colors and intricate details with precision. For the best outcomes, it’s essential that your photograph is a high-resolution file.
What file format is best for sweatshirt printing?
According to the experiences of different users, a PNG (300 DPI) file with a transparent background is the most versatile format. This works for most online and DTG printers. When you are working with a manufacturer for screen printing, most of the time they will prefer a vector file. This can include AI, EPS, or SVG files.