We know you want to change up your hoodie’s neckline by yourself. That’s why we are here to show you how to cut hoodie neck just right. This way, you can make your hoodie look special1.
Start by laying your hoodie flat on a firm surface. This makes sure you have a good space for cutting. Look closely where the front and back of the neckline meet as you prep. This step helps avoid any cuts you didn’t mean to make1.
To begin changing the neck, cut a small diagonal line at the neckline. Aim for no more than 1 inch (2.5 cm) for a simple look or a wider neck21. Want a more worn look? Try tearing from the cut you made with your hands2.
If you’re aiming for a scoop neck or a bold deep V-neck, adjust your cut. You can go as deep as 3 in (7.6 cm) or even 5 in (13 cm). Always think about how comfortable it feels and how it looks on you21.
Worried about making the cut? There’s no need! With our tips and your creativity, you’re all set. Discover how to make your hoodie perfect with our in-depth guide on DIY hoodie neckline alterations. Ready to shake up your style? Let’s start this journey together!
Setting Up Your DIY Workspace
Want to jazz up your hoodie with DIY touches? You’ll need more than creativity. A tidy, effective workspace is key for precise cuts. It can make or break your fashion project’s success.
Selecting the Right Tools for Cutting
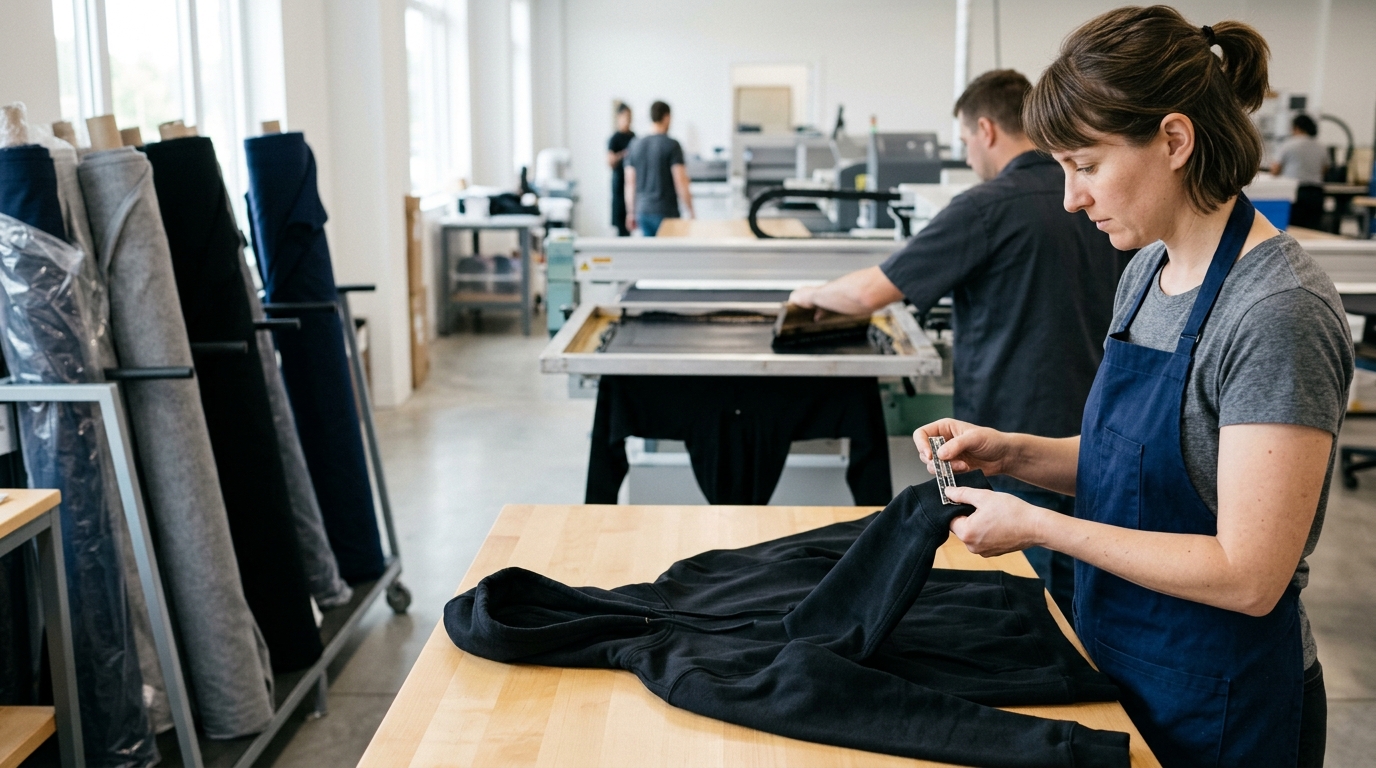
Starting a DIY fashion project means picking the right tools. You’ll need sharp scissors for clean cuts. A solid cutting mat protects your surface and keeps fabric steady. For projects with designs, consider tools like a pressing pillow and arm shaper3. Also, a yardstick is crucial for accurate cuts in DIY hoodie scarves4.
Preparing the Hoodie on a Flat Surface
With your tools set, lay your hoodie on a flat, hard surface. Soft surfaces make cuts inaccurate. A cutting mat is best for a firm base and precise cuts. This preparation helps you cut with precision, matching your design perfectly.
Here are the tools and setups for efficient and precise hoodie cutting:
| Tool/Setup | Function | Importance |
|---|---|---|
| Sharp scissors | Clean cutting of fabric | Critical for precision |
| Cutting mat | Protects surfaces; provides stable cutting area | Essential for accurate cuts |
| Flat, hard surface | Ensures hoodie lays evenly for cutting | Prevents imprecise cuts |
| Pressing tools (for sublimation) | Transfers designs smoothly on fabric | Necessary for sublimation projects3 |
| Yardstick or large measuring tool | Ensures fabric is cut accurately | Important for precise measurements4 |
Setting up the right DIY workspace is crucial for successful fashion projects. Proper tools and space prepare you for precision. Every cut turns a simple hoodie into a statement of your personal style.
Understanding Hoodie Anatomy for Precise Cuts
Starting a DIY hoodie project means knowing each part well. From the hood down to the waistband, it’s important to understand. This knowledge lets you change things like the neckline or length without losing the hoodie’s look or feel.
Identifying Common Hoodie Structures
Hoodies differ, but they often have cuffs, drawstrings, and specific fabrics. The fabric type, like cotton or fleece, influences the cutting method. For example, cutting a 1-inch neckline without fraying depends on the fabric5. Changing a hoodie to an off-the-shoulder style requires knowing how the material stretches5.
Visualizing Your Desired Neckline Outcome
Thinking about your desired neckline is key. Whether it’s a deep V-cut or just a slight trim, having a clear picture helps. You might choose a bold 5-inch V-neck or a smaller 3-inch cut. Each option needs careful measuring and cutting5. This customization not only makes your hoodie unique but also adds to its beauty.
For top-notch customization, check out how to cut a hoodie. This guide walks you through from start to finish. It aims to bring your DIY project up to professional quality, blending creativity with precision.
Knowing all about hoodie anatomy boosts your cutting skills. It also sparks creativity for more unique customizations. It shows our dedication to creative and skilled fashion customization.
Measuring and Marking for the Perfect Neckline Cut
Getting that perfect fit hoodie requires accurate measuring and marking. We will look into how to make precise cuts. This will make your hoodie both comfortable and stylish.
The neckline greatly affects how your hoodie feels and looks. Use a tape measure to get the neckline’s size right. Bands and bindings should be 80-85% of the neck’s size for a good fit6.
Let’s say the neck opening is 40 inches. And you want a half-inch seam allowance. Here’s how you’d figure out the new length:
(40 inches x 0.8) + (0.5 inches x 2) = 33 inches.6
This way, the band will fit just right. Use tailors’ chalk or a fabric pen to mark your fabric. This leaves clear, washable lines.
Here’s a simple checklist for marking:
- Check your measurements again to be sure they are right.
- Make sure the fabric is smooth and flat for even marks.
- Choose chalk or markers that you can see easily on the fabric.
- Instead of one long line, make small dashes where you’ll cut.
Always measure twice before cutting. This saves fabric and avoids costly mistakes. By measuring and marking carefully, you can make a unique hoodie. Enjoy making something special just for you.
How to Cut Hoodie Neck: Loosening Techniques
Welcome to the world of transforming clothing. Learning to cut correctly can change both the look and feel of your clothes. Today, let’s focus on making the hoodie’s neckline bigger and more comfy.
Spreading the Neckline and Making the Initial Incision
Before starting, know that different fabrics need different tools and methods7. You’ll need to spread the hoodie on a flat surface first. You also need sharp scissors, a marker or chalk, and pins to keep the fabric still7.
Begin by cutting a small slant near where you want the new neckline to start. This should be an inch from the shoulder seam for the best result8. Getting this cut right is very important for your hoodie’s final look and comfort7.
Trial and Fit: Adjusting the Cut to Your Comfort
After cutting, slowly widen the cut. Try on the hoodie often to get a balance between a loose fit and looking good. You should sew with a 3/8ths inch seam allowance for a neat finish9.
To better the neckline, roll the raw edges about half an inch. This makes the cut parts comfy and finished8. For a cool, worn-out look, fray the edges with scissors. This fits well with current fashion trends8. Topstitch the neckline for a professional appearance, improving both look and function9.
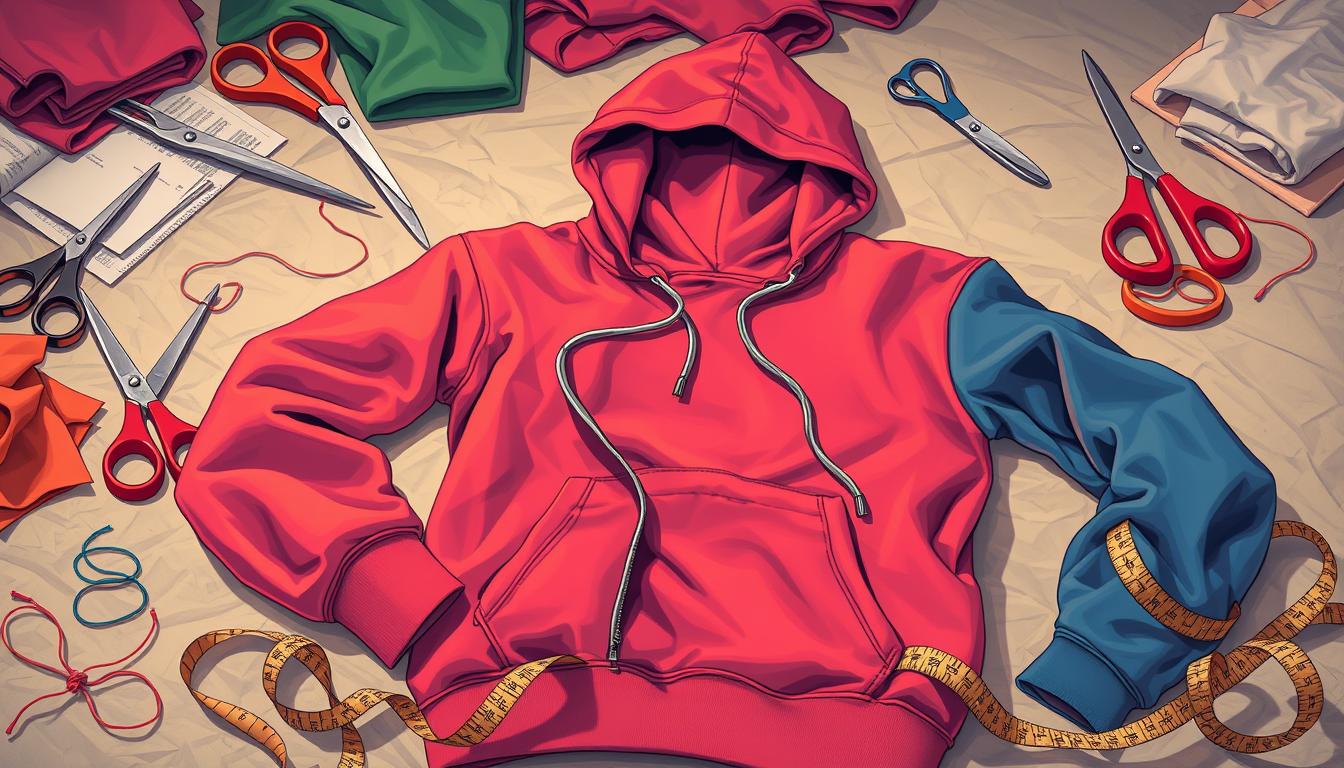
In conclusion, learning to cut hoodies not only makes them comfier but also lets you customize your clothes. It’s about creating something that’s truly yours while keeping the hoodie’s original charm.
Customizing a V-Neck Hoodie Design
Making a V-neck hoodie stand out is key. We use detailed stats to help you make smart customization choices.
Choosing the right material for your custom sweatshirt is crucial. Cotton, fleece, or a blend each needs a special method for cutting10. Pre-wash your hoodie to avoid shrinkage. This step ensures the measurements for your DIY V-neck cut are spot on10.
Sharp scissors will make sure your cuts are clean, without frayed edges10. You’ll need measuring tapes, chalk or fabric markers, and pins for cutting. Using an iron will give your hoodie a finished look10.
Think about how deep you want the V-neck cut. It greatly affects how comfortable and well-fitting the hoodie will be10. Try on the hoodie first. This step is important to visualize the final look before cutting10.
Being careful will prevent mistakes and result in a neat neckline10. You can choose from scoop, V-neck, or unique shapes. Each offers different styles that suit your taste and brand10.
| Method | Total Steps | Complexity | Tips for Maintainance |
|---|---|---|---|
| Method 1 | 4 | Easier (50%) | Hemming, Precise cuts2 |
| Method 2 | 4 | Intermediate (25%) | Secure with pins2 |
| Method 3 | 5 | More challenging (25%) | Fabric clips for secure customization2 |
Taking care of your custom sweatshirt after cutting is key for its long-lasting look and appeal. Using techniques like hemming and making precise cuts will keep it looking sharp2.
By focusing on precision and creativity, turn a basic hoodie into something special. It will showcase your brand’s identity. Let’s make not just clothes, but bold statements!
Embellishing Your Hoodie with Creative Cuts
We know fashion is more than just clothes—it’s about making them uniquely yours. Personalized hoodies are trending, offering fresh ways to express individual style. Now is the perfect time to try different hoodie decorations and cuts that highlight your personal taste.
Lacing Ideas for V-Neck Hoodies
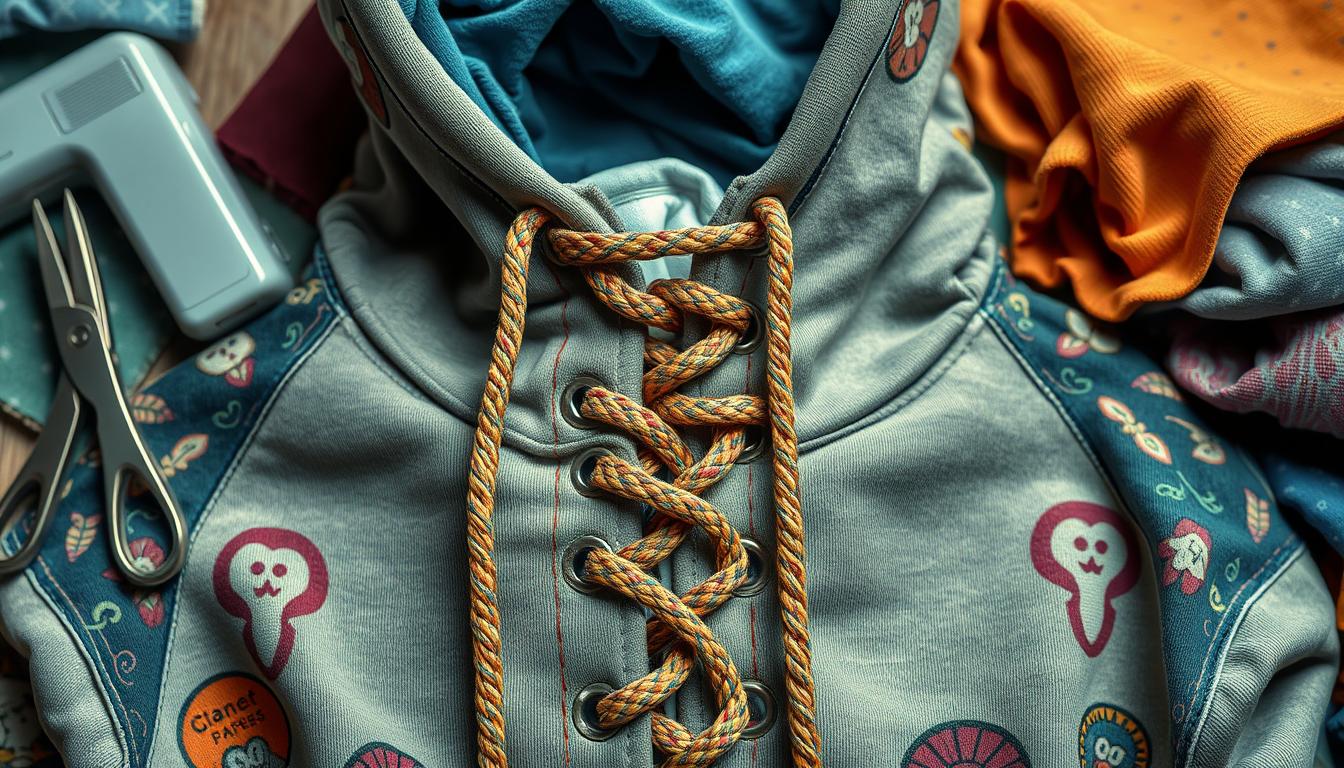
A V-neck hoodie makes a great base for creative lacing. You can use everything from shoelace patterns to ribbons for a customized look. Lacing adds a special touch and lets you adjust the fit, combining style and comfort.
Innovative Ideas for Hoodie Crop Tops
Cropped hoodies are all the rage, perfect for a modern, youthful style. It’s easy to make one: just choose the length, mark it, and cut. This not only shows off your style but also gives old hoodies a new life, which is great for the environment. Find more DIY hoodie ideas here.
Trying out cropped hoodie designs means more variety without spending a lot. Upcycling old sweatshirts with just scissors is an affordable way to refresh your look11. Cutting your hoodie is a simple yet popular method to update your clothes on a budget11.
| Crop Style | Material Needed | DIY Tips |
|---|---|---|
| Basic Crop | Scissors, Chalk | Mark even lines and ensure fabric is flat before cutting. |
| Fringe Crop | Scissors, Ruler | Cut strips along the bottom hem to create a playful fringe. |
| Laced Crop | Eyelet puncher, Lace | Add eyelets around the hem and thread lace through for a fitted look. |
A bit of creativity and effort can turn any old hoodie into something stylish and new. Let’s keep turning the ordinary into extraordinary!
Preserving the Quality of Your Hoodie Post-Cut
Turning a regular hoodie into something special with DIY is fun. But, the real test comes with the post-DIY care. This care makes sure your hoodie stays high-quality. Let’s look at key steps to keep your hoodie looking and feeling great.
First, let’s talk about fixing frayed edges. Hemming them can make your hoodie last longer and look better. This stops the edges from unraveling further. It also keeps the hoodie looking neat and intentional.
Taking good care of your hoodie is essential. Here are some tips:
- Wash gently with cold water and use a soft cycle. This prevents the fabric from stretching or getting damaged.
- Always dry your hoodie flat. Hanging it can change its shape, especially if you’ve cut or altered it.
- Iron on a cool setting. Put a cloth over the DIY parts to protect them from direct heat.
To take care of your hoodie after DIY, wear it in turns and wash it less often. This approach lessens fabric stress. It helps your hoodie keep its new look and design.
| Care Step | Purpose | Frequency |
|---|---|---|
| Gentle Washing | Minimize wear and prevent dye fading | After 3-4 wears |
| Flat Drying | Maintain shape and length | Each wash |
| Low Heat Ironing | Smooth out cuts and prevent curling | As needed |
Following these post-DIY care steps will let you enjoy your custom hoodie for a long time. Remember, how long your quality lasts depends on your care. So, love and take good care of your quality clothing. It will keep showcasing your unique style and creativity.
Conclusion
Starting a hoodie transformation is exciting. It lets you create a new, customized look. Begin with a small 1 inch (2.5 cm) cut12. You might decide to expand this cut to increase comfort12. Through creative changes, like a bold 5 inch (13 cm) V-neck12 or adding lace, you redefine hoodie fashion.
Hoodies13 can go from cozy essentials to a platform for creativity. A neat neckline cut can both enhance style and improve fit13. You just need some sharp scissors, measuring tape, and ironing for a neat finish13. This process transforms your hoodie into a piece that reflects your personal style and the spirit of DIY.
In the world of customizing, having the right cutting techniques matters. It turns your hoodie into a piece with special meaning13. Muhammad Saleem Shahzad, the Managing Editor of Fashion and Manufacturing, believes planning your DIY project makes the process smoother. It guarantees pride in every successful update1213.
FAQ
What materials do I need for DIY hoodie alterations?
You’ll need sharp scissors, a cutting mat, a ruler or tape measure, and fabric chalk or markers. These tools help make clean cuts and accurate markings. Work on a flat, hard surface for the best outcomes.
How do I prepare my hoodie for cutting?
Lay your hoodie on a flat surface. Iron it first if it’s wrinkled for accurate cutting. Then, identify the neckline layers with your fingers before making cuts.
How do I ensure I’m cutting the right components of the hoodie?
Know your hoodie’s parts like the hood, drawstrings, cuffs, and waistband. This helps cut correctly and achieve the look you want.
Can you offer tips for measuring and marking before cutting?
Sure! Measure carefully with rulers or tape and mark cuts with fabric chalk or markers. Double-check measurements, especially around pockets, for a perfect fit.
What are some techniques for loosening my hoodie’s neckline?
Cut a small diagonal slit less than 1 inch to start. Adjust with ½-inch cuts as needed. Cut slowly and think about the fit and look you want.
How do I create a custom V-neck on my hoodie?
Decide how deep you want the V-neck. Cut from the middle of the neckline to your mark. Make smooth diagonal cuts for a neat finish. You can trim or fold and sew the excess fabric.
What are some creative ways to embellish my hoodie?
Lace up a V-neck with shoelaces, yarn, or ribbon for style and fit. For a cropped look, mark your desired length, then cut across. This adds a personal touch to your hoodie.
How can I take care of my hoodie after I’ve cut it to prevent damage?
Hem any fraying edges for a neat look. Wash your hoodie on a gentle cycle and avoid stretching it to keep your modifications intact.