Want to change up your wardrobe with a cool DIY? Fashion Crafting Co. is here to help. We’ll show you how to turn an ordinary hoodie into something special. This is perfect if you’re looking to try something new or just want a fun project!
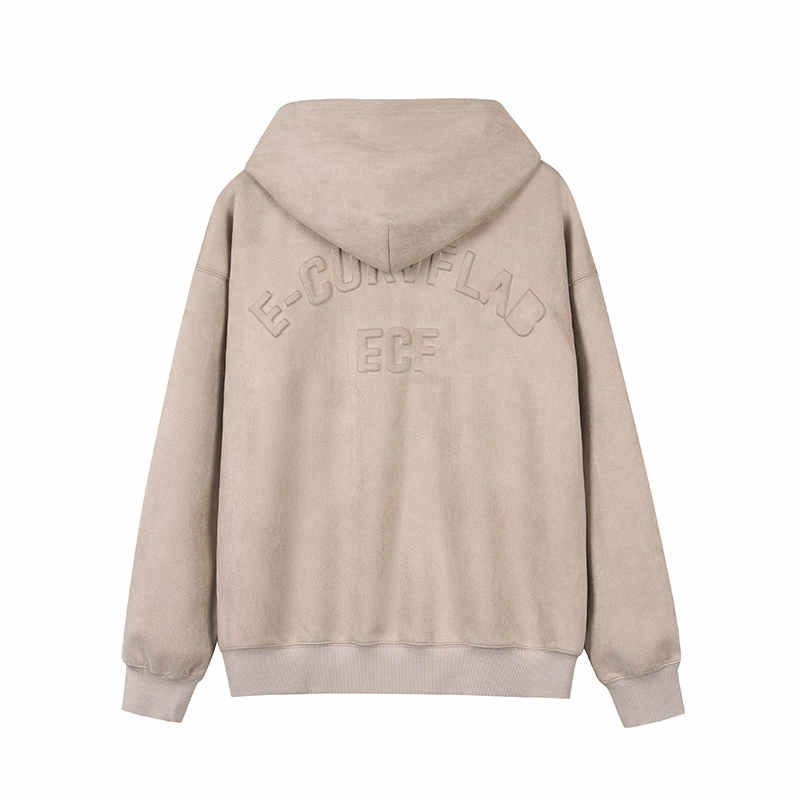
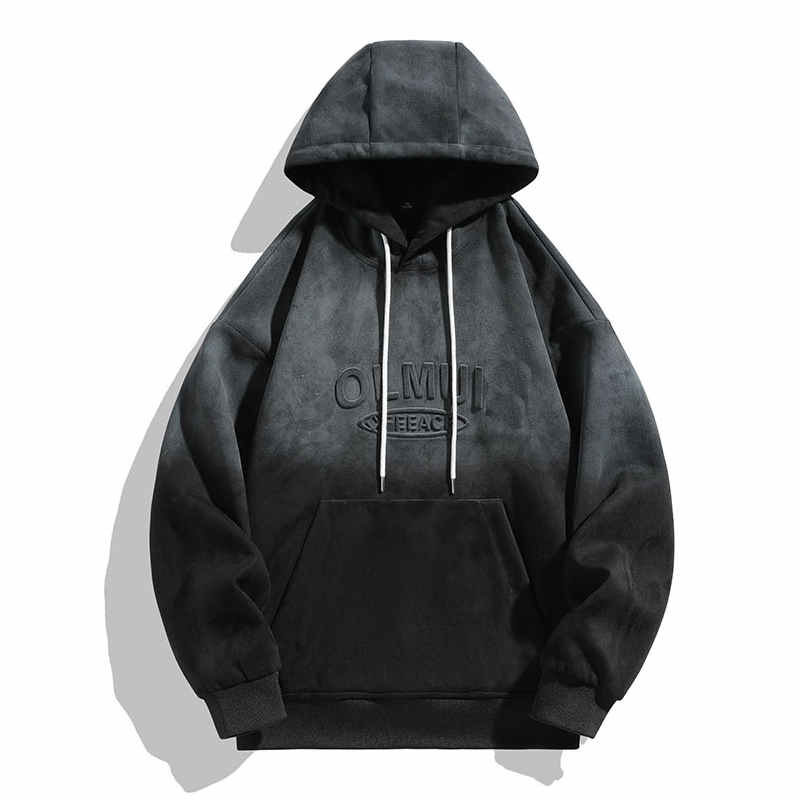
Nowadays, people love crew neck sweatshirts and the 80s off-the-shoulder look1. You can make your sweatshirts stand out by adding personal touches, like raw edges1. Plus, we’ll show you how to fade or distress your sweatshirt to make it truly yours. And, we even have tips on styles you can buy if DIY isn’t for you1.
Our guide has 14 steps to help you with every part of the hoodie customization process2. You’ll learn how to sew, cut, and even print your own designs. It’s a great way to make the hoodie of your dreams2.
But it’s not just about looking good. Sometimes, you need a hoodie that fits just right. Our tips will help you adjust your hoodie for more comfort and style. Whether you want a better fit for layering or just to save money, we’ve got you covered3.
Preparing Your Hoodie for Alterations
When starting a DIY fashion project, it’s key to prepare your hoodie right. This makes sure your changes improve both look and feel. Before changing your hoodie, getting the right setup is key.
Choosing the Right Work Surface
First, picking a good work surface is important. Don’t use soft places like rugs or carpets because they make cutting hard. Instead, use a hard, flat surface to lay out your hoodie. This ensures the hoodie is flat and ready for altering4.
Identifying the Hood Seam for Cutting
Seam identification is your next big step. It helps guide your cuts. Finding the right seam keeps the hoodie’s material safe from fraying4. A good look at the hood seam is needed to start cutting right.
By following the step-by-step guide on hoodie alterations, start cutting above the seam. This keeps the cuts neat and avoids fabric damage5.
Having a proper setup is crucial for avoiding mistakes. A ready workspace and knowing your hoodie helps turn it into a statement piece.
| Alteration Process | Seam Location | Recommended Cuts | Workspace Advice |
|---|---|---|---|
| V-neck Creation | Mid-neckline to bottom of hood | 5 in (13 cm) deep | Use a firm table surface |
| Hood Removal | Base of the hood | 1 inch (2.5 cm) above the seam | Ensure ample lighting |
| Cropping the Hoodie | Below the chest point | Cross-line using ruler | Clear and empty workspace |
Using these steps gives you a solid plan for preparing your hoodie. It makes your DIY project satisfying and fun.
Executing the Initial Cut
Starting your DIY hoodie project? The first cut is key. You’ll need the right tools and a careful cutting technique. This ensures your hoodie stays in good shape for your next steps.
Selecting Appropriate Cutting Tools
Finding the right tools is crucial for a neat cut. Use sharp scissors for more control and visibility. This helps in cutting neatly above the seamline. These tips keep the fabric’s integrity and lead to a smooth alteration. Use a seam ripper, measuring tape, and maybe a sewing machine for complex steps6.
Technique for a Clean Cut Above the Seamline
Make your first cut above the seamline to keep the hoodie’s shape and avoid fraying. Place your scissors above the seam, careful not to cut any fabric below. A stable table helps in this step6.
After removing the hood, you might need to tidy the neckline. Using a serger or zig-zag stitch can secure the edges6.
This guide helps you modify your hoodie in a neat and stylish way. Every step is important whether you’re making a small change or a big one.

This tutorial shows this project is great for beginners. It’s a simple way to give old hoodies a new life6. With patience and the right steps, you can get a great, long-lasting result.
- Ensure your cutting tools are sharp and suitable for fabric.
- Properly mark the cut line above the hood seam for accuracy.
- Utilize a flat, stable surface to support your fabric during cutting.
With these steps and tips, you can confidently change your wardrobe. It’s a way to show your unique style and vision.
Transforming the Neckline
Starting a fashion DIY project brings excitement and satisfaction. Updating the neckline of your hoodie makes it look fresh and fits your style better. By following a simple guide, you can turn a plain hoodie into a cool crew neck sweater7. This change means taking off the old hood and making a new neckband from the same fabric7.
Want to make your clothes more stylish? Begin with a hoodie makeover. The key steps are to cut off the hood, size the neckband 2 inches smaller than the neckline for a perfect fit, and sew with a focus on durability7. This upgrade improves the hoodie’s appearance and makes it more versatile for different settings.
About 30% of users take off their hoodie’s hood for a simpler look8. This preference is also seen in the popularity of hoodless sweat jackets, with many options available to meet this style need78.
Here’s a table that outlines the essentials of this transformation process, aiding in a thorough understanding and successful execution:
| Process Step | Tools/Supplies Required | Details |
|---|---|---|
| Measurement | Measuring Tape | Ensure to get accurate measurements of the neckline to size the neckband appropriately. |
| Cutting | Fabric Scissors, Rotary Cutter | Carefully cut off the hood and prepare the neckband material with precision. |
| Sewing | Sewing Machine, Pins | Attach the neckband using the recommended 3/8ths inch seam allowance7. Place pins at quarter lengths for evenly distributed gathers7. |
| Finishing Touches | Sewing Machine, Topstitch Needle | Add a topstitch for a professionally finished look, about 1/8th inch from the seam line to prevent frequent stretching issues7. |
Transforming the neckline combines technical skill with creative flair. The outcome is more than just altered clothing. It’s a fashion-forward statement that showcases personal style and comfort.
Styling a V-Neck Hoodie Conversion
Changing a regular hoodie into a V-neck version is more than cutting fabric. It’s about mixing style with your own touch. This DIY project is perfect for anyone wanting to add a V-neck flair to their clothes.
How to Cut a Straight Vertical Line
First, draw a straight line down the middle of the hoodie’s neck. This makes sure your V-neck looks even and sharp. Chalk is best for marking as it’s easy to see and remove. If you’re worried about cutting, think of it like trimming sleeves9. Cut slowly to not overdo it and end up unhappy9.
Creating a Shallow or Deep V-neck
The depth of the V-neck changes the hoodie’s look. A small cut is subtle, while a deep cut is bold. The right angle and measurement are key; mistakes can alter how it fits9. Trim little by little and try it on to get the look you want accurately9.

After cutting your V, smooth the edges to stop fraying. This careful cutting keeps your V-neck hoodie looking good for years9. You can also use the scraps to make cool headbands9.
In the end, whether you want a laid-back or chic style, these steps will make your V-neck hoodie stand out. Each cut changes how it feels and layers, so think about your style and what you want9.
Finishing Touches: Securing Raw Edges
Engaging in DIY clothing tailoring means securing raw edges is vital. After cutting into fabric, proper finishing boosts both the look and lifespan of your hoodies. Let’s dive into top techniques for professional-quality raw edge finishing.
Zigzag Stitching for Durability
Zigzag stitching is key for strong hoodie seams. It keeps the fabric stretchy, so it doesn’t break when pulled. Perfect for fray-prone materials, zigzag stitching neatly covers raw edges. It’s practical and decorates your DIY projects.
Alternative Finishes for Raw Edges
For a cleaner look, fold and stitch the raw edge inward. It hides the edge, preventing frays for a smooth appearance. Great for lighter fabrics or when both inside and outside looks matter.
- Material Consideration: Use polyester thread for its strength and flexibility10.
- Detailed Zigzag Technique: Set your sewing machine with a 5 mm stitch plate. Then, choose a zigzag stitch to keep edges from unraveling, even after many washes10.
- Additional Tools: Use a Three-Sole Walking Foot with Guide #50 or an Overlock Foot #2A. This helps manage the fabric smoothly for a perfect finish10.
Zigzag stitching and effective raw edge finishes are crucial in DIY clothing. They make your pieces look and last better. Using these methods improves your garments’ durability, quality, and wearability.
How to Cut the Hood Off a Hoodie and Create an Off-the-Shoulder Look
Want to add some DIY flair to your clothes? Turning a regular hoodie into an off-the-shoulder piece is a fun project. It refreshes an old hoodie and makes it trendy. This is great for those who like to make their style unique.
Start by taking off the hood. Do this by cutting carefully around its base to leave a smooth neck. Then, make an off-the-shoulder cut. A diagonal cut, starting 2 inches from the neckline, creates a flirty look11.
- Fold the hoodie in half to ensure symmetry in your off-the-shoulder cut.
- Mark a diagonal line starting 2 inches from the existing neckline to maintain a subtle yet attractive drop11.
- Post-cutting, try on the hoodie to ensure that the fabric sits comfortably off the shoulders.
- If desired, further customization can be achieved by cropping the sweatshirt to a preferred length, adding a personalized touch to the final look12.
This DIY approach not only shows your unique style but also promotes sustainable fashion. It’s about being creative and giving old clothes a new life. Each modification turns the piece into something special.
This DIY trend is big in fashion right now. Lots of social media post how-tos on making chic, unique clothes from old hoodies. For example, one simple hoodie makeover got over 78K views on Instagram13.
Creating a New Collar on Your Hoodie
Getting into hoodie renovation is exciting. It lets you turn a simple hoodie into something special. By making a new collar, you not only update your style but also support recycling. Let’s see how you can add a stylish collar to your hoodie easily.
Marking and Cutting a Horizontal Line
First, smooth out your hoodie on a flat surface. Then, mark two points on its neckline, about 2 inches above the existing seam. These marks ensure that your new collar will be level around your neck. Connect these points with a straight line using fabric chalk or a marker. This line is where you’ll cut to alter your hoodie accurately.
Folding and Stitching to Finalize the Collar
After cutting, trim away any extra fabric carefully. Aim for smooth edges for the best look. Fold the cut edge inwards twice, making a neat hem. Pin it all around the neckline. Then, sew a straight stitch all around to keep the hem in place. This step stops the fabric from fraying and makes your project look polished.
Creating a new collar is rewarding beyond the making part. Wearing something you’ve customized feels great. With these easy steps, you can revamp your hoodie stylishly while being eco-friendly14.
Many people are searching for tutorials on DIY clothes modifications, like removing a hoodie’s hood15. This shows that more people prefer to personalize their clothes rather than buying new ones.
Conclusion
In our fashion DIY summary, we explored how to edit hoodies for a modern look with a personal touch16. We started by getting the classic sweatshirt ready, seeing the endless opportunities they offer from thrift shop finds17.
We showed how to keep a hoodie’s loved features while trying new cropped designs. This celebrates hoodies’ variety and their chance for new life1718. We talked about making them fit better and supported reusing clothes for both style and eco-friendliness1718.
If you’re ready to change up your hoodie, we have lots of ideas for you17. You can try different colors or add unique touches to change its shape. For more on making hoodies bigger, check out this detailed exploration, or learn cutting techniques here step-by-step DIY guide. Make your style stand out anywhere you go16.
FAQ
What tools do I need for DIY hoodie alteration?
You’ll need sharp scissors for accurate cuts. Avoid using rotary cutters. They don’t offer good visibility and control by the seams.
How do I prevent the fabric from fraying after removing the hood?
Stop fraying with a zigzag stitch along the fabric’s edge. Or, for a hidden edge, fold it in and straight stitch neatly.
Can I transform the hoodie into a V-neck without affecting the structure?
Yes! Start by cutting straight down from the neckline. Then, cut diagonally to form a V-neck. Be sure to cut to your desired depth.
What should I do if I want an off-the-shoulder look?
Remove the hood, then mark and cut a diagonal line from near the neckline. Unfolding the hoodie will show off your new style.
How can I make a new collar after cutting off the hood?
Draw lines above the original seam, then cut across them. Fold the edge inward twice, pin it, and stitch for a neat finish.
What is the best way to mark my cut lines?
Chalk is the best for marking fabric. It’s visible on most colors and easy to remove after your alterations.
How do I choose the best surface for hoodie alterations?
Use a hard, flat surface like a table or countertop. It ensures safety, accuracy, and prevents damage to the hoodie.
Is it possible to revamp other types of clothing using similar DIY techniques?
Absolutely! You can use these hoodie techniques on other clothes too. It’s about creativity and trying out new DIY ideas.