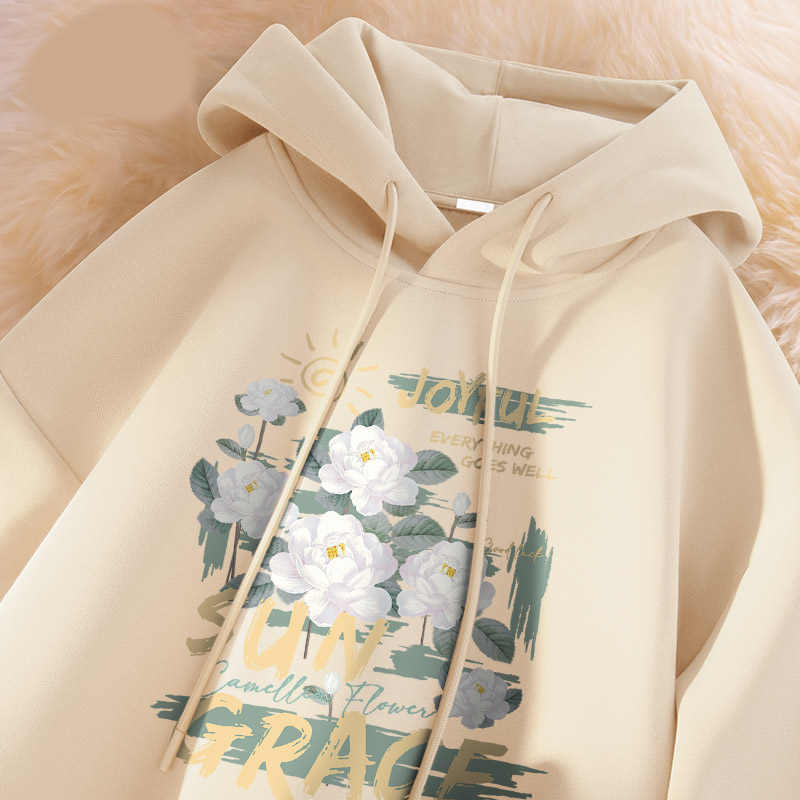
Welcome, fashion lovers and DIY fans! Let’s start an exciting project together. We’re going to make a cool, sleeveless hoodie. It’s perfect for warm days or to wear over your favorite shirts. With our easy-to-follow guide, you’ll quickly learn how to remove hoodie sleeves. This will give your hoodie a unique touch. Let’s get started on this simple transformation!
First, think about the material of your hoodie. Fabrics like terrycloth create a neat cuff without sewing1. Be careful with your measurements. Marking 1 inch (2.5 cm) from the shoulder seam is crucial for a sharp look1. For a clean hem, cut about 0.5 inches (1.3 cm) away1. To mimic T-shirt sleeves, cut between the shoulder and elbow1. This guide ensures your hoodie looks great and fits well.
Now, gather your tools. You’ll need sharp scissors, tape, chalk, or markers, and sewing supplies2. Avoid mistakes like uneven cuts by not rushing. Use lines as guides2. With our detailed instructions, you can easily customize your hoodie. Plus, it’s a chance to show off your creativity and style!
Preparing Your Hoodie for a Sleeveless Transformation
Starting your journey to make a stylish sleeveless hoodie? Begin by laying your hoodie flat. This ensures all cuts are precise. Use a table or countertop to provide a smooth base. It’s important for a top-quality sleeveless look.
Before cutting off the sleeves, make sure the hoodie’s side seams match up. This step is key for even, good-looking lines. Smooth out the fabric by hand for better cutting accuracy.
Check these things before starting your hoodie transformation:
- Workspace is clear and well lit.
- Hoodie is laid flat and free of wrinkles.
- Sleeves are smoothed out fully to avoid uneven cuts.
- Tools for cutting are sharp and readily at hand.
Recent data shows that people love detailed DIY guides. One guide got 335 likes and was saved 229 times. This shows how useful and popular these tutorials are3.
Now, let’s move on to making your hoodie sleeveless. Our guide will not only help you create a new item. It will also improve your DIY skills. Follow us step by step to learn how to remove sleeves and get a custom, neat look.
How to Cut the Sleeves Off a Hoodie: A Step-by-Step Approach
Let’s transform your hoodie by cutting its sleeves! You’ll learn how to do it yourself and add a personal touch to your wardrobe. Start by rolling up your sleeves and let’s begin this exciting project!
Measuring and Marking the Cut Line
First, measure the sleeves accurately to ensure a perfect fit. Place the measuring tape under the armpit and stretch it to your desired length. Most people measure about 1 inch from the shoulder seam for a smooth cut4. Mark the exact spot on both sleeves. This will help you cut both sleeves evenly4. For detailed steps on measuring and marking, check out this sleeve cutting guide.
Executing the Cut with Precision
With the sleeves marked, it’s time to cut. Grab a sharp pair of fabric scissors. Scissors are crucial, making up 25% of the tools needed for this project4. Cut carefully along the line to keep the hoodie looking neat and prevent any fraying. This careful cutting is what pros do in fashion workshops.
Ensuring Symmetry on Both Sleeves
After cutting one sleeve, compare it to the other before cutting. Place the cut sleeve on top of the other to match them exactly. This step is key to ensure both sleeves look the same4. Pinning them together keeps the sleeve from moving. Symmetry affects how the hoodie looks in the end4.
| Tool | Usage Percentage |
|---|---|
| Fabric Scissors | 25% |
| Sewing Machine or Needle and Thread | 20% |
| Measuring Tape | 15% |
| Pins | 10% |
Customizing your hoodie takes about 4 hours for beginners5. This gives you enough time to carefully cut and sew. Want to begin? Get more tips from this DIY sleeve cutting guide and improve your skills.

By following these steps, you’ll make a hoodie that’s not only the perfect fit but also shows off your creativity. Enjoy your DIY journey to make your hoodie a standout piece!
Customizing the Sleeve Edges for a Personal Touch
Now that your hoodie is sleeveless, let’s give it your own flair. We’ll focus on styling the sleeve edges. This adds a unique DIY streetwear vibe to your look.
Creating a Clean Rolled Hem Finish
To get a clean, rolled hem, you’ll need some tools. Grab sharp fabric scissors and fabric glue. You won’t always need to sew6. Start by folding the fabric’s raw edge twice, very thinly. Press down each fold well. Use pins or a dab of glue to hold your fold. Then, stitch on top to make it last. This method makes your hoodie look sleek and stay nice, even after many wears.
Adding a Distressed Look to the Sleeves
For a cool, distressed look on your hoodie’s sleeves, start with fabric scissors6. Make small cuts and pull the strands to get that frayed look. Use fabric markers or chalk for designs or more distress patterns on your hoodie6. Add patches or buttons to bring in extra color and personality6.
It’s important to find a middle ground between rough and neat for the edges. You can use scissors or sanding tools for a DIY distressed vibe. Aim for a durable, high-quality finish.

| Customization Technique | Tools Needed | Style Outcome |
|---|---|---|
| Rolling Hem Finish | Fabric scissors, straight pins, thread or fabric glue | Clean, refined edge |
| Distressing | Fabric scissors, markers, distressing tools | Rugged, textured aesthetic |
We hope these ideas inspire you to remake your sleeveless hoodie into a standout item. Whether you go for a polished look with a rolled hem or a rough, distressed style, each method shows off your unique style and creativity6.
Styling Tips for Your Newly-Designed Sleeveless Hoodie
Crafting a sleeveless hoodie is thrilling. It’s not just about wearing it, it’s about making a statement. Heading to a casual meet-up or layering for an evening? There are endless ways to style your hoodie. Here are some key tips to upgrade your hoodie styling game.
Start by pairing it with high-waisted jeans or shorts. This highlights your waist and mixes comfort with urban style. Throw on a bold belt to make your hoodie stand out even more in your outfit.
- Layer over a long-sleeve shirt for a cool, layered look. This is great for in-between weather, offering style and warmth.
- Pair with athletic wear for a sporty look, perfect for active days or gym sessions.
For a bold look, try experimenting with layers. A sheer long-sleeve top or lace can add a cool texture. This contrasts nicely with your hoodie’s design and edges.
Embrace freedom and creativity with each wear. This approach lets you explore and express yourself in new ways.
Don’t forget the final touches. Adding pins, patches, or fabric paint can make your hoodie truly yours. Each detail tells your unique style story.
| Fabric Type | Ideal Styling Combinations |
|---|---|
| Cotton Sleeveless Hoodie | Light layers underneath, denim jackets or leather vests on top |
| Polyester Blend | Sportier outfits with track pants and sneakers, or smartened up with chinos and loafers |
Your sleeveless hoodie isn’t finished without tailored tips. When cutting cotton or polyester, keep edges tidy and mind the fabric stretch7. Washing it post-customization removes leftover fibers, readying your hoodie for showtime7.
Fashion is all about trying new things. Don’t hesitate to mix up your sleeveless hoodie’s look with bold elements. Each choice polishes your unique hoodie style. Every DIY project becomes a journey of creativity and personal expression.
Conclusion
Our journey in DIY hoodie customization has been rewarding. We turned a plain hoodie into a unique fashion statement. The steps we covered, like the elegant off-the-shoulder style and the bold 80s cut, show how fun and versatile DIY can be8. Remember to measure carefully for even sleeves. Be proud of your innovative fashion designs.
Taking your hoodie design to the next level is more than just following instructions. It’s about making it uniquely yours. Whether you opted for a sleek rolled hem or a rugged edge, these personal touches turn your hoodie into a reflection of your style and creativity. By sewing with a 3/8ths inch seam and carefully pinning the neckband, your hoodie looks not only professional but also shows your commitment to quality9.
Now, use the skills you’ve developed for future projects. We’ve explored modifying hoodies, but there’s more to try. Perhaps you’re considering adding tactical pants with a great discount or a techwear chest bag to your collection. Let your DIY spirit lead the way. With each cut and stitch, you’re becoming a master of custom fashion. This journey strengthens our mission to support fashion brands with high-quality manufacturing and full support10.
FAQ
What materials will I need to create a DIY sleeveless hoodie?
You will need sharp scissors, a flat surface, and a washable marker or tailor’s chalk. Use these to mark where you’ll cut the sleeves accurately.
How can I ensure my cut sleeves are even and symmetrical?
Start by measuring both sleeves equally from the bottom of the armpit. Mark your cut line carefully on each sleeve. After cutting one, use it as a guide to cut the other sleeve. This ensures they’re symmetrical.
What’s the best way to prevent the raw edges from fraying after cutting?
For a neat finish, fold the edges and sew them. Or, for a no-sew option, apply fabric glue to the edges. Both methods stop the edges from fraying.
Can I still achieve a distressed look without sewing?
Yes! Create a distressed look by making small cuts or fraying the fabric edges with scissors. This adds a unique touch to your hoodie.
What are some ways to style my new sleeveless hoodie?
Sleeveless hoodies are very versatile. Wear it with high-waisted jeans for a laid-back vibe. Or, layer it over a long-sleeve tee for warmth and style on cooler nights.
Is there a specific type of hoodie that works best for this DIY?
Hoodies that are looser and without zippers are best. They’re easier to cut and more comfortable to wear after.
What are the current trends in DIY hoodie transformations?
The latest trends include adding distress, patches, or embroidery. Cropping them shorter and dyeing with bold colors are also popular ways to stand out.
How can I ensure my hoodie lies flat before cutting?
Flatten the hoodie on a large surface and align the side seams. Ensuring no wrinkles or movement will help get a clean cut.