In the world of fashion DIY, turning a hoodie into something special is exciting. It reflects your personality through every snip and rip1. By mastering distressing techniques, you turn a plain sweatshirt into a piece of art. It’s not just about changing clothes; it’s about showing the world who you are.
Let us guide you in making your hoodie a true form of self-expression213. We’ll show you that a unique distressed look stands out from mass-produced pieces2. From aesthetics to practicality, we ensure your hoodie customization is both stylish and affordable1. Explore techniques like sanding, cutting, and bleaching to tell your personal fashion story3.
Distressing a hoodie shows how singular you are in the fashion universe2. It’s for those who see beauty in the imperfect and love creating unique personal styles. Remember, we’re not just making clothes – we’re making dreams tangible through one-of-a-kind hoodies13.
Understanding the Basics of Hoodie Distressing
Welcome to the exciting world of hoodie distressing, where fashion meets personal flair. Let’s first understand what distressing is and its role in custom hoodies and streetwear.
What is Distressing?
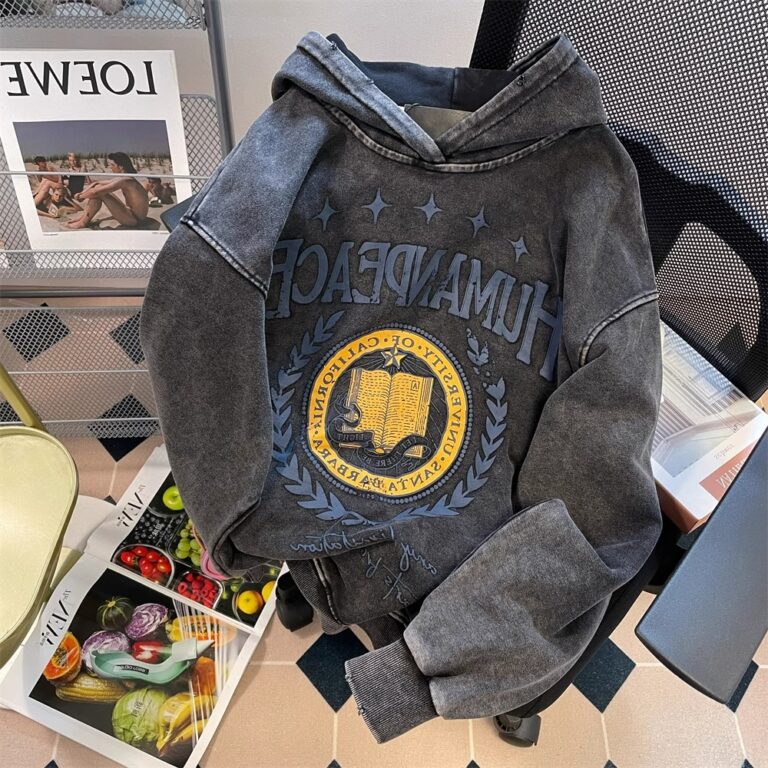
Distressing makes new clothes look vintage and well-loved2. It involves aging the fabric with methods like sanding and cutting. This process turns a basic hoodie into a statement of style and individuality2.
The Fashion Appeal of a Distressed Hoodie
Distressed hoodies mix comfort with a cool edge. Each damaged spot tells its own story, adding an air of effortless style. They capture streetwear’s essence, reflecting modern fashion trends perfectly. As noted by Russell Athletic, distressing techniques range from simple crops to intricate fades, making hoodies central to creative fashion4.
Benefits of Personalizing Your Hoodie
-
Shows Off Your Style: Distressing your hoodie displays your creativity and unique personality2.
-
Affordable Fashion: DIY distressing saves money and adds a personal flair unavailable in store-bought items.
-
Flexible Styling: Distressed hoodies can be dressed down with jeans or up with a dress, making them versatile fashion pieces.
Explore more on hoodie distressing at Russell Athletic’s guide, featuring ideas from shoulder cuts to fading methods4. For resizing and tailoring tips, check out this guide for selecting the right materials and tools for customization2.

The Importance of Preparation
Starting a hoodie distressing project means more than just being creative. It’s a detailed journey beginning with careful distressing preparation. To get that perfect look, one needs a clear vision. Plus, choosing the right hoodie, following a specific washing guide before starting, and having all DIY materials ready are crucial steps.
Selecting the Perfect Hoodie to Distress
Choosing the right hoodie is fundamental. We suggest going for durable materials like 100% cotton or a cotton-poly mix. These fabrics are great for distressing without harming the hoodie’s structure. Whether it’s the robust Comfort Colors C6014 100% combed cotton or the adaptable Russell Athletic 7S4DBX tag-free T-shirt, each fabric offers something special for your distressing project5.
Washing and Drying Your Hoodie: Pre-Distress Care
Before you start altering your hoodie, a good wash is key. This step gets rid of dirt and primes the fabric for distressing, ensuring a genuinely aged look. For the best outcome, here’s a detailed washing guide to follow. Post-washing, we recommend air-drying to keep the hoodie in top shape. If you’re planning to use bleach, be precise; dilute it and time its application accurately6.
Gathering Your Distressing Tools and Materials
Having the correct tools makes a big difference in distressing. You’ll need items like sandpaper or pumice stones for that perfect worn look, scissors or seam rippers for fringing, and bleach or fabric dyes for a custom flair. Also, don’t forget to wear protective gloves while using bleach6.
| Tool/Material | Use |
|---|---|
| Sandpaper/Pumice Stone | Creating a worn, faded look on fabric surfaces |
| Scissors/Seam Ripper | Cutting and fraying fabric edges |
| Bleach/Fabric Dye | Adding unique color patterns and effects |
| Protective Gloves | Safety measure when using chemicals |

How to Distress a Hoodie with Different Techniques
Refreshing a classic hoodie not only changes its look but also adds unique character. We’ll dive into some key methods that turn a plain hoodie into your own masterpiece.
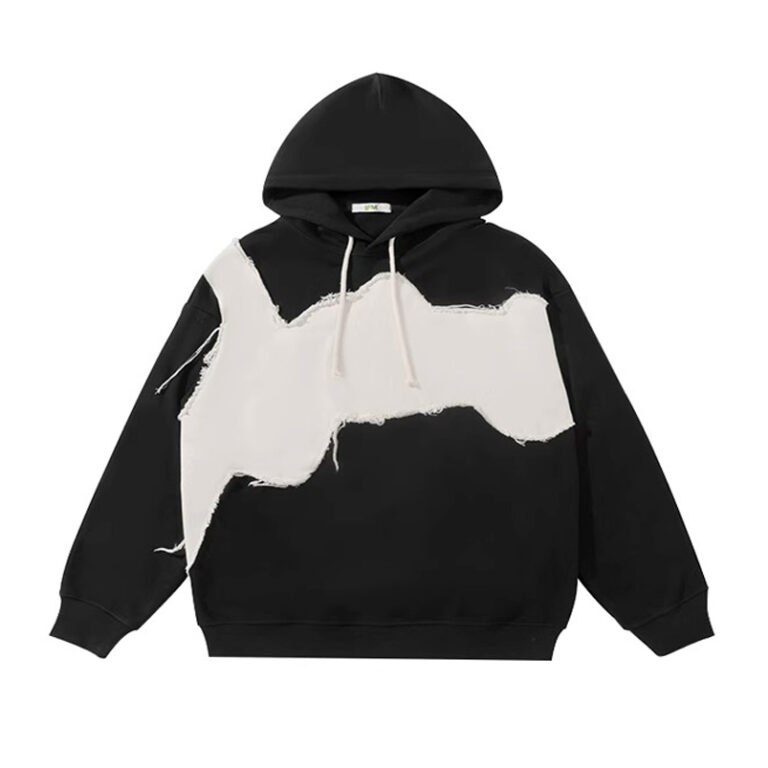
Fraying techniques are great for a naturally worn look, adding a rugged feel especially around the cuffs and hem7. Switching to bleaching or acid washing, you can create eye-catching faded patterns. This lets each hoodie stand out. Considering 62% of people customize their clothes to express themselves, these techniques are a way to make a personal statement8.
Fabric sanding is liked by DIY fans for making a new hoodie feel comfortably old. Targeting high-wear spots like elbows and pockets adds a soft, vintage touch9. It’s popular because it usually makes the hoodie softer, improving its appearance and comfort7.
- Distressing Methods:
- Fraying Techniques
- Fabric Sanding
- Bleaching
- Acid Washing
| Technique | Focus Area | Effect |
|---|---|---|
| Fraying | Cuffs, Hem | Rugged, Worn Look |
| Fabric Sanding | Elbows, Pockets | Soft, Aged Texture |
| Bleaching and Acid Washing | Random Areas | Faded, Bold Patterns |
Using these distressing methods shows off fashion sense and appreciation for craftsmanship. We note that 85% prefer oversized hoodies for their comfort. These techniques can boost both style and comfort of the apparel8.
Customizing a hoodie encourages creativity and precision. It transforms every hoodie into a tale of personal fashion sense. Even fashion leaders like Calvin Klein endorse this trend7.
In-Depth Look at Distressing Specific Hoodie Areas
Targeting certain areas on a hoodie for distressing can really make it stand out. Focusing on the neckline, sleeves, and hemline adds a unique touch. It also shows off your skills in fabric design.
Let’s explore how to style each part:
- The neckline is a key feature. A few snips and some tugging can give it a cool, frayed look.
- Sleeves are perfect for adding some flair. Cuff fraying and a bit of bleaching can create interesting textures.
- The hemline helps shape the hoodie. A little distressing here can subtly enhance its appeal, fitting perfectly with its overall style.
Using these techniques can transform your hoodie into something special and stylish. This approach doesn’t just change the look. It ensures each detail adds beautifully to the hoodie’s final look.
| Area | Techniques | Effect |
|---|---|---|
| Neckline | Snips, Tugging | Frayed Look |
| Sleeves | Cuff Fraying, Bleaching | Textural Variance |
| Hemline | Distressing | Subtle Enhancement |
Personalizing your hoodie is more than changing its looks. It’s about careful alteration that matches your vision. Techniques like sandpapering or careful bleaching must be done precisely. This keeps the hoodie’s quality and achieves the look you want10.
Cutting or cropping the hoodie can also spotlight your unique design. It’s not only stylish but keeps your hoodie trendy10.
In conclusion, creating a personalized hoodie is not just about altering clothes. It’s about infusing your personality into the fabric. Making each thread reflect your own innovation and uniqueness11.
Conclusion
We’ve come to the end of our adventure, and it’s been quite the trip! Creating your own vintage hoodies is about more than just style12.It’s a journey into the world of fashion DIY, where you dive in with everything you’ve got. Using top-notch, 100% cotton hoodies means our custom pieces last long12 and get better with every wash.
We take great joy in knowing that techniques like sun fading, sanding, and using bleach wisely can transform a plain hoodie into something special12.
Trying out different cuts, like the cool off-the-shoulder or a sleek V-neck, opens up endless design opportunities13. Each modification is like adding our unique mark to the canvas, with scissors as our brush and the fabric’s new texture as our paint13. Caring for our hoodies gently after making them look distressed helps keep their charm alive12.
As we conclude, remember that every detail you add tells the story of your skill. Dive into the process, be bold in your experiments, and see your ideas take shape. We’re here to boost your creativity in fashion, ensuring every piece reflects your unique style. So grab your creative tools and let the art of distressing lead you to fashion greatness!
FAQ
What exactly is hoodie distressing and why is it popular?
Hoodie distressing involves aging a garment for a vintage look. It’s a fashion DIY trend that lets you express your style. It helps make a unique fashion statement.
Can I distress a hoodie if I have no previous DIY experience?
Yes! Fashion DIY is open to beginners. With guidance and the right tools, anyone can start distressing hoodies. It adds a personal touch to your clothes.
How do I choose the right hoodie for distressing?
Choose a hoodie made of strong fabric, like 100% cotton or a blend. It’s better to pick one without complex decorations for easier work.
What are the essential tools I need for hoodie distressing?
For DIY, you need sandpaper or a pumice stone, sharp scissors, bleach or fabric dye, and safety gloves for chemicals. These tools help you achieve the worn look.
Is there a specific washing technique before distressing a hoodie?
Yes, washing your hoodie first is recommended. It removes dirt and pre-shrinks the fabric. Use gentle detergent and air dry for best results.
How do I create a frayed look on my hoodie?
Use scissors or a seam ripper on the hoodie’s edges to start. Then, pull the threads to make the frayed look stronger.
What’s the best way to give my hoodie an aged texture?
Sanding areas like elbows and cuffs with sandpaper or a pumice stone works great. It makes your hoodie look like it’s been worn for years.
Can I distress a hoodie using bleach?
Yes, bleach can lighten the fabric and make cool patterns. Wear gloves and work where there’s lots of air. Remember to stop the bleach from damaging the fabric later.
What areas of a hoodie work best for distressing?
Focus on the neckline, sleeves, hemline, and pockets for distressing. These areas make your hoodie look extra special.
How do I ensure my distressed hoodie remains wearable and doesn’t fall apart?
Be careful not to overdo it with delicate fabrics or seams. If you’re unsure, remember you can always distress more later. This keeps your hoodie in good shape.