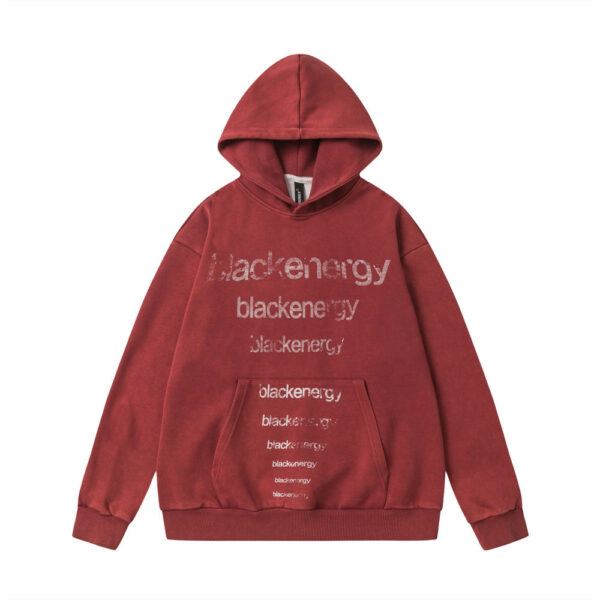
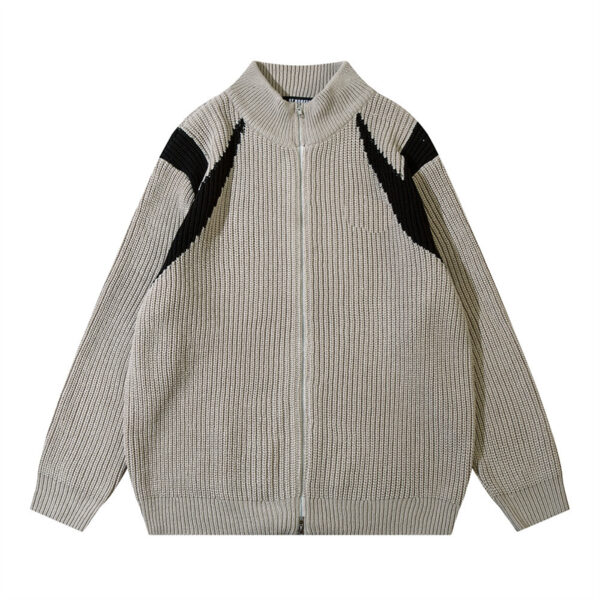
Welcome to DIY fashion, where creativity and comfort meet. Making your own hoodie satisfies your need for custom wear. It also lets you show off your style with a handmade touch. Join us as we turn sewing into an art. We’re starting with a free pattern that’s perfect for beginners!
Making a hoodie is more than sewing pieces of fabric. It’s about adding a unique item to your wardrobe. Perfect for cold nights or adding a personal touch to your outfit, DIY hoodies bring warmth and style. We’ll take you through a 14-step process. It covers everything from choosing a pattern to customizing with transfer paper1. Excited about making your unique hoodie? Gelato offers a variety of materials and styles to inspire you. Their Premium Unisex Pullover Hoodie and Classic Kids Pullover Hoodie are great starting points for your project2.
Ready to start your fashion journey with personal-use patterns? We’ll be with you from picking fabric to adding grommets and drawstrings. Our goal is to help you become a hoodie-making expert. Stay with us, and let’s create your hoodie today!
Choosing the Right Fabric & Materials
Starting a DIY hoodie project means choosing fabrics that boost the design and comfort. It’s essential to pick the right materials for your creation.
Identifying Fabrics Suitable for Hoodies
Finding the perfect hoodie materials is key to comfort and function3. Sweatshirt fleece is great for cold weather because it’s warm and soft3. French terry fabric is breathable and stretchy, good for sports or relaxing3.
Jersey knit fabric is another choice. It is light, stretchy, and keeps its shape well, making your hoodie look good3.
Think about the weather and how you’ll use the hoodie when picking materials. For cold weather, cotton-blend fleece is very warm4. But for warmer weather, go for light cotton or a polyester blend4.
Gathering Essential Sewing Supplies
Having the right sewing supplies is as crucial as the fabric. You need strong thread for knits and eyelet kits for drawstrings3. Also, fusible interfacing is vital for adding structure to the button panels and hood3.
Considering Warmth: Heavy vs. Lightweight Fabrics
Choosing between heavy and light fabrics means understanding their heat and airflow qualities. Heavy fabrics like fleece or wool keep you warm in winter4. Medium-weight fabrics, like a cotton-poly blend, work in cool and warm weather5.
Light materials like single-knit jersey are great for sports or mild weather. They allow movement and feel comfy5.
| Fabric Type | Weight | Best Use |
|---|---|---|
| Cotton Fleece | Heavy | Winter casual wear |
| Polyester Blend | Medium | All-season sports hoodie |
| Jersey Knit | Light | Summer activities |
Always check the fabric’s stretchability. Sweatshirt fleece needs at least 10% stretch. Rib knit cuffs and waistbands should stretch about 30% for a good fit3.
By picking the right fabrics and supplies, you can make a hoodie that’s stylish, functional, and lasts long. Whether you choose heavy materials for warmth or light ones for breathability, your choice is crucial for comfort and function.
Preparation: Pattern Selection & Cutting
Starting your hoodie means picking and getting your pattern ready. This step mixes creativity with careful planning for success. Choose between free PDF patterns for saving money, or buy professional ones for better guidance. Cutting your pattern right is key.
Finding Patterns: Free vs. Purchased Options
Looking for your hoodie pattern means deciding between free or bought options. Free PDFs are great for those just starting or on a tight budget. They let you try without spending money. Bought patterns provide more help and detailed instructions, good for complex projects or when you need exact sizes.
Printing and Cutting Patterns Accurately
After picking your pattern, print and cut it with care. Make sure your printer’s on ‘actual size’ to keep it accurate. Cut along the lines neatly. You’ll probably need two yards of fabric for an adult hoodie. Don’t forget to add a 1” seam allowance for putting it together6.
Tracing and Cutting Fabric Pieces
Next, trace your pattern on the fabric using tailor’s chalk or a fabric marker. Include a 1” seam allowance for body and sleeves for easy sewing later6. For the bottom band of the hoodie, use a 4” strip that fits the body parts length6. And for wrists, cut 4” bands to finish the sleeves nicely6. When sewing, keep a steady ½” seam allowance to make all pieces fit well and keep the hoodie’s shape6.

By sticking to these detailed steps for your hoodie, you’re building a strong start. Every piece you cut and stitch brings your unique hoodie closer to completion. Enjoy each part of making it, just as much as you’ll enjoy the finished hoodie!
How to Make Hoodies: Assembling Your Hoodie
Making your own hoodies is fun and lets you show off your sewing skills. You’ll feel proud wearing something you made. Paying attention to details is key to making a great hoodie.
The first step is sewing the hood with a free pattern for chest sizes 36-38 inches7. You need about 2 1/2 yards of sweatshirt fleece. This fleece keeps you warm and stretches for comfort. Just follow the steps carefully:
- Start by pinning and sewing the hood’s curved edges with a stretch stitch, to keep it flexible.
- Then, attach the hood to the hoodie’s neckline, making the front edges overlap nicely.
- Pin and sew the sleeves to the armholes keeping the seams aligned for a good fit.
Now, sew the front and back pieces together at the shoulders and sides7. This makes the hoodie look smoother and last longer. For cuffs and waistband, pick 1/4 yard of rib knit fabric. It should stretch about 30% for a snug fit7.
This makes sure your hoodie is comfy at the wrists and waist. It also makes it look more professional.
- Match the ribbing’s quarter points with the ones on the sleeves and waist. Pin them in place.
- Sew the ribbing to the hoodie fabric, stretching it slightly to avoid puckering.
Materials can cost between $25 to $60, based on your fabric choice78. Selecting quality fabrics can be better than buying hoodies from a store7.
With the hoodie pieces together, you’re all set for the final steps.
Mastering the Sewing Techniques for a Hoodie
Crafting a custom hoodie involves mastering key sewing skills. Learning the right techniques is crucial. It ensures your hoodie is both durable and unique. In this guide, we’ll explore sewing stretch stitches, attaching sleeves and hoods, plus installing grommets and drawstrings.
Working with Stretch Stitches
Using stretch stitches is vital for the elastic fabrics in hoodies. Opt for a zigzag or a stretch stitch. This approach allows seams to expand with the fabric, preventing tears. When replacing a zipper, sew tightly and use a stitch length of 2.5. A replacement zipper that matches or exceeds the original’s length ensures the hoodie lasts longer9.
Attaching Sleeves and Hood Correctly
Correctly attaching sleeves and the hood makes the hoodie more comfortable and visually appealing. Stitch the sleeve cuffs tightly for a snug fit. This method keeps sleeves in shape longer9. For hood attachment, make sure you have a smooth seam allowance. A 1/2″ to 1″ allowance is a good start for beginners. It ensures the hood fits well around the face and head10.
Adding Grommets and Drawstrings
Grommets add functionality and style, offering sturdy holes for drawstrings. Install them carefully to avoid fabric damage. Duck Bill scissors can help with precision9. Drawstrings allow you to adjust the hood’s tightness. Cut the corners of the Satin hood liner at an angle for a clean finish10.
This guide is essential for those looking to improve their hoodie-making skills. You can even turn a basic hoodie into something special with these techniques. Discover more innovative changes like swapping hoods for collars in this detailed step-by-step guide.

With these skills, you can make a personalized hoodie that stands out. The secret to a perfect hoodie is in both the design and careful construction.
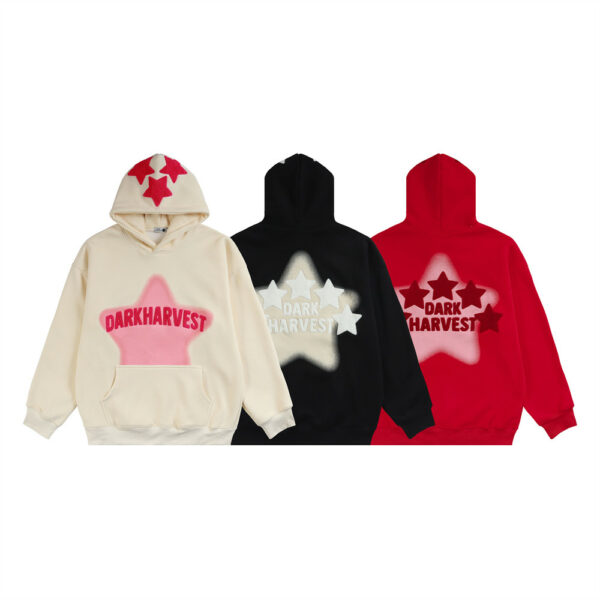
Customizing Your Hoodie Design
We love seeing the unique designs our customers create with hoodies. Whether making them for your brand or just for fun, the possibilities are endless. Since starting in 200511, we’ve become experts in turning basic hoodies into personal expressions of style.
- Thumbhole Cuffs: Add a functional and stylish element perfect for cooler weather.
- Drawstring Cowl: This modification adds a chic, adjustable neckline.
- Button-up Collar: For a smart look, replace the standard hoodie neck with a button-up collar.
- Half-zip Pullover: Convert your hoodie into a half-zip for a comfortable and accessible design.
If you’re thinking about bulk orders, Contrado can help. We offer custom printed hoodies with no minimum order11. You can print on seven different areas12. Plus, our digital printing is fast, only taking 1-2 days11.
The Loopback Jersey fabric we use ensures high-quality prints. Your designs will look vibrant on white hoodies and slightly softer on grey ones12. This makes your hoodies stand out, whether for yourself or your brand.
Adding custom labels to your hoodies can make your brand look more professional12. This customization helps connect with your audience more deeply.
DIY hoodie hacks let you create something that showcases your style or brand identity. We’re here to help bring your unique designs to life. Whether you’re updating one hoodie or making many, we have the tools you need.
Conclusion
We’ve finally reached the end of our guide, and your progress in creating a DIY hoodie is impressive. The world of custom clothing is growing fast. Every year, it gets bigger by 9.5%. Making your own hoodie brings a lot of joy13. The type of fabric you choose, like a soft cotton blend14 or warm fleece14, is key. It makes your hoodie not only comfy but also durable and unique.
Many people, more than half, prefer wearing something one-of-a-kind instead of mass-produced13. We’re here to support your creative project every step of the way. The demand for custom clothes is expected to increase by 7.22%15. We aim to help you make a hoodie that’s not only trendy but also meets your high standards for quality and style. By learning about different printing techniques and finishing touches15, you’ll become a pro at making top-notch apparel.
We encourage you to let your creativity flow and try out fabric paints and hand-painted designs13. Take pride in each stitch. Remember, this is more than just a project; it’s a personal statement. Whether you’re folding and packaging your hoodie, or wearing it for the first time, enjoy the satisfaction that comes from creating something uniquely yours. With the proper support and resources, anyone can bring a creative idea to life. Let’s celebrate this accomplishment together — here’s to many more cozy, stylish, and successful sewing projects!
FAQ
Where can I find a free sewing pattern for a beginner-friendly hoodie?
Look online for free PDF patterns for hoodies that are great for beginners. Choose patterns with easy designs and straight-forward directions. This makes your hoodie project fun and easy to start.
What are the necessary sewing supplies I need to make a hoodie?
You’ll need sweatshirt fleece, rib knit cuffs, and maybe an eyelet kit for grommets. Also, a shoelace for the drawstring, scraps of fusible interfacing, sewing thread, and a sewing machine that does stretch stitches are needed. For the best supplies, check our suggested affiliate links!
How important is fabric stretch for making a hoodie?
Choosing the right stretch for your fabric is key. For the hoodie’s body, get sweatshirt fleece that stretches at least 10% width-wise. For cuffs and the waistband, look for a 30% stretch in rib knit fabric. This ensures your hoodie fits well and is comfy.
What is the Conroe Sweatshirt, and how can I use it for my project?
The Conroe Sweatshirt pattern is perfect for custom sweatshirts. It fits chest sizes from 31 to 60 inches. Plus, it comes with licensing for personal projects. It’s a top pick for making different-sized hoodies.
How do I properly attach sleeves and the hood to my hoodie?
Use stretch stitches when adding sleeves and the hood. Make sure you match all notches and seam allowances correctly. Pin well and choose a zigzag stitch or a serger for sturdy results. This way, your hoodie will look great and move with you.
Can I add a zipper to my hoodie for a different style?
Yes, you can give your hoodie a new look by adding a zipper. Check out tutorials we’ve linked to help you through the process. This lets you personalize your hoodie more.
Are there any tips for sewing with heavy fabrics or multiple layers?
If you’re tackling heavy fabrics or layers, a walking foot attachment can be a big help. Lightening the presser foot’s pressure helps with thick materials. Move slowly to make sure the fabric feeds through evenly. Choose the right needle size and type for the best results.


-600x600.jpg)