Creating your own hoodie is all about DIY spirit and style. Let’s dive into making a hoodie that’s both comfy and chic. With our guide, you’ll learn to craft a unique hoodie using 2 1/2 yards of sweatshirt fleece1. Plus, we offer many customization options1 to spark your creativity.
Our hoodie pattern fits chests 31-60 inches, welcoming all body types1. Whether you spend $25 or more on quality materials1, each step from choosing fabric to sewing shows your dedication. You’ll see your unique style come to life with materials like organic cotton.
Your hoodie will have pockets and maybe even special touches like twill tape or zippers2. These details account for a part of the sewing steps2. Let’s start this project, embracing every fleece and twill ribbon as a step towards your masterpiece!
Introduction to DIY Hoodie Creation
Welcome to the world of DIY fashion, where your imagination shines in making unique clothes. Making your hoodie is a fun project that combines style and comfort. It’s great for beginners or those looking to improve their skills with a new tutorial.
DIY hoodie making is all about creativity and making it your own. You can show your style by customizing your hoodie. Want to change how it fits or looks? Our guide on how to cut a hoodie can help with things like a cropped look, thumb holes, or a V-neck3. This guide will expand your sewing skills and let your personal touch shine through.
Starting with homemade hoodies means picking the right tools and materials. Feeling proud of wearing what you make begins with good fabric and a sewing machine. Beginners can follow easy tutorials to make something they’re excited to wear or sell. And each unique hoodie could be a hit in your DIY fashion line.
To make your DIY line even better, explore customizable options on platforms like Gelato. They offer different hoodie styles and design options3. You can try out many designs, keeping a professional look. Starting with hoodies can help you build a unique brand, possibly featured on Etsy or your ecommerce site3.
Creating a hoodie is more than sewing fabric together; it’s about putting your style into something you can wear proudly. It’s a journey from a simple project to a key piece in your closet or your brand. So grab your tools, pick your fabric, and start creating. Your next favorite hoodie is just a tutorial away.
Choosing the Right Fabric and Materials
Starting your DIY hoodie involves a crucial first step: fabric selection. Picking the right materials not only boosts comfort and style but also promotes durability. Let’s look at the top options and sewing essentials needed to kick off your custom project.
Cotton is famous for being breathable and soft, making it the top choice for comfort and being eco-friendly45. Fleece, known for its warmth, is perfect for cold months45. Polyester, on the other hand, might not always be the best for lasting quality5. However, it is often mixed with cotton to make the fabric stronger and more durable4.
French Terry offers a balance of flexibility and warmth, ideal for different weather5. Jersey Knit is super stretchy, great for active use, but watch out for shrinkage5.
If you’re looking for something to keep you warm, sweatshirt fleece is a solid choice4. Wool is another option, great for regulating body temperature, even though it might be a bit itchy5.
Now, for sewing necessities, secure a good sewing machine, threads that match your fabric choice, scissors, pins, and maybe a serger for clean seams. Choosing a versatile pattern is key to achieve your design goal.
| Material | Properties | Ideal Usage |
|---|---|---|
| Cotton | Soft, Breathable, Natural | Year-round Comfort |
| Fleece | Warm, Durable, Cozy | Winter or Cold Climates |
| Polyester | Strong, Lightweight, Easy-care | Everyday Use |
| French Terry | Stretchy, Soft, Versatile | Mild to Moderate Weather |
| Jersey Knit | Extremely Stretchy, Comfortable | Active and Casual Wear |
| Wool | Breathable, Warm, Regulates Temperature | Colder Seasons or Temperature Sensitive Environments |
Choosing the right materials and knowing their traits not only improves your project but ensures your custom hoodie is both cool and practical. Remember, top-quality hoodie materials and sewing necessities make your hoodie last longer and your DIY project more fun!

How to Make My Own Hoodie: Step-by-Step Sewing Process
Welcome aboard the journey to making your very own hoodie. We’re here to guide you through every step. From picking your materials to putting on those final touches that give your hoodie its personality and professional look.
Printing and Assembling Your Hoodie Pattern
First, you’ll need to print out your hoodie pattern. Choosing the right pattern is vital. It has a big impact on how your hoodie will look and fit. Once printed, piece the pages together as instructed. This ensures the pattern is complete and accurate.
Preparing Your Fabric: Layout and Cutting
Getting the fabric ready is key. Start by laying your fabric smoothly on a flat area. Plan the layout to make the most of your fabric. Then, carefully cut the pieces based on your hoodie design. Remember to include space for seams and hems. This care is essential for a great DIY result.
Assembling the Hoodie Pieces
Now, move on to putting the hoodie together. Begin by sewing the main parts of the hoodie. Usually, joining the front and back at the shoulders and sides takes 20-30 minutes6.
Next, get ready to sew the sleeves. Each one might take you about 10-15 minutes to assemble6. Then, neatly attach them to the armholes within 15-20 minutes6.
Adding Cuffs and the Hem Band
The cuffs and hem band are key for the hoodie’s look and feel. Sewing cuffs and adding the hem band means slightly stretching the fabric. This makes sure they fit well at the ends of your sleeves and the hoodie’s bottom. Each cuff will take around 15-20 minutes for a snug fit6. The hem follows in a similar amount of time.
Perfecting the Hood: Attachment and Final Touches
The hood is crucial to your project. Start by sewing the hood parts, which can take 20-30 minutes6. Then, fold and sew the hood’s edge. This step needs another 15-20 minutes6. Carefully, attach the hood to the neckline. Make sure everything lines up; this requires about 25-35 minutes6.
Finishing your hoodie includes overlocking all outer seams. This last bit might need an additional 30-40 minutes6. Final touches make a big difference in how your hoodie looks and lasts.
Making a DIY hoodie takes patience and care. Knowing how long each step takes helps plan your project. The better your preparation and sewing, the nicer your hoodie will turn out. Every step, from cutting fabric to the final sew, contributes to DIY success.
Customizing Your Hoodie for a Personal Touch
DIY personalization shows off your unique style and makes your hoodie more useful. By adding special touches and useful elements, you create a hoodie that’s truly your own. Let’s dive into ways to bring your creative ideas to life on your hoodie.
Adding Pockets for Functionality
Adding practical pockets turns your hoodie into a blend of style and function. These pockets are great for keeping your hands warm and holding onto things like your phone and keys. You can go for the kangaroo pouch for a classic touch or side-seam pockets for a sleeker look.
Options for Drawstrings and Eyelets
Hoodie customization enthusiasts will love exploring drawstring and eyelet options. Pick from a range of drawstrings, from colorful ropes to discreet branded tapes. Eyelets come in various finishes, such as metal and rubber, boosting your hoodie’s style and longevity.
Decorative Elements: Embroidery and Appliqué
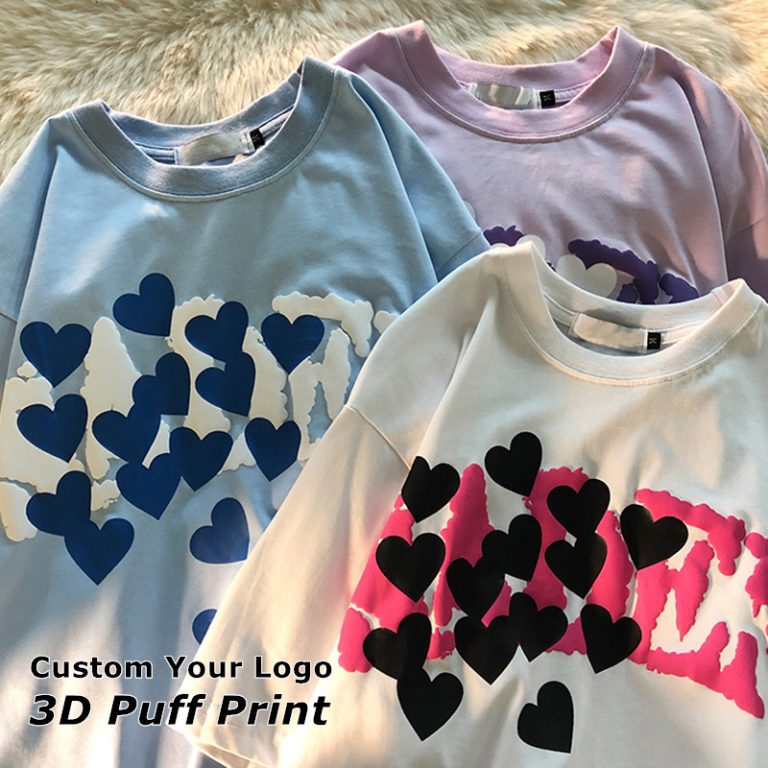
Getting into decorative sewing, with embroidery and appliqué, is a deep way to express your style. Using colorful threads or fabric pieces, these methods add a unique story to your hoodie. You can highlight personal achievements or just your love for art with every stitch.
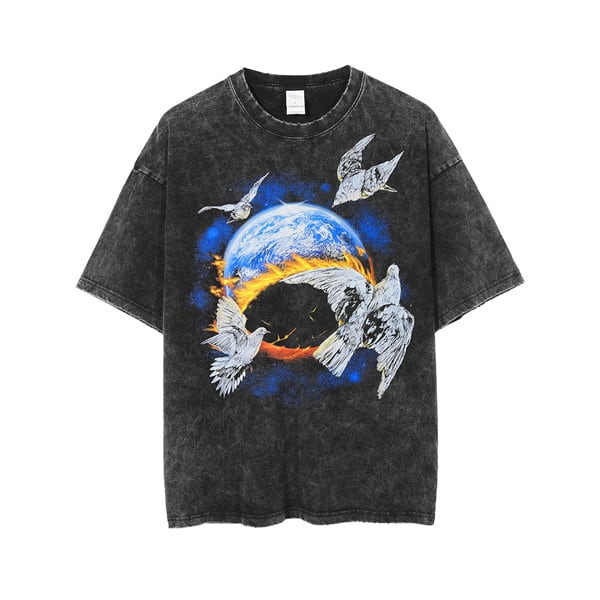
Our top-notch customization tools offer many design possibilities. Techniques like DTG and dye sublimation create vibrant, lasting designs78. Choosing the right fabric, like cotton-polyester blends, gives you a durable base for your work8. Here’s wisdom from the experts:
| Feature | Options | Benefits |
|---|---|---|
| Drawstrings | Cotton, Synthetic, Braided | Customizable, stylish, functional |
| Eyelets | Metal, Plastic, Rubber | Durable, aesthetic, supportive |
| Embroidery | Thread colors, Patterns | Personal, visually appealing |
| Functional Pockets | Kangaroo, Zippered, Side-seam | Convenient, secure, versatile |
As you dive into your DIY hoodie project, keep in mind that each addition improves its function and style. Be daring in your customization choices, select the finest materials for decorative sewing, and pay attention to details like embroidery and pockets9. This focus on detail will make your personalized hoodie a standout.
Tips for Working with Sweatshirt Fleece and Stretchy Fabrics
When working with sweatshirt fleece and stretchy fabrics, you need special techniques. This is so your DIY hoodie looks good, fits right, and lasts long. Knowing about stretch stitches, seam allowances, and fabric grain is key when cutting your fabric.
Understanding Stretch Stitches and Seam Allowances
Sweatshirt fleece, especially for snug hoodies, requires stretch stitches. These stitches let the seams stretch with the fabric, stopping them from breaking. The zig-zag and triple stretch stitches are great for keeping the elasticity in sweatshirt fleece. This fabric often has a two-way stretch knit for the best fit and comfort10.
For seam allowances with stretchy fabrics, cutting precisely and keeping seam allowances consistent is very important. For hoodies, it’s best to use a seam allowance of about 1” (2.5 cm) on the body. This ensures the fit stays true to size even after stretching11.
The Importance of Fabric Grain When Cutting
Cutting your fabric with the grain correctly aligned is very important. It makes sure the hoodie sits nicely on you and reacts well when washed. For fabrics like sweatshirt fleece and French terry, correct grain alignment during layout and cutting helps make a well-finished product. It will look professional and feel comfortable12.
For more insights into working with stretch fabrics like fleece, visit this expert guide!
Using these tips can improve how you handle stretch fabrics, ensuring your project turns out as expected. With proper techniques, your homemade hoodie will fit nicely and last a long time, making it a go-to piece in your wardrobe.
Overcoming Common Challenges When Making a Hoodie
Starting a DIY hoodie project is exciting but comes with challenges. You might struggle with sewing layers, avoiding fabric stretch, and adding details like eyelets or cuffs. Here, we’ll show you how to tackle these issues with specific DIY solutions and tips.
Printing on a hoodie’s back can be tricky due to seams, pockets, and the hood. Proper alignment is key to avoid misplaced designs. Understanding where to place the design and how big it should be ensures your message hits home with your audience.
Patience and a meticulous approach are your best tools for navigating the complexities of hoodie design and manufacture.
To prevent problems like misalignment and stretching, it’s important to keep the design’s aspect ratio correct. This keeps your design from looking distorted and ensures a professional look. Tools such as Adobe Photoshop are great for adjusting your design with accuracy.
- Consider the placement of traditional designs, such as names and numbers, especially for sports teams where visibility even with the hood up is crucial13.
- Use high-quality images and maintain aspect ratios to prevent distortion; this troubleshooting tip can save your design from common hoodie-design disasters14.
- Stay informed on the latest hoodie trends, such as using sustainable materials and leveraging advanced technologies like 3D printing, to enhance your DIY hoodie solutions14.
Hoodies are still a top pick for custom clothes, as the hoodie market grows worldwide15. By keeping up with trends and understanding what your customers want, you can overcome sewing hurdles. This lets you create fashionable, high-quality hoodies.

Maintenance and Care for Your Handmade Hoodie
We understand that your handmade hoodie isn’t just a piece of clothing; it’s a personal expression crafted with care. Taking care of your hoodie keeps it looking great. Here are tips to make your DIY hoodie last longer through careful maintenance.
Wash Settings and Techniques: Use gentle cycles and lukewarm water for high-quality fabrics like ring-spun cotton or French terry1617. Always check the care label first. Some hoodies may need hand washing, especially if they have delicate details17.
| Wash Method | Recommended for Fabrics | Benefits |
|---|---|---|
| Hand Washing | Delicate fabrics and embellishments | Preserves fabric integrity and prevents damage |
| Machine Washing | Durable fabrics like cotton/poly blends | Efficient cleaning with gentle cycles |
Turn your hoodie inside out before machine washing. This protects the design and fabric17. Always close zippers and buttons to avoid snagging17. For items with sequins, hand washing is best17.
- Drying Techniques: Air-dry your hoodie to prevent shrinkage and keep its shape17. If using a dryer, choose low heat and remove the hoodie while slightly damp.
- Ironing Tips: Iron on the reverse side with low heat. Place a cloth between the iron and hoodie for protection.
Spot cleaning works well for small stains and is gentler on the fabric than full washes17. Avoid bleach to protect the fabric and colors of your hoodie17.
These DIY care tips will help keep your hoodie in top condition. For detailed creation and customization tips, visit our guide.
Good care means your hoodie will stay a cozy companion on your creative path!
Conclusion
Your work on a custom hoodie represents a significant achievement in fashion creativity. This trend reflects today’s desire for personal expression through clothing. Custom hoodies have become icons of style, letting you tell your own story with every stitch and pattern18. The world of DIY fashion is growing, and your creations contribute to a more unique, eco-friendly wardrobe18.
There’s a rise in the use of artistic methods that give custom hoodies character. For instance, fleece-lined hoodies offer comfort in cold weather, while organic cotton promotes sustainability1819. Techniques like embroidery and sublimation turn a simple hoodie into a medium for personal expression20. Tie-dye and various customization techniques show your creative vision on your custom hoodie2019.
Making a custom hoodie is more than fashion; it’s about identity and coming together. It connects people, whether in business or social causes, with each stitch and print19. Custom hoodies are powerful tools in marketing and community engagement. Your efforts in designing them celebrate your artistic talent and dedication to making something memorable2019.
FAQ
What materials do I need to make a hoodie at home?
To make a hoodie, you’ll need 2 1/2 yards of sweatshirt fleece. You also need 1/4 yard of rib knit for the cuffs and waistband. Plus a shoelace for the drawstring, an eyelet kit, mallet, and fusible interfacing.
You should also have a hoodie pattern and your standard sewing tools. These include pins, needles, and thread.
Can a beginner successfully sew a hoodie?
Yes, beginners can make a hoodie with some guidance and patience. It’s a fun project that helps improve sewing skills. You’ll end up with a cozy piece that you made yourself.
How do I choose the right fabric for my DIY hoodie?
Choose a high-quality sweatshirt fleece that stretches at least 10% widthwise. Also, pick a rib knit that stretches over 30% for the cuffs and waistband.
Organic cotton or a cotton/poly blend are comfortable and durable choices.
How do I print and assemble my hoodie pattern?
First, print your hoodie pattern in PDF format. Then, lay out and tape the pages together as instructed. This creates the full-sized pattern you’ll use.
What are some customizable features I can add to my hoodie?
You can personalize your hoodie with pockets, embroidery, or appliqué. Additionally, adding drawstrings and eyelets can make it stylish and unique.
What sewing techniques should I use for stretchy fabrics?
For stretchy fabrics like fleece, use stitches that allow stretching. Zigzag or a stretch straight stitch are good choices. Also, watch your seam allowances for a good fit.
How do I handle fabric grain when cutting pieces for my hoodie?
Make sure to align your pattern pieces with the fabric’s grain line. This ensures your hoodie keeps its shape and fits well after being made and washed.
What are some common problems I might face while sewing a hoodie, and how can I solve them?
Common challenges include handling thick fabrics, sewing evenly, and putting in hardware like eyelets. Use pins to manage fabric layers, sew slowly, and follow hardware instructions carefully to get it right.
How should I care for my homemade hoodie to keep it looking great?
Wash your hoodie gently or hand wash if that’s what the fabric needs. Avoid strong cleaners and tumble drying. Be gentle with any added designs or hardware to avoid damage.
Why is sewing my own hoodie a sustainable fashion choice?
Making your hoodie reduces the need for mass-produced clothes. It allows for a custom, unique style. You’re making a choice that supports sustainable fashion by doing this.