Are you dreaming of having your favorite hoodie, which is made to your own size and certain fitting? And, at the same time, you wish to flaunt your style? No doubt, stitching a hoodie by yourself is a fun and interesting activity. You can learn it no matter what level you are. Wearing clothes you made yourself is so rewarding.

This tutorial on Making a Hoodie from Scratch covers every aspect, step by step. First, we will look at picking materials and planning. Afterward, we will show you how to cut, sew, and finish your hoodie. What remains is for you to put on the very warm and cozy, which you yourself made. Roll out the sewing red carpet for you.
Before You Sew: Planning Your Perfect Hoodie
Good planning makes a great hoodie. Planning saves you hassle later on. This part helps you to choose a method. It also helps you gather supplies and get fabric ready. The process of sewing is much simpler when you do preparatory work.
Choosing Your Method: Pattern vs. No-Pattern
First, you must determine how you want your pattern pieces to be shaped. There are two main ways. One is to use a ready-made pattern. The other way is to trace a hoodie you have. Each way has its advantages and disadvantages.
The pattern method is when you use a store-bought pattern. You can also find free patterns on the Internet. It is easy as pie to have the right size and a beautiful design. It comes with simple steps. But patterns are usually expensive. You will usually have to print out many pages and then tape them together.
The no-pattern method is the one where you use your favorite hoodie as a guide. This is free. You already know that you love the fit. The downside is that it can be more of a guess. For example, you might stretch your template hoodie. You won’t receive a sewing instruction sheet either. If you choose this method, you can refer to a detailed guide on tracing an existing hoodie to help you make pieces that fit perfectly.
| Method | Best For | Key Considerations |
|---|---|---|
| Pattern Method | Absolute beginners who need clear directions; those who want exact design. | Can cost money; need to print and assemble. |
| No-Pattern Method | Tailors who want something they love that is a guaranteed fit; those on a budget. | Less accuracy; risk of distorting template; no instructions. |
Gathering Your Essential Tools & Materials
Finding the right tools is the first step to begin any project that you view as difficult. Below is a comprehensive list of what you need to make a hoodie.
- Fabric:
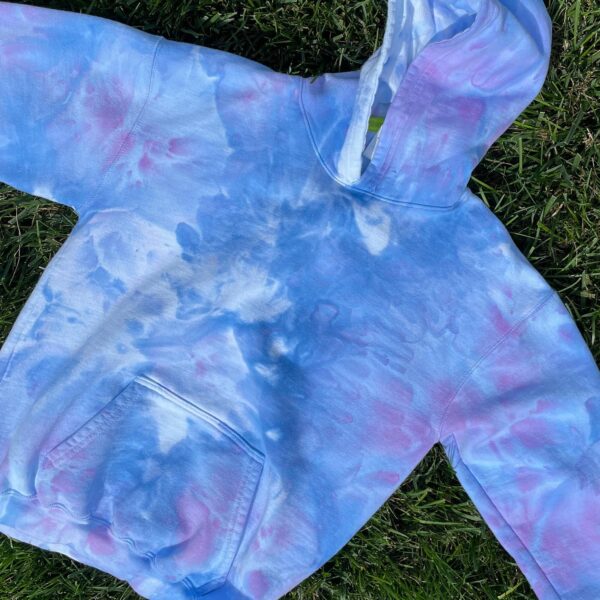
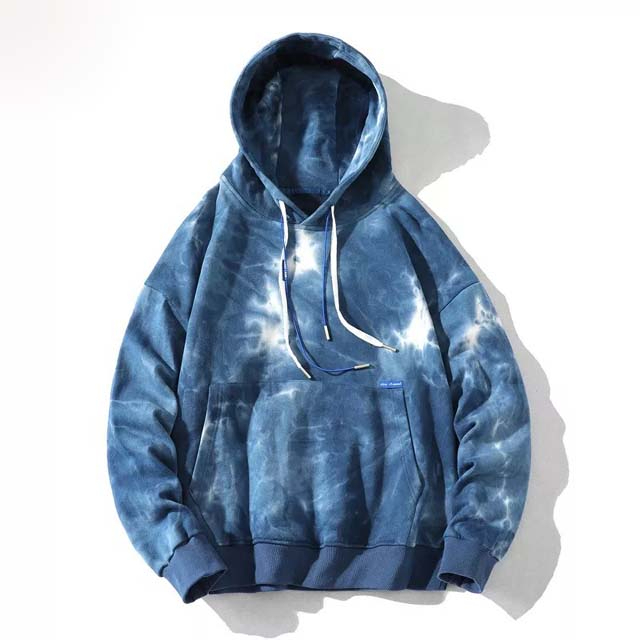
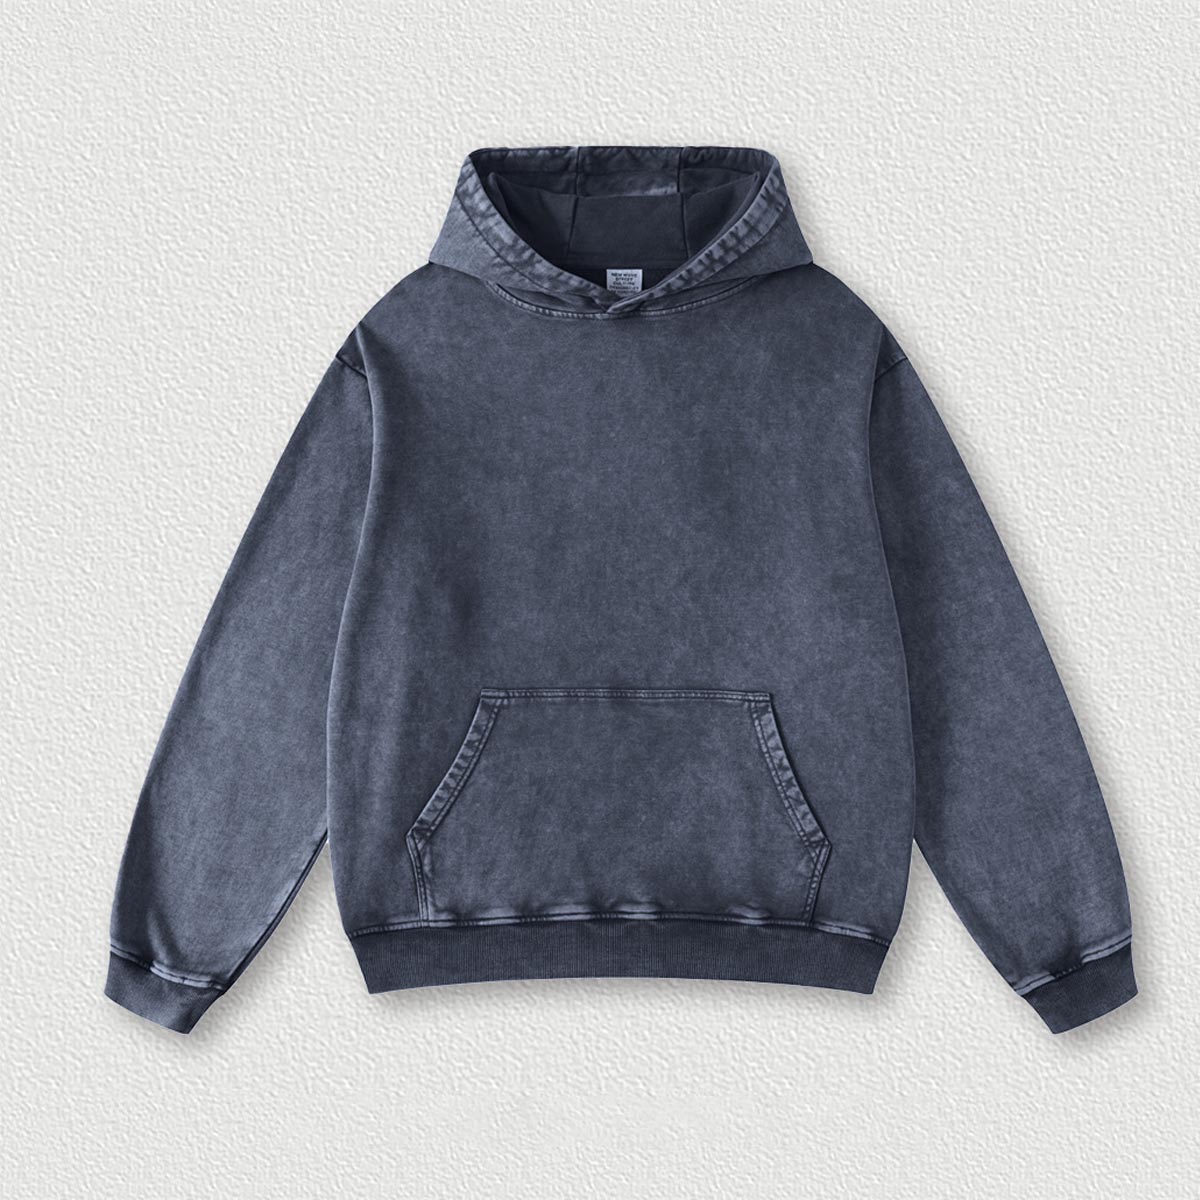
- Best Options: Sweatshirt fleece, French terry, and polar fleece are the best choices. They are warm and comfortable. They have a little bit of stretch, which makes them perfect for hoodies. Heavy jersey knit is usually used, too.
- How Much Fabrics Should Be Used: You will probably need between 2 and 3 yards of fabric. Always double-check the pattern to find the correct amount of fabric for your size.
- The majority of the stores sell sweatshirt fleece and cotton blends as the main fabric. The reasons for this are that they are comfortable, warm, and durable.

- Sewing Tools:
- Sewing Machine: A straightforward machine is sufficient. A serger can be used to finish the seams but it’s not required.
- Ballpoint or Stretch Needles: These are a must. They have rounded tips that pass between the fabric threads and prevent skipped stitches and holes.
- All-Purpose Thread
- Fabric Scissors or a Rotary Cutter & Mat
- Pins or Sewing Clips
- Measuring Tape & Ruler
- Fabric Marker or Chalk
- Iron and Ironing Board
Preparing Your Fabric for Success
The step of fabric preparation is a key step that must not be missed. The right fabric prep leads to the successful sewing of a good garment.
First, always wash and dry your fabric before you start cutting it. Do it the same way you plan to wash the finished hoodie. This will make the material shrink first. Afterward, your hoodie won’t get smaller after you wash it once.
Next, press your fabric with an iron. This procedure removes wrinkles and folds. Your cuts will be straight and precise. As the pros say, the right fabric preparation is the first and main step in any project.
How to Make a Hoodie: The Step-by-Step Sewing Process
Now we will do the fun part. Let’s make your fabric into a hoodie you can wear. We have divided the task into five simple steps. You just follow them in order. After a while, your hoodie will appear. This is the main part of learning how to make a hoodie from scratch.
Step 1: Cutting Your Fabric Pieces
Spread your fabric flat on a large surface. Place your pattern pieces on top, or you can use your traced template. Pay close attention to the grainline and stretch direction on the pattern. This ensures that your hoodie will hang and stretch correctly.
Cut out all parts carefully. You should have a Front Body and Back Body. You need two Sleeves and two pieces for the Hood. You also need to cut out Cuffs and a Waistband. If you fancy a pocket, feel free to cut one. As our saying goes, “measure twice, cut once.” Taking time here is important. Good cutting makes sewing easier.
Step 2: Assembling the Body and Attaching Sleeves
Lay your Front Body and Back Body pieces with the right side of fabric facing each other. Put them together by pinning or clipping them at the shoulder seams before sewing.

Next, attach the sleeves. Spread the body parts and lay them flat. Pin a sleeve to the armhole of each body piece with the right side facing each other. You may find it helpful to stretch the fabric a bit, which will allow the sleeve to match the curve of the armhole more easily. Attach them with stitches.
When you finish, fold your hoodie again so the front and back line up. Then, pin and sew from the sleeve cuff down the side seam in one continuous line. Do the same on the other side.
Step 3: Constructing and Attaching the Hood
Grab both hood pieces. Put them right sides together. To achieve the hood shape, sew along the long, curved back edge. If you want a lined hood, repeat this step with lining fabric for a second hood.
Put the main hood and lining hood with right sides together. Sew along the front opening. Turn it right side out and press. Now, attach the hood to the body. Pin the raw edge of the hood to the neckline with right sides together. Ensure that the hood’s center seam matches with the center back of the neckline. Carefully sew it. For help with the difficult parts, watching this excellent video tutorial on sewing a hoodie can be so helpful.
Step 4: Adding Cuffs, Pockets, and the Waistband
For cuffs and waistband, take each piece and sew the short ends together to make a loop. Then fold the loop in half lengthwise with wrong sides together.
Pin the raw edges of a cuff to the raw edge of a sleeve opening. You need to stretch the cuff gently to fit the sleeve. Sew it on, stretching as you go. Do the same for the other cuff and the waistband at the bottom.
For the kangaroo pocket, fold and press the edges of the pocket piece. Pin it to the center of the hoodie front. Topstitch it in place along the sides and top edge.
Step 5: Final Finishing Touches
To add a drawstring, sew a channel along the front edge of the hood. Simply fold the edge over and stitch it. Leave openings at the front. For a shop-like look, insert metal eyelets before threading your drawstring through.
Give your entire hoodie one final press with the iron. That will set the seams and make it look tidy. Well done! Now you know how to make a hoodie!

Pro Tips & Troubleshooting Common Mistakes
Even with meticulous care, you may have some issues. Here are some tips for you to make your DIY hoodie look professional. Besides, we also carry solutions for common problems.
Tips for a Professional-Looking Finish
- Topstitching proves to be very useful. Sewing a line of stitches near the seam on the outside gives a strong seam and decorates the hood, pocket, and cuffs.
- A twin needle can help with hemming. It draws two perfect parallel lines on the outside, while it forms a zig-zag on the inside. This helps to create a hem that stretches with the fabric.
- We would like to mention that wash-away hem tape is simply outstanding. It keeps the pocket in the right place during topstitching which in turn stops any slipping or crooked lines.
What Went Wrong? How to Fix It
-
Problem: My seams are wavy or puckered.
- Solution: This is generally caused by the fabric becoming stretched during sewing. Let the machine feed the fabric. Do not push or pull it. Using a walking foot helps a lot. Also, be sure to use a stretch stitch like a narrow zig-zag.
-
Problem: My pocket is crooked.
- Solution: The best fix is to prevent it. Use a lot of pins, clips, or a fabric glue stick to hold the pocket in place before you sew. If it is already sewn on crooked, carefully take a seam ripper to remove the stitches and try again.
-
Problem: The hood doesn’t fit the neckline.
- Solution: Before sewing, use clips to match the center back of the hood to the center back of the neckline. The front edges of the hood should match the center front. Afterward, you can distribute and clip the rest of the hood around the neckline evenly.
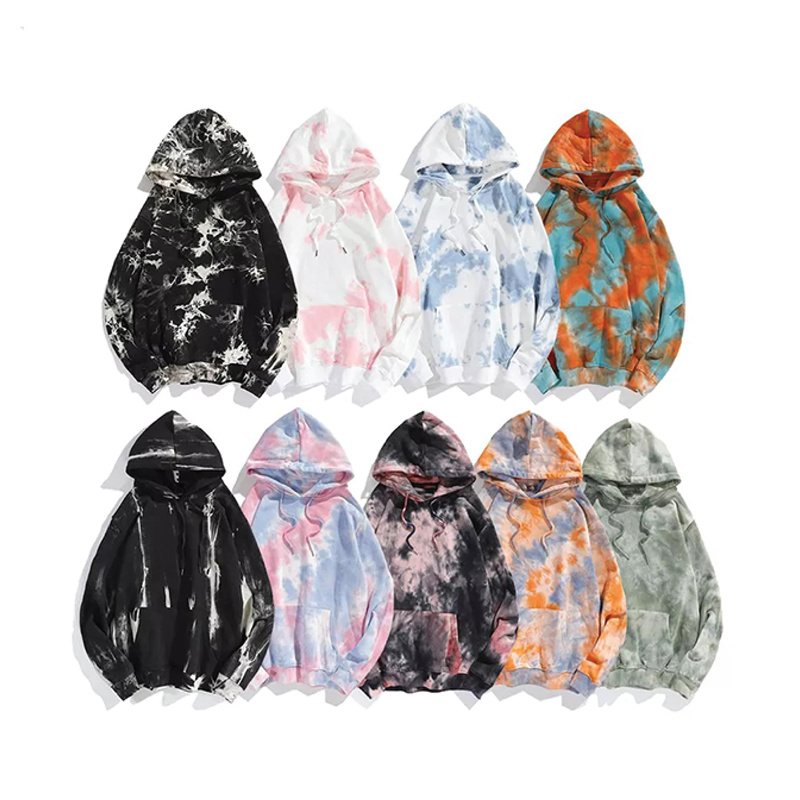
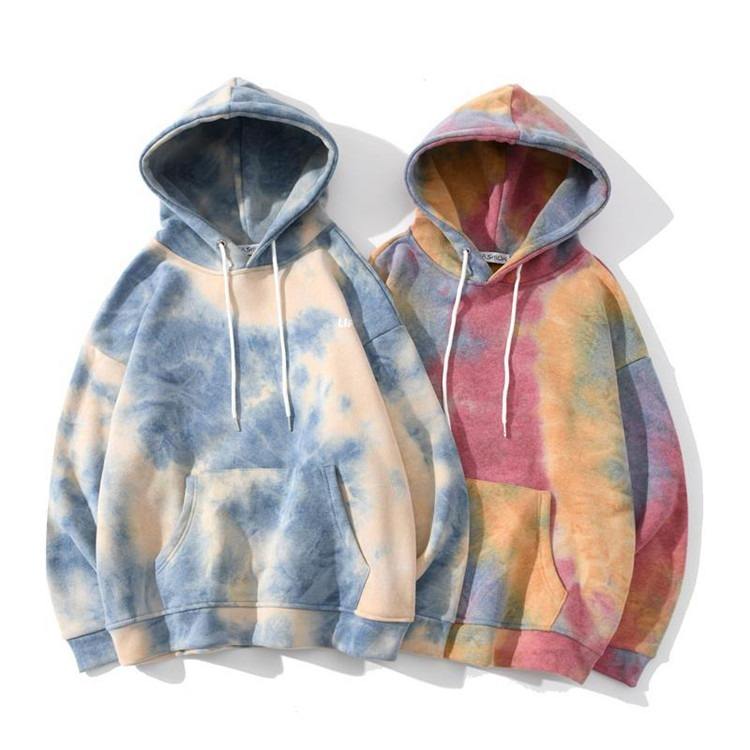
Beyond the Basics: Customizing Your DIY Hoodie
With the basic skills of how to make a hoodie in place, you can now get creative. A hoodie made by hand is a blank canvas for your tastes.
Here are some ideas that can help to make your project unique:
* Add a zipper to the hoodie to turn your pullover into a zip-up.
* Use different colored fabrics for sleeves, hood, or pockets to create a color-blocked appearance.
* Create a matching set with sweatpants or a custom t-shirt. For quality blank shirts, you can work with well-established t-shirt manufacturers.
* Add custom embroidery or screen-printed designs.
If you feel that the DIY project is too much work, you have alternatives. If you want to make an entire line of clothing, teaming up with a professional custom hoodie manufacturer will allow your designs to come to life. Also, checking out brands like TZ Streetwear can give you good inspiration to create modern clothes.
Frequently Asked Questions (FAQ)
We have collected common questions that relate to making a hoodie and provided answers to them.
What is the best fabric for a beginner to use for a hoodie?
A good type of fabric for your first project is any stable, medium-weight knit, such as sweatshirt fleece or French terry. These materials are easy to handle, forgiving, and comfortable. They don’t curl on the edges as much as lighter knits, which makes them easier to cut and sew.
Do I need a serger to make a hoodie?
No, a serger is not needed. Although a serger makes very strong and professional-looking seam finishes, a regular sewing machine will do just fine. Just remember to use a stretch stitch, for example, a narrow zig-zag or lightning bolt stitch. That way the seams can stretch with the fabric.
How much fabric do I need to make a hoodie?
The amount of fabric needed depends on the chosen size of the hoodie and the width of the fabric. Typically, you would need between 2 to 3 yards. The best way to know for sure is to refer to your sewing pattern’s fabric requirements, which will state the accurate amount needed for your size.
How can I keep my knit fabric from stretching as I sew?
The key is to let your sewing machine’s feed dogs do all the work. Don’t push or pull the fabric as it goes under the needle. Using a walking foot attachment can be very beneficial, as it feeds the top and bottom fabric layers through the machine at the same rate.
Is it possible to add a zipper to any hoodie pattern?
You can change a pullover pattern for a zipper, but it requires extra steps. The front body piece needs to be cut vertically in half, and a seam allowance for the zipper tape must be added. It is often easier for beginners to start with a pattern that is already designed for a zip-up hoodie.