
Ever wonder why something as simple as putting a string back in a hoodie gets so much attention1? It’s because the struggle is quite real. Losing the drawstring from your hoodie can be very annoying. It leaves the hood looking sad and lifeless. But today, we’re all about fixing this common wardrobe problem. We’re going to show you proven ways to replace and rethread your drawstring. This way, your favorite hoodie will feel as good as new!
Since 2004, and again in 2013, people have talked a lot about how to fix this problem2. As a result, we created this guide. It has many ways to put the string back, from the usual ones to more creative ones. We’re here to help you with this hoodie-fixing job. We want to make sure you can enjoy wearing your comfy, drawstring hoodie again.
Key Takeaways
- Understand the widespread frustration of re-threading drawstrings, shared by countless hoodie owners.
- Discover a variety of string reinsertion methods, from the classic safety pin to innovative household items.
- Learn the best drawstring replacement techniques to save time and avoid future slips.
- Gain insights into how hoodie repair tips can make your re-threading process a breeze.
- Feel supported and empowered as you tackle the task of securing your hoodie string for good.
Introduction to Hoodie String Challenges
Dealing with drawstrings is a common problem for hoodie lovers. The issues, like frayed ends or lost strings, can mess up both the look and use of hoodies. Fixing these problems keeps your hoodies looking good and working right, especially when adjusting the fit.
Checking your drawstrings often is important as damaged or missing parts can make a hoodie hard to wear3.With a few simple tools like a safety pin, scissors, and needle and thread, you can fix these problems fast. These fixes let a once unwearable hoodie become useful again.
The way to fix a hoodie involves putting a new string in, using a safety pin to help3.After pulling it through, you might stitch the ends to keep it secure. To stop issues before they start, tie strong knots at the ends and check for damage often3.Washing hoodies in a mesh bag can also prevent string loss and tangles.
If you need extra help, there are many replacement options out there. From basic buttons to fancy elastic bands, and even online stores that sell toggles3.Having these options means you can keep your hoodie in great shape. This turns a tedious task into something easy to handle.
Preparing for the Task: Materials You’ll Need
Before starting the safety pin drawstring method, you need to get all the right tools. Having the correct tools makes the job smoother and improves your work quality. This is true for all types of hoodie materials, from thick to delicate.
Choosing the Right Size Safety Pin
For the safety pin drawstring method, the size of the pin is crucial. A large safety pin or skirt pin works best because it’s strong and easy to handle. It’s perfect for most hoodie casings. These pins can go through thick materials without bending or breaking. This method is simple and efficient, making it a favorite for quick repairs.
Alternative Tools: Paperclips and Straws
If you don’t have a safety pin, there are other tools you can use. An unfolded paperclip can guide a drawstring through its casing effectively. A straw can also help in a pinch. Just put the drawstring inside the straw and fasten the end with staples or tape. This makeshift needle works well in navigating hoodie channels.
It’s important to know about different fabric weights in hoodies. For example, Champion and Carhartt use heavier materials, around 280 to 320 GSM4. These might need stronger tools like skirt-sized safety pins. But, Nike uses lighter fabrics, about 140 GSM4. These are easier to work with using thinner tools like paperclips.
| Tool | Description | Price |
|---|---|---|
| Stitching Groover | Used for precise grooving along edges | $25 |
| Overstitch Wheel | Helps space hand stitching evenly | $20 |
| Stitching Awl | For hand-sewing tougher materials | $30 |
| Leather Stitching Needles | Suitable for thick or rugged fabrics | $4 for 10 |
| Waxed Thread | Provides a smooth sewing experience | $5 per roll |
| Rubber Cement | Helpful in positioning before sewing | $3.50 |
Re-threading is all about achieving a smooth finish and restoring your hoodie’s functionality. So, collect your tools, and let’s fix your favorite hoodies!
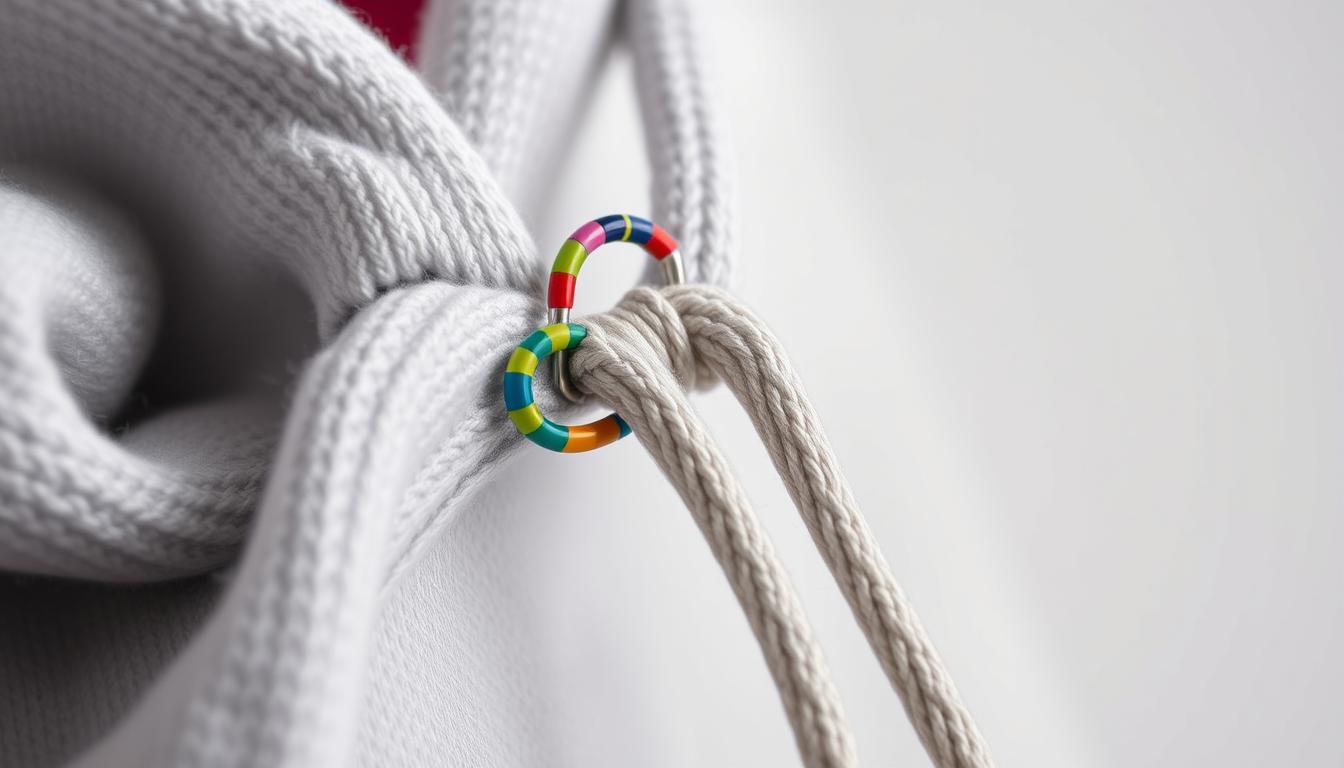
How to Put String Back into Hoodie Using a Safety Pin
When your hoodie’s drawstring slips out, using a safety pin is a great solution. This method will securely put your drawstring back where it belongs.
Start by attaching a large safety pin to one end of the drawstring. Large pins work better because they’re easier to handle. Then, gently feed the pinned end through the hoodie’s eyelet. Move slowly, gathering the fabric onto the pin, then pulling it along the hem. A sturdy, big safety pin helps avoid any snags or tears during this process1.
- Using a safety pin is a preferred method for fixing drawstrings, showing its popularity and effectiveness1.
After the pin comes out the other end, carefully detach it from the drawstring. Make sure to tie a secure knot at the ends to avoid future issues. If the drawstring is hard to thread, try other methods like using a pen with a pocket clip1.
To avoid drawstring problems, tie them together before washing2. If the safety pin method seems tough, check out kits at sports stores. These are meant for rethreading swim trunks but work for hoodies too2.
- Attach a large safety pin to the end of the drawstring.
- Feed the safety pin through the eyelet and scrunch fabric progressively.
- Gently navigate the pinned drawstring through to the opposite end of the hoodie.
- Once through, remove the pin and securely knot the ends of the drawstring.
Master these steps to fix your hoodie. This know-how is also handy for other items like sweatpants and gym bags. You’ll be ready to tackle any drawstring challenges!
Creative Solutions: How to Rethread Your Hoodie Without a Safety Pin
Lost your safety pin? Don’t stress—we have some smart ideas to fix your hoodie’s drawstring. We’ll show you a few easy ways using things you’ll find at home. Your hoodie will work perfectly again.
Utilizing a Straw for Easy Threading
Try the straw method by putting the drawstring inside a straw. Pinch the straw’s end to hold the string inside. Then, gently push it through your hoodie’s channel. This easy trick is a favorite because it’s quick and simple.
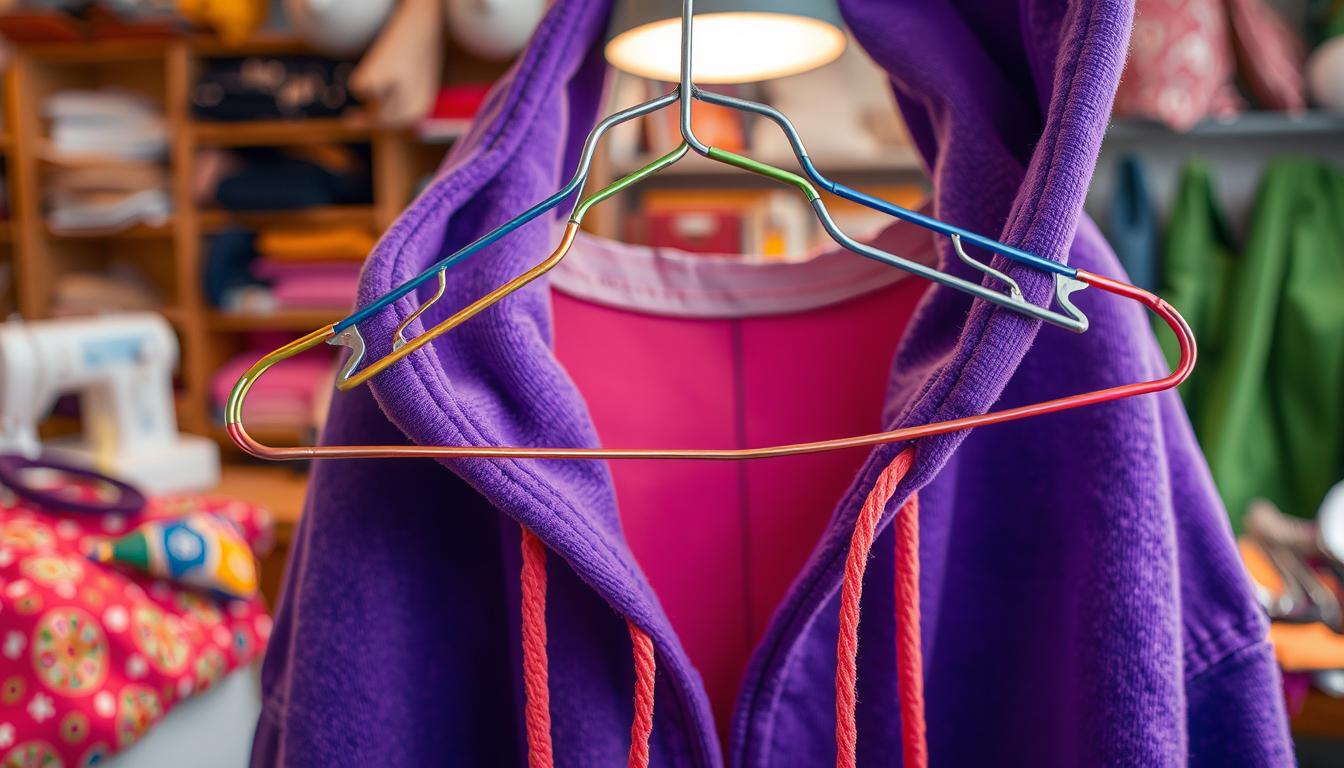
DIY Wire Hanger Solution
Feeling crafty? Try the DIY wire hanger trick. Take a wire hanger and straighten it. Then, tape the drawstring’s end to the wire. This lets you slide the drawstring back through easily. It’s a smart way to use what you have at home.
Improvising with Household Items
You don’t need special tools for this. You can use a pen clip or a chopstick. Attach your drawstring to one of these, and pull it through the hoodie’s tunnel. This makes your hoodie ready to wear again fast.
| Method | Tool | Cost | Time |
|---|---|---|---|
| Straw Threading | Straw | $0 (Reused) | 10 seconds5 |
| Wire Hanger | DIY Wire hanger | $0 (Reused) | A couple of minutes5 |
| Bodkin Technique | Dritz Ball Point Bodkin | $35 | 10 seconds5 |
Troubleshooting Common Rethreading Issues
When you try to fix drawstring problems, there are a few common issues to look out for. One issue is the safety pin opening while you’re threading it through. If this happens, gently close the pin to avoid fabric damage6.
Also, you might find it hard to pull the string through at times. Should this occur, go back a little and try to gently move the string through again6. If the drawstrings fray, making it hard to use tools, tying a knot at the end or using tape can help6.
- It helps to use a bigger safety pin. This fits the hoodie’s drawstring channel better and helps avoid it opening67.
- Tools like bodkins or a long needle make the job smoother. This is especially true for narrow openings or soft fabrics68.
- Using a straw or a bent wire hanger offers more flexibility. This makes threading easier across various fabrics and drawstring types6.
To avoid future threading problems, secure the string ends with knots or stoppers. Also, regularly check the hoodie strings and their housing. This way, you reduce the risk of losing or damaging the drawstring and keep your hoodie in good shape68.
Dealing with these common issues properly can make rethreading much easier. Just remember, being patient and using the right technique are key to fixing hoodie threading challenges6.
Conclusion: Securing Your Hoodie String for Good
As we end this guide on reviving your favorite hoodie, it’s key to prevent drawstring loss and keep hoodie strings in shape. If you’re considering a trendy update with paracord, use the old string for measuring. Be sure to add a bit more length for the new one9. TECEUM Paracord’s wide range of colors adds a special custom touch9.
After putting the drawstring back, whether it’s durable paracord or the original, tie bigger knots at the ends. Secure the middle of the string to the inside of your hoodie with some stitches. This will ensure it stays put through regular wear and washes.
Our guide mixes top tips from the Sol Hoodie sewing process in 14 steps. This way, you can upgrade not just the drawstrings but your whole hoodie10.
By following our advice, from choosing the best fleece-back merino wool10 to precise zipper fitting and adding professional touches like twill tape at the neckline10, your hoodie won’t just look good. It will become a piece that lasts.
These tips are meant to inspire fashion makers and brands to look into creative and preventative measures. In doing this, you’ll not only extend the life of your products. You’ll also build a brand known for quality and fine details that customers love. It’s not just about a hoodie string; it’s crafting durable, amazing products. We’re here to support you in achieving top-notch quality, pushing for innovation and skill with every stitch.
FAQ
How do I re-thread hoodie drawstrings effectively?
Attach a large safety pin to one end of the drawstring. Then, guide it through the eyelets or tunnels of the hoodie. You can also use a straw or paperclip if a safety pin is not around.
What’s the best method to fix common hoodie drawstring problems?
The solution varies with the problem. Use a safety pin for a lost drawstring. For frayed strings, replace them or fix the end with a knot or tape. Then, re-thread it.
Can I make hoodie repair a do-it-yourself project?
Yes, you can! Simple tools like safety pins, straws, or paperclips make hoodie repair and drawstring replacement easy to do at home by yourself.
How do I choose the right size safety pin for my hoodie’s drawstring?
Pick a large safety pin or a skirt pin. Make sure it’s strong and can easily fit into the drawstring casing without damaging the fabric.
What are some alternative re-threading tools if I don’t have a safety pin?
Besides a safety pin, you can use a straw, a paperclip, a straightened wire hanger, or pens with clips. These can help guide the string through the hoodie’s fabric tunnels.
What should I do if I encounter resistance while re-threading the drawstring?
If re-threading gets tough, don’t push too hard. Gently pull back and try again. For strings that fray, strengthen the tip with tape or a knot, then re-thread.
How can I prevent future drawstring slips and losses in my hoodie?
Stop drawstring slips by tying knots at the ends, bigger than the eyelets. Or sew the center of the drawstring to the hoodie’s inside to keep it in place.










-600x600.jpg)