A fantastic logo incorporated into professional clothing is a must for every brand. It makes your persona something tangible that people can wear and display. But the operation can be difficult at first if you are not familiar with it.

You have indeed found the perfect manual. We will take you through all the necessary steps. First, we present the best printing methods. Then, we help you choose the right one for your project. Subsequently, we talk about how to prepare your files. This guide is structured step by step to present to you the process of confidently printing a clothing logo. You will learn how to go from a design file to a completely finished product.
Let’s Start: The Mandatory Steps to Take Before You Print
Before deciding on the printing option, there are several key steps you must take. So, take a moment to consider these factors first. This will help you save both time and money and at the same time make sure you get the result you want.
-
Choosing Your Fabric: This is one aspect that cannot be overlooked. Which one is it? A 100% cotton, polyester, or a kind of blend? It is worth noting that some printing methods are only suitable for certain fabrics. Hence, the fabric you choose will limit your printing options.
-
Your Logo’s Design: Consider your logo’s details. Is it made up of simple text with only one or two colors? Or is it a complicated design with different shades? The number of colors and level of detail are the main criteria in determining the appropriate print method.
-
Your Order Quantity: What is the total number of items required? Are you manufacturing only ten T-shirts for a small group or one thousand for sale? The amount of the order is the first and foremost consideration for the freshness of price.
-
Your Budget vs. Durability Needs: Balancing cost and quality is crucial. Some methods are cheaper at first but may need to be replaced sooner. Others are more long-lasting, but also more expensive on a per-piece basis. Decide what is of utmost importance for your project.
Evaluating the Top 3 Methods for Printing Logos on Clothes
Learning about the primary printing techniques is the first and most crucial step. Each method has its pros and cons. Each is appropriate for varying tasks. Here are the three main techniques broken down for you.
Screen Printing: The Workhorse in the Industry
Screen printing is a well-established technique. In its process, ink is pushed through a coped mesh screen after being set directly onto the garment. Each color in your logo necessitates an individual screen.
This technique is one of the oldest and mostly used for high volume commercial contracts. It is well-liked because of its durability. The cost per piece decreases when the quantity increases. Therefore, it is ideal for bulk orders.
- Best for: Making large orders (25+ pieces), utilizing simple logos with few colors, and producing merchandise.
- Pros: Highly durable, vivid coloration, and economical for large quantities. The print has a thick and solid appearance.
- Cons: It is not the best choice for low quantities due to setup costs. It is also unsuitable for logos made up of many colors or photographic details.
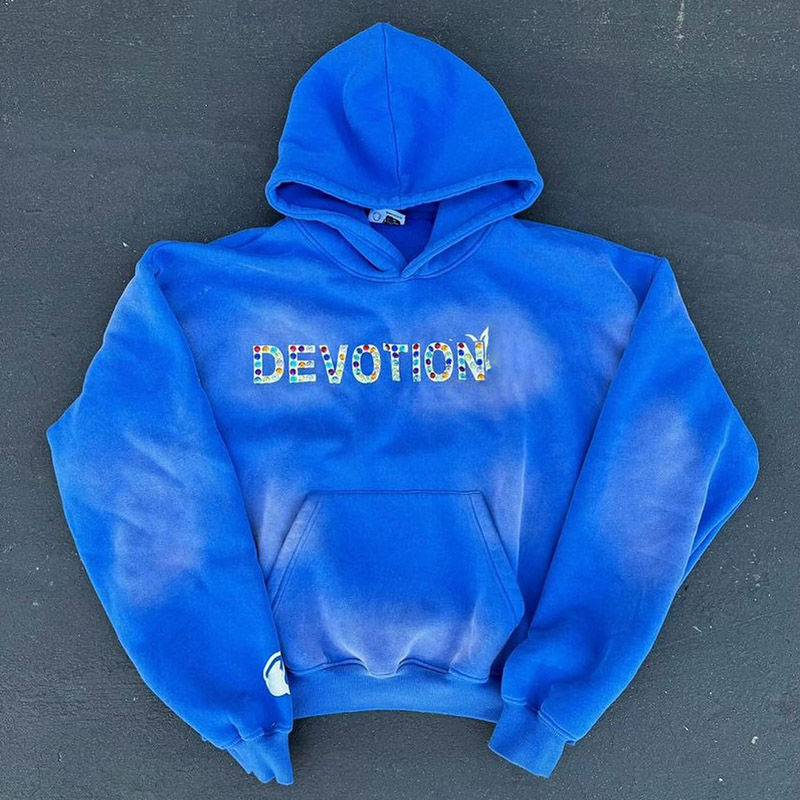
Direct-to-Garment (DTG): The Digital Champion
Direct-to-Garment, or DTG, printing resembles an inkjet printer for paper, but specifically designed for clothing. The printer applies water-based ink directly onto the garment it operates through. The ink sinks deep into the fabric fibers.

This is one of the most popular methods for printing logos on clothing when you need high detail. It’s hard to beat when it comes to complex, multi-color designs like pictures or illustrations filled with details.
- Best for: Small quantities, highly detailed or full-color designs, and one-off custom shirts.
- Pros: Unlimited colors and fine details. The print feels very soft on the shirt. Plus, the setup costs are low.
- Cons: It’s not economics-friendly for large quantities. The process works best on 100% cotton. Colors might not be as bright when printed on dark garments without the right under-layer.
Heat Transfer (Vinyl & Digital): The Flexible Choice
Heat transfer printing is the process of attaching a graphic to a piece of clothing using a heat press. First, a design is printed onto a specific material. It could either be transfer paper or vinyl.
Two major types are available. Heat Transfer Vinyl (HTV) is optimal for making simple designs and text. It is the case for names and numbers on jerseys. Digital transfers are for printing full-color logos. They are printed on transfer paper and pressed.
- Best for: Extremely small orders, individual customization (such as names), and printing on difficult fabrics like polyester.
- Pros: They work excellently for simple graphics and text. This method is also cost-effective for one single item or very few batches.
- Cons: The print sits on top of the fabric, thus it may feel thick or stiff. Durability can vary. Cheaper transfers might crack or peel after some time.
Quick Reference: Which Method Suits You Best?
Selecting the best method for printing your logo on clothes is all about the right decision. Here is the table that helps you to connect your project requirements with the best method.
| Feature | Screen Printing | Direct-to-Garment (DTG) | Heat Transfer (Vinyl/Digital) |
|---|---|---|---|
| Best for Quantity | 25+ pieces | 1-24 pieces | 1-10 pieces |
| Cost (per piece) | Low for large orders, high for small | Moderate for small orders, high for large | Low for small orders, high for large |
| Color Complexity | Best for few, solid colors | Unlimited colors and photo-quality detail | Good for both simple and complex colors |
| Durability | Excellent, often outlasts the garment | Good, may fade a bit after many washes | Varies but high-quality vinyl is reliable |
| Fabric Compatibility | Works on cotton, blends, and polyester | Best on 100% cotton | Works on cotton, polyester, and many others |
| Feel on Shirt | Thick, sits on top of fabric | Very soft, ink soaks into fabric | Could feel both thick and stiff like a sticker |
Your Pre-Print Checklist: 5 Steps to a Flawless Logo Print
Just selecting the right print method is not enough to get a professional result. Your project has to be prepared appropriately. Doing this checklist will help you to stay away from common mistakes. It guarantees a high-quality print.
1. File Format: Vector vs. Raster
Printers want to get high-quality files. The two main types are vector and raster.
A vector file (formats like .AI, .EPS, or .SVG) is based on line and shape. You can scale it to any size without losing quality. For example, from a small chest logo to a huge banner. This is why printers mostly prefer vector logos.
A raster file (formats like .PNG or .JPG) is based on pixels. A raster file is used for a photograph. If the design is enlarged without a raster file, it would look blurry and pixelated. If you are required to use one, make sure it is a high-resolution .PNG file (300 DPI) with a transparent background.

2. Understand Color: Pantone (PMS) vs. CMYK
Using the colors of your brand accurately is really essential. For printing, colors can be conceived of in two different ways.
Pantone (PMS) is a standardized color matching system. It resembles a color palette that printers use to select colors. PMS codes are the way to ensure that the particular blue of your brand’s shirt is the same throughout all of them. It is suitable for screen printing.
CMYK (Cyan, Magenta, Yellow, Black) is the ink model used for full-color digital printing such as DTG. Mixing the four colors together creates a wide spectrum of color. Therefore, it’s perfect for images and complex designs.
3. Specify Logo Placement and Size
Choose the exact place and size of your logo. Usually placed in conventional areas that enhance the professional appearance of your apparel.
Frequent alternatives are:
* Left Chest: normally from 3″ to 4″.
* Full Front: regularly 10″ to 12″.
* Full Back: about 10″ to 14″.
* Sleeve: mostly 2″ to 3″.
Make sure to give these details to your printer to avoid any doubts.
4. Seriously Choose the Right Garment
The garment type you select greatly determines the quality of the final print. This is a step that frequently gets neglected.
A shirt that is 100% cotton will be very absorbent. Hence, it is highly suitable for DTG printing. The ink goes in and forms a very soft and breathable print. However, printing that same DTG design on a 100% polyester performance shirt would create dull colors that will not withstand.
Polyester items with different production methods work better. The transfer or sublimation printing processes are the most efficient. They add extra brightness to the logo. The fabric’s texture can also affect how the artwork appears. For example, think of a ribbed tank top or a thick fleece jacket.
5. Sample or Digital Proof: ALWAYS Request One
Do not approve the complete order before getting a sample. It can be a digital mock-up. A printed sample which is physical is the best.
An ultimate guide to logo printing suggests that you should view versions on all the products you are contemplating. When you receive the proof, you should check if the colors are accurate. You should review the print to see if it is sharp. Make sure the location of the logo is correct. See if there are any misspellings. This is your only chance to catch any-type mistakes before the order goes into full production.

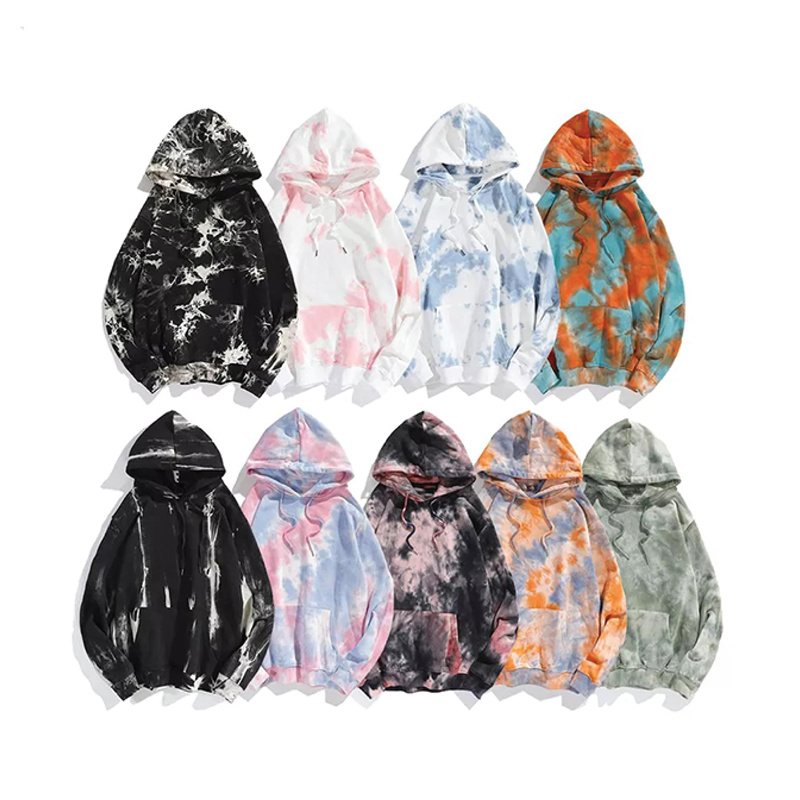
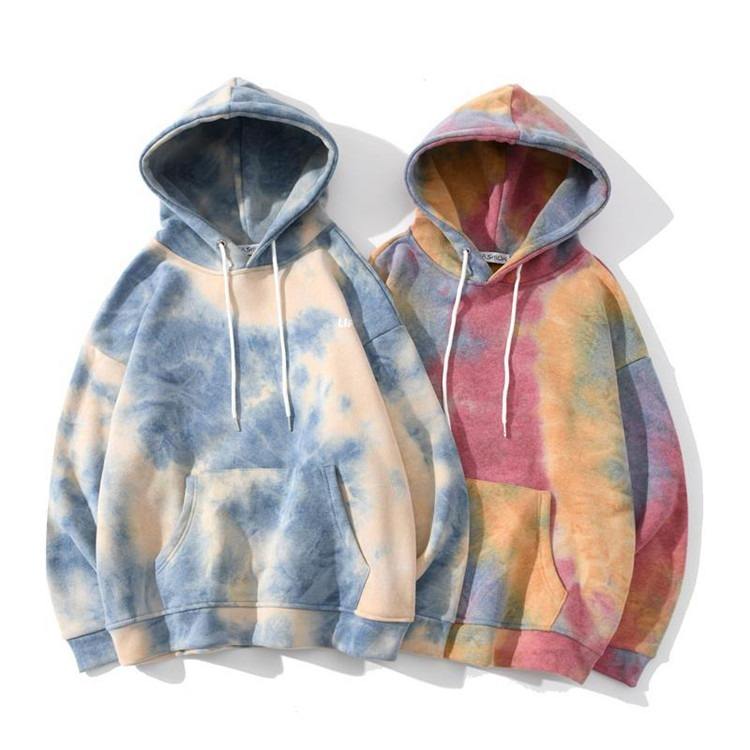
Beyond T-Shirts: Printing on Hoodies, Hats, and More
The printing of your logo can extend to other items like hats, hoodies, and accessories. These types are not only t-shirts. They are good for branding, but they also bring their unique requirements.
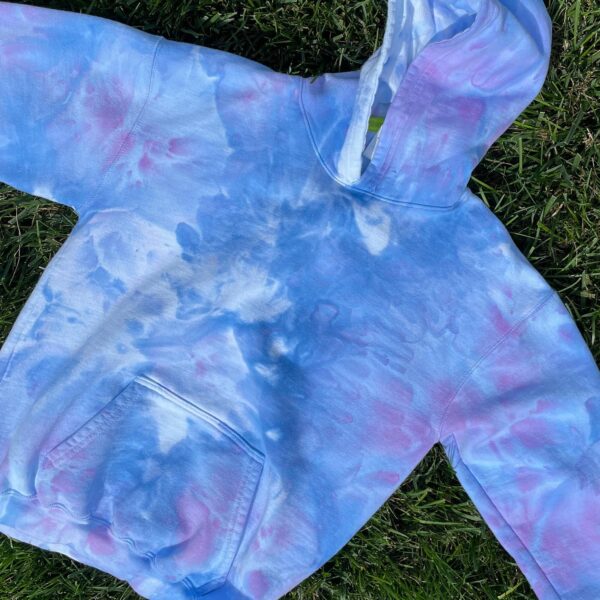
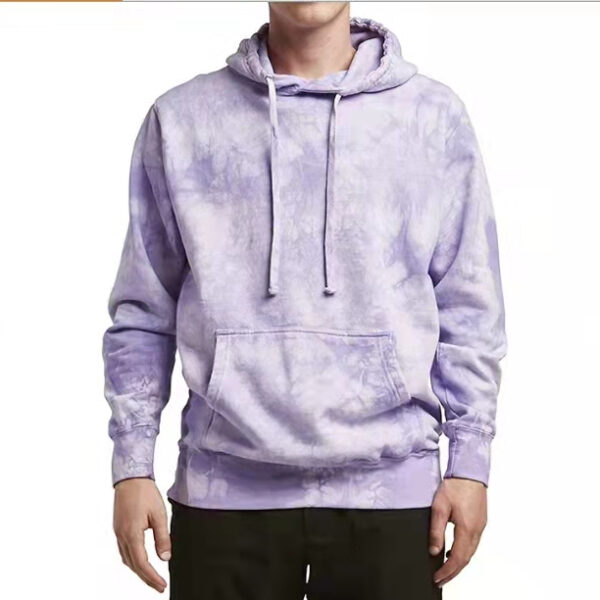
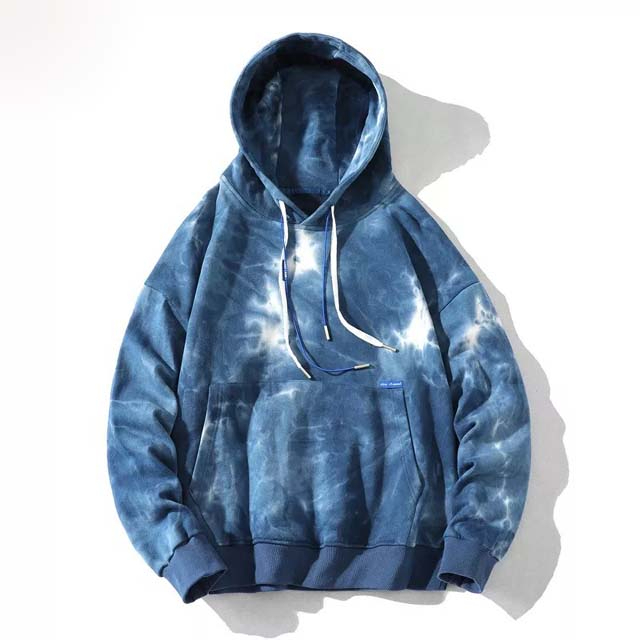
Custom Hoodies: Mind the Pockets and Seams
Printing a logo on a hoodie calls for delicate positioning. If your front design is large, you will have to get the pockets in the patch pouch. Printing over seams or zippers is complicated and can destroy the appearance.
Fleecy materials also have a soft, fuzzy texture. This can affect how the ink lays down. For best results, choosing a custom hoodie manufacturer like lovehx.com will make sure that everything is taken care of well.
Hats and Beanies: Embroidery is Often King
For items with a lot of texture or structure, printing isn’t always the best choice. Think baseball caps and beanies.
Usually, embroidery is the best option for those items. It makes the design stand out and has a more professional and long-lasting effect. The logo looks neat and professional because of the sewn design.
Identifying the Ideal Partner to Print Your Logo on Clothing
Choosing the right printing company is as pensive as choosing the right method. You can find a good partner who will serve as your guide throughout the process. They will ensure a quality result.
Here are some tips to consider when you are selecting a printer:
* Go through their portfolio and see examples of their previous work.
* Check reviews and acquire information from other clients.
* Inquire about the printing technology they employ.
* Confirm their minimum order quantities (MOQs) and their prices.
Picking a full-service partner like TZ Streetwear will not only help you with the stage of printing but also provide you with assistance in design. Thus, the entire process becomes much smoother.
Your Next Step: Let’s Build Your Brand!
You now possess the necessary information for making the right decision on how to print your logo on clothing. The decision of the most suitable method will hinge on the combination of the garment chosen, your design, and the amounts required. You are set now to create garments with the professional look of this guide. Such trends will be bestowed by you.
Knowing how to print your logo on clothing gives you an advantage over your competitors when it comes to building a strong brand presence. You can realize your ambition even further by browsing our guide and how to start a brand from the ground up.
Frequently Asked Questions (FAQ)
What is the cheapest way to print logos on shirts?
In case you have very small orders of one to five T-shirts, a DIY heat transfer vinyl (HTV) kit may be the cheapest solution. For larger cuts of 25 or more, screen printing which is especially good for logos with only one color works out best.