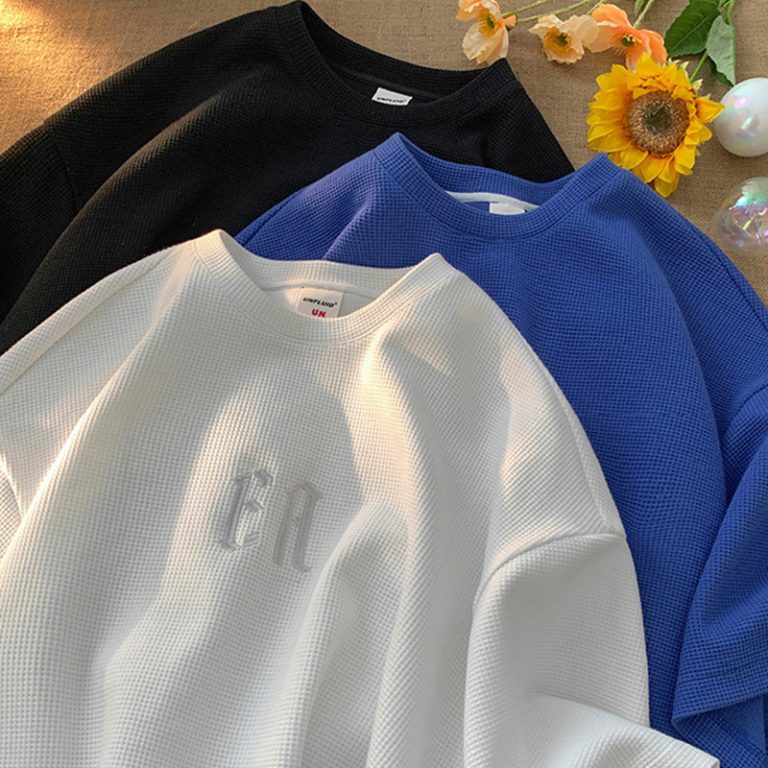
Fashion and technology are mutually beneficial as they never have been before. The concept of printing three-dimensional patterns directly on clothes was left for the realm of imagination, but it’s no longer the case. 3d printing on clothing is rapidly becoming available to the general public, such as independent designers and streetwear brands, who have thus far been reserved to exclusive shows.
This guide gives you everything you need. We’ll talk about the latest technologies and the right materials you should use. You’ll have a simple guide to making your first project. You’ll also see how the modern craft is different from traditional garment decoration. Consequently, you won’t be able to make a wrong choice for your vision.
What is 3D Printing on Clothing?
In essence, 3d printing on clothing is an additive manufacturing process that works the other way around. There are two possibilities. You can create textile structures from nothing, only using a 3d printer, or, more commonly, you can add flexible plastic designs to already existing textiles. This results in a permanent, embossed plastic design that simply becomes a part of the fabric.
This technology has radically altered the rest of the textile industry. Highly imaginative, the disposal of old styles, and design production development are the main areas for absorbing the wind of change. These methodical improvements employ the power of creative thinking to be more efficient.
- Unmatched Customization: Designers can now make special, tailor-fitted clothes that have styles that are impossible to recreate with traditional techniques.
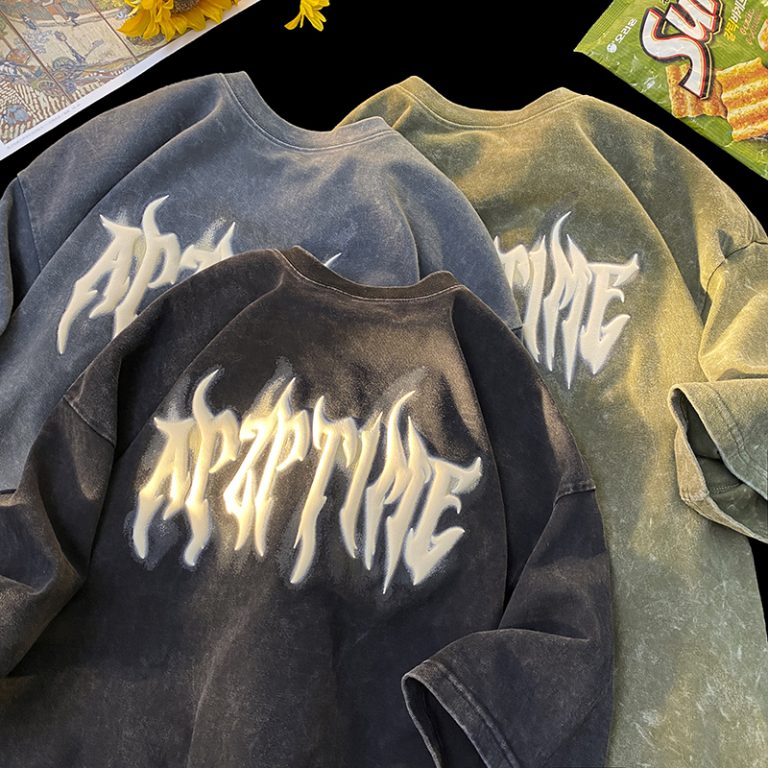
- Design Freedom: Presenters manage to show incredibly complex shapes of geometry, logos, and constructions. These surpass the possibilities of sewing or embroidery.
- Sustainability: On-demand printing is a real leap toward less waste on production. It is estimated that traditional cut-and-sew techniques can throw away up to 20% of the material. On the contrary, 3D additive manufacturing almost completely cuts this off.
- Rapid Prototyping: With this method, you can have the digital designs ready and the physical samples turned in a matter of hours instead of weeks. This shrinks the productive time for new clothes considerably.
While the industry is changing, many experts agree on how 3D printing is changing the industry through the implementation of personalized products and green practices. It is the empowerment of brands’ responsible innovations.
A Practical DIY Guide
Despite the theoretical aspect, this section is a detailed, step-by-step guide on 3D printing on fabric. You will turn a digital idea into a wearable piece of art after you go through practical steps. This is where you start real experimental work.
-
Gather Your Tools & Materials
You will need some important elements before you initiate. Assembling things is not only a technical necessity but it is also the surest way to a good printing outcome. Most of them are within the reach of hobbyists and small brands.- FDM 3D Printer: A basic entry-level Fused Deposition Modeling (FDM) 3D printer will do the job.
- Flexible Filament: The preferable filament is TPU (Thermoplastic Polyurethane). This material has both qualities, flexibility, and durability.
- Synthetic Fabric: Fabrics like polyester, nylon, or mesh form a good bond during adhesive treatments.
- Digital Design Software: Free programs like TinkerCAD are available. More complex ones like Fusion 360 are also good.
- Fabric Clips or Tape: To hold the fabric firmly on the print bed.
-
Create or Choose Your Design
You should consider the ease of flexibility and wearability when designing for 3D printing on clothing. Starting from scratch usually works with basic geometric figures, text, or logos. Ensure that your design does not contain broad solid blocks of plastic. They will make the garment stiff. On the other hand, using thin bar structures or lattice patterns in your design will make it easier for the garment to move during wearing.

-
Prepare Your Printer and Fabric
Steps in preparation must be very well executed to bond the filament and the fabric. We found that pre-heating the bed to 60°C and using a clean, lint-free piece of polyester fabric yield the best adhesion. So secure the poly fabric tightly with clips to the print bed. It should be flat with no wrinkling at all. A single wrinkle can cause the nozzle to catch and ruin the entire print. -
The Printing Process (The “Pause at Height” Method)
The “Pause at Height” method is the most common and effective DIY approach. You mainly insert the fabric between the printed plastic layers. The thin layer of the slicer will be preset in your slicing program (such as Cura or PrusaSlicer) to the function to pause after the beginning few layers of printing. E.g., at layer 3 or a height of 0.6mm.Start the print job. Once it goes on hold, carefully lay your already prepared fabric piece on the initial printed layers. Use the clips to secure it firmly to the bed again. Then resume the print job. The printer will carry on, laying down subsequent layers on top of the fabric. This joins the two materials correctly. The printer should run slowly (around 20-30 mm/s) for the best results so that no defects arise.
-
Post-Processing and Curing
Wait for some time to let the sounding device cool down fully. Warping won’t be a problem when you are taking off the material. Carefully detach the fabric from the print surface. If there are any filament strings, you can use a small pair of scissors to cut them off. Now it’s ready to be added to a piece of clothing.
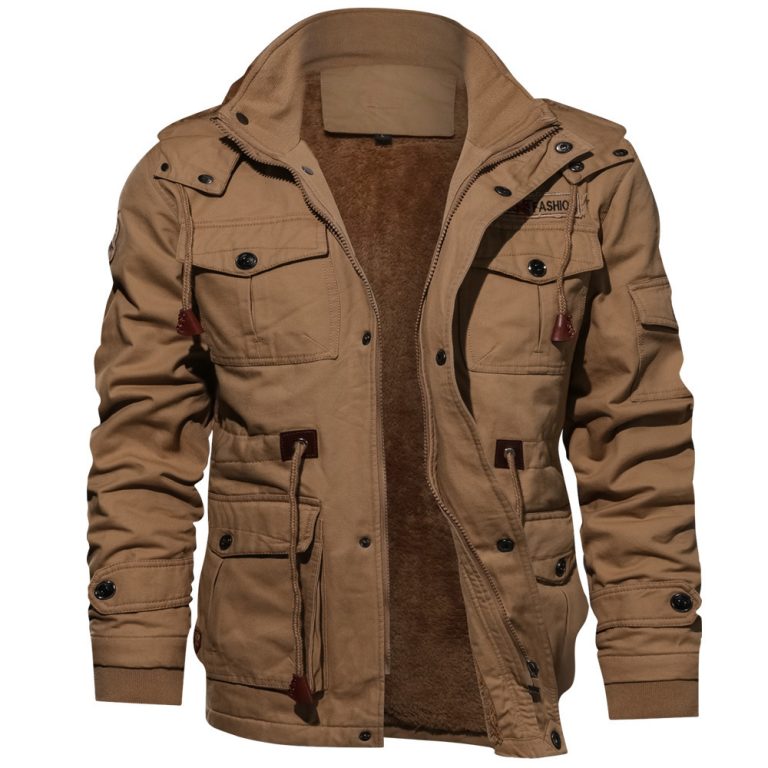
This technique is applicable in customizing clothes. For example, applying a unique 3D printed logo onto a high-quality blank from a hoodie manufacturer can instantly elevate your brand’s product line.
Choosing the Right Materials
The success of 3d printing on clothing depends on the interplay between filament and fabric. Choosing the right combination is essential for both durability and flexibility, as well as the overall look. Not all materials are right for this application.
Below is the list of the most common materials that we suggest and that have proven effective throughout our work. This list comes from our apparel production experience.
| Category | Material | Key Characteristics | Best For |
|---|---|---|---|
| Filament | TPU (Thermoplastic Polyurethane) | Highly flexible, durable, rubber-like | Wearable designs, flexible appliqués |
| Filament | TPE (Thermoplastic Elastomer) | Softer and more elastic than TPU | Projects requiring extreme flexibility |
| Filament | PLA (Polylactic Acid) | Rigid, brittle, easy to print | Non-wearable prototypes, rigid embellishments |
| Fabric | Polyester / Nylon | Synthetic, melts slightly to bond with filament | Best for direct-to-textile printing |
| Fabric | Mesh / Tulle | Lightweight, allows filament to fuse through holes | Creating integrated, flexible patterns |
| Fabric | Cotton / Natural Fibers | Does not bond well with heated plastic | Not recommended for this technique |
The reason the materials of synthetic fabric like polyester and nylon are of utmost importance is chemistry. The plastic filament gets hot (about 220°C) and moves the surface fibers of the synthetic fabric to a certain degree, which is called partial melting. This action sets a mechanical bond between the cloth and the filament as they cool down. On the other hand, natural fibers like cotton will just scorch and won’t fuse with the heated plastic.
3D Printing vs. Traditional Methods
Although 3d printing on clothing is extremely innovating, it remains just one of the tools that designers have in hand. Having the knowledge about the differences between technologies, a designer will be able to make the best decision about which technique to use. It isn’t a replacement for everything, but it’s a powerful new option.
For example, methods like screen printing are excellent for large batches of t-shirt graphic printing. This is due to their unmatched speed and cost-efficiency at scale.
Here is a head-to-head comparison to clarify the strengths of each method.

| Feature | 3D Printing on Clothing | Screen Printing | Embroidery |
|---|---|---|---|
| Best For | Complex 3D textures, prototypes, hyper-customization | Large batches, flat graphic designs, cost-efficiency | Premium logos, durable textured designs |
| Texture | Raised, 3-Dimensional, variable | Flat layer of ink | Raised thread, classic feel |
| Cost/Unit | High for single units, decreases slightly at scale | Very low at high volume, high setup cost | Moderate, based on stitch count |
| Durability | Good, but depends on filament/adhesion | Very good, long-lasting | Excellent, very durable |
The choice you make will greatly depend on your design goals, budget, and projected production volume. The experimentation of various projects is the key to any new company launch. For more information about different techniques, look at our complete craft introduction.
The Future is Now
The speed at which things are changing in the fields of 3D fashion is quite remarkable. Moving from simple appliqués we are beginning to see the development of fully integrated, functioning textiles. Our focus is on 4D printing, which is the next big thing in this respect as it allows materials to change shape according to environmental factors such as temperature or moisture.
This is going on to new levels by creating clothes that learn how to dress the body of the wearer connect with it. Another step in this direction is to put together threads that conduct electricity and the end products will be clothes with built-in sensors and circuits. The result is a new type of clothing that monitors wearers’ biometrics or connects with other devices. This precursory step leads to a sustainable fashion revolution, which promotes both artistic expression and functionality through technology.
Conclusion: Weaving Your Ideas into Reality
This was a section about the basics. The outline of what is most useful in the beginning and what can be done with the technology has been included. The very straightforward guide to getting started with it was also provided. Because it mainly concerns design, 3d printing on clothing offers unparalleled creative freedom. It is certainly more than just environmental-friendly. It offers a way for people to reclaim the power of asking for different textures or shapes that seemed impossible once.
Mixing filament and fabric is a whole new area in the field of wearable art. If you are at the start of your project or perhaps stepping into a new craft, the clothing industry is brimming with possibilities. At TZ Streetwear, we love to work with our clients and help them turn their dreams into reality.
Frequently Asked Questions
1. Is 3D printed clothing comfortable?
It all comes down to the design and the specific materials used. When flexible filaments like TPU are printed as accents or lattice-like patterns onto soft fabrics, the result can be surprisingly comfortable and wearable. However, it will never feel like a simple cotton tee. This technique is best suited for logos, and structural embellishments, and decorative panels rather than an entire garment.
2. Can you wash 3D printed clothes?
Yes, but with care. Handwashing in cold water is recommended as it is the most efficient way. You can also use a gentle machine cycle with the garment turned inside out. Always air dry the item. A dryer’s high heat can easily warp the plastic or cause it to detach from the fabric.
3. What is the most common filament for clothing?
TPU (Thermoplastic Polyurethane) is the ultimate filament for 3d printing on clothing. Its special combination of rubber-like flexibility, excellent layer bonding, and exceptional durability are the main characteristics needed. This combo produces designs that can bend, stretch, and move with the fabric without any cracking or breaking at all.
4. Do I need an expensive 3D printer?
Not at all. There are several entry-level Fused Deposition Modeling (FDM) printers that are popular and affordable, and many have the necessary specifications to print with TPU. These types of machines can often be found for under $300. The key to success is not the machine’s price but rather the correct calibration, appropriate settings on the slicer for the flexible filaments, and proper fabric preparation.
5. How is this different from industrial methods?
The guide you just read explains the “pause and sandwich” method, which works great for hobbyists and smaller projects. Industrial methods are a whole different level. Think of technologies like Stratasys’ PolyJet, which uses special print heads to apply liquid resins directly to the fabric, which are then hardened instantly with UV light. This professional approach gives amazing detail and a better bond, but the machinery is very expensive, costing tens of thousands of dollars.