You got the design for this cool hoodie in your mind and now, you are looking to have it made? This is a guide that will take you all the way from an idea to the real product. A stunning hoodie is not simply a design; it also requires a sturdy process and a great deal of effort.

This piece of writing is your roadmap, and we will guide you through every step. You will learn about planning, designing, and making your hoodie. This tutorial is suitable for both individual projects and new streetwear brands. Meanwhile, practical guides like TZ Streetwear showcase the professional world to those who are determined to set up a brand.
Step 1: Laying the Ground for an Awesome Hoodie Design
Before you even think about drawing, you should have a detailed plan. This first step is your key to avoiding typical mistakes made by many people. Properly laying out a plan can save your time and money as well as ensure the final project has a good shape.
Define Your “Why”
The first thing to do is to ask yourself why you want to create that hoodie. Are you designing it for personal use, a new brand, or a special event? The reason is the determinant of everything.
When a personal project is creative and fun, a brand design has to reflect customer taste. An event hoodie needs to have a clear message and a date with it. Your “why” is a facilitator to your design decisions.
Know Your Audience, Know Your Style
Who will be the wearer of this hoodie? Think of their age, interests, and style. The design for skaters is so different from the one for tech workers.
Knowing your audience helps you to determine your style. Styles can be very simple and straightforward, or they can be creative, cluttered, or even look old or new. Make sure the style fits the person.
Choose the Right Hoodie Canvas
The hoodie is your canvas. The type and the fabric of the hoodie will either enhance or dull your design.
For instance, here is a summary of the most common materials:
- Pullover Hoodie: The traditional choice. It allows a big front section for eye-catching graphics.
- Zip-Up Hoodie: It is the one that opens up in front. It suits better designs with small logos on the chest, or graphics on the back.
- 100% Cotton: So soft and feels natural. It is perfect for printing, but it may shrink after washing.
- Cotton/Polyester Blend: Very popular. It has higher durability, less shrinkage, and good shape retention.
- Fleece: Extremely warm and incredibly soft inside. It is perfect for spending the winter in a thick, cozy hoodie.
Step 2: Seeking Ideas and Formulating Your Concept
Having a plan, this is now the time to get on with the creative side of you. A well-thought-out concept is the basis of an awesome hoodie design, and you need to find the unique ideas to achieve that.
Where to Search for Latest Ideas
Everything is meditative. Pinterest and Behance are the best-stuffed sights gathering designers. Search for “hoody design” for the most relevant designs.
You should not simply study other clothes. Brilliant ideas come from art, nature, and literature. Look at a building’s structure or a unique rainforests sign’s typography. The ideas you get by looking at the different styles of the hoodies will help you design your own.
Creating a Mood Board

A mood board is like a visual representation of the vibe of your design. It is the gathering of images, colors, and fonts to capture your design’s essence.
Think of it as a collection of the things you are interested in. It can be a color scheme, a special font, or maybe a picture that sets a mood. A mood board will keep your design aligned and on the right path.
Drawing Your First Ideas
You do not have to be an incredible artist. Rough sketches are a great part of the whole thing.
Drawing your ideas on a paper or a digital tablet. You can also try placing the graphics and text differently. You can see through this simple process what works and what does not before investing hours on a final design.
Step 3: Your Design Tools Selection
A concept is on your mind and it’s time to sort out your tools for hoodie design. We have options for you, whether you are a newbie or a pro.
Professional Design Software
To get the best outcomes, pros often use some specific software. This software will let you have the full authority over your project.
- Adobe Illustrator: This one is for it is the preferred software for graphics and logos. It employs vectors which are lines and shapes that can be stretched to any size without losing the quality.
- Adobe Photoshop: This application is ideal for designs that use images or have a lot of texture. It works on pixels which are tiny dots of color.
Easy Online Design Makers
These design tools are neat if you have just begun designing. Not only that but they are also user-friendly and most of them have templates that assist.
- Canva: A very and straightforward platform for beginners. It has an easy drag-and-drop mechanism and there are a lot of free graphics and fonts.
- Kittl/Placeit: Clothing design is the specialty of these portals. They make available pre-effects and graphics that are tailor-made for hoodies.
AI Image Makers
Introducing Innovations such as Artificial Intelligence (AI) to your design folio is the coolest thing, Tools such as Midjourney or DALL-E can take simple text descriptions and develop great graphics.
Employ them to create base images for your design. However, be cautious. Always confirm that you have the right to use the images. Additionally, ensure that the final image’s quality is high enough for printing.
Step 4: Learning the Rules of Hoodie Design
To use a tool is one thing. To know what a hoodie design should look like is quite another thing. These insider ticks will ensure you move from an amateur to a professional hoodies designer.
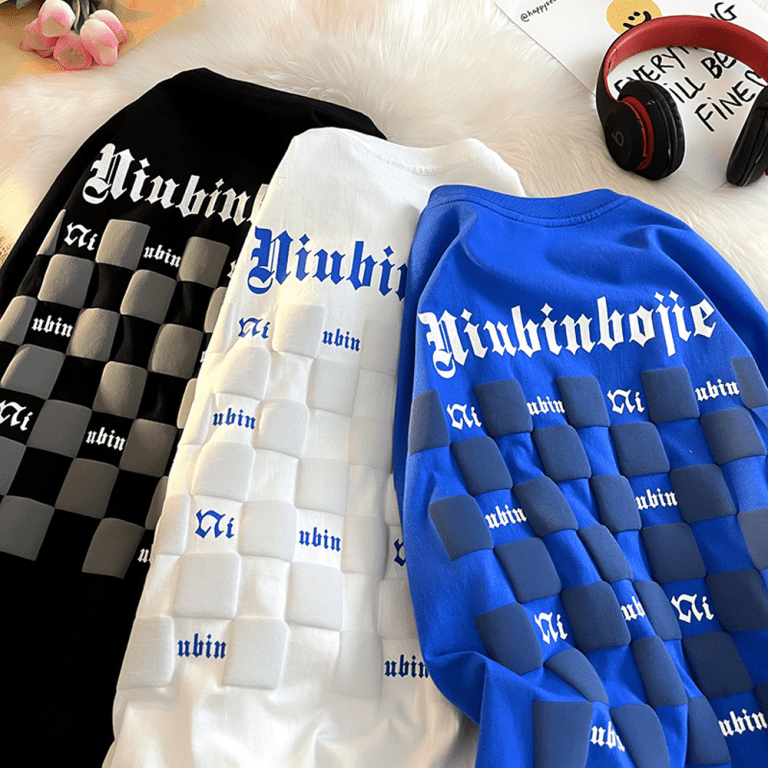
Placement is Everything

The location of your design on the hoodie is what matters. A standard central chest print is a classic. However, you can use your imagination here.
Think about printing on the back, down the sleeves, or on the hood itself. It is the unique places that can make your hoodie stand out. A point to remember is that, more printing spots usually increase the costs.
Scale and Size
A design on a screen might not be like it is on a person wearing it. The size of the graphic you us should be correct to make it stand out.
A mini logo may be unnoticed on a huge hoodie. A giant graphic could be too much. Print the design on paper at the real size and then check it against the scale on the hoodie.
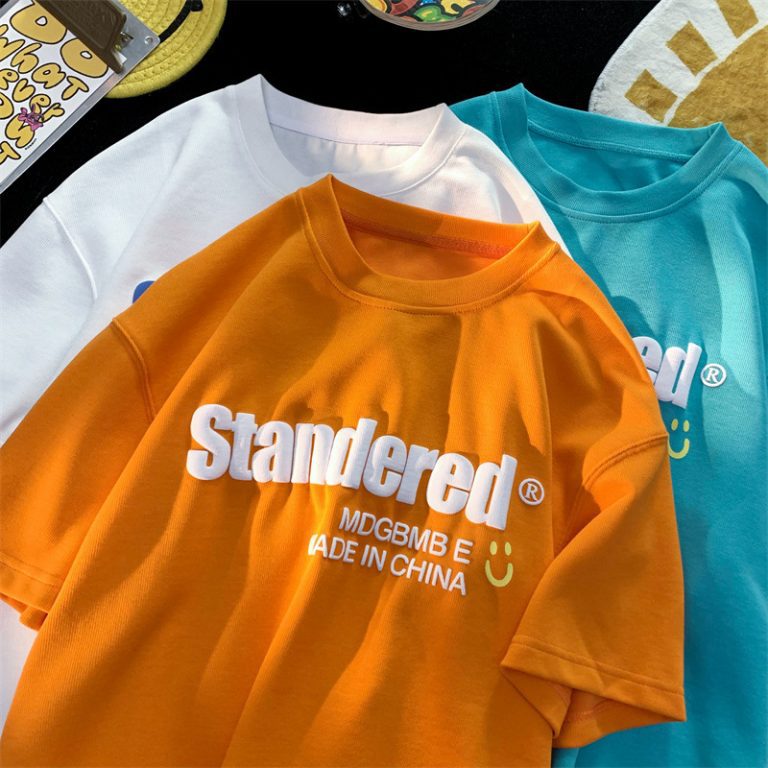
Color Rules for Fabrics
The color of your design should complement the color of the hoodie. The contrast should be very high. A dark design on a dark hoodie will be too hard to see.
Moreover, screens and printers have two different color systems. The screen uses RGB (Red, Green, Blue) while printers use CMYK (Cyan, Magenta, Yellow, Black). The colors of your design as such can be a bit different in print. The solution is to have an excellent printer guide you.
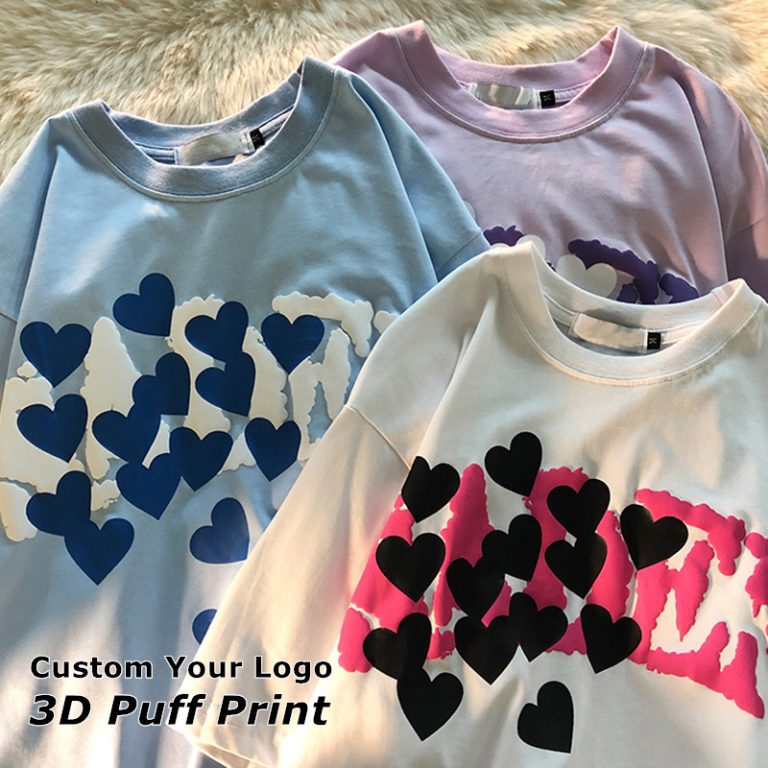
Designing for the Printing Method
The way that your hoodie gets printed has an impact on how you should be designing it. Printing methods need to be matched with designs to achieve good results.
- Screen Printing: Best for designs that are not too complex like those with few solid colors. The method uses stencils to apply thick layers of ink.
- Direct-to-Garment (DTG): It is just like how a paper printer works. Additionally, it is ideal for designs that are complex with many colors or gradients like a photograph.
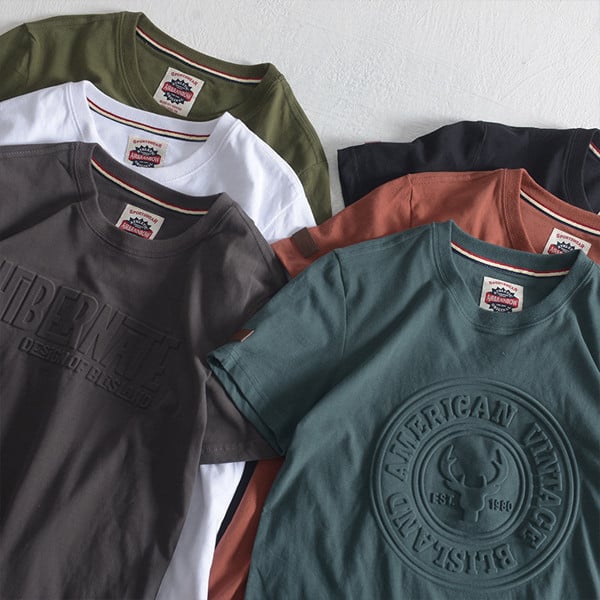
- Embroidery: It is a method of using a thread to stitch the logo or text. This will give a premium feel and a textured look to it, and it is the best for logos and text.
One time, I learned this the difficult way. I designed a screen printer’s design with soft color gradients. It was great on my screen, but the print came out blotchy. DTG would have been the right choice.
Step 5: Making Your Design File Ready for Production
With your design now completed, it is imperative that you copy it over to the right file for the printer stage. This step of the process should be technical enough to address issues that can actually cost you money like a blurry print or an incorrectly colored one.
File Types (Vector vs. Raster)
The major two image file types are:
- Vector (AI, EPS, SVG): They are composed of lines and curves and they can be enlarged to any size without losing the quality. Logos and mostly graphics are best done this way.
- Raster (PNG, TIFF, PSD): These files are made of pixels. They have to be created in the right size. The printer most commonly requests a PNG file that has a transparent background.
Resolution and DPI
In order to achieve quality printing, your file should have the right resolution. For the original print of 300 DPI (Dots Per Inch), the widely accepted standard is 300 DPI at the final print size.

If the DPI is less than 300, then your design may get pixelated or blurred. Be sure to double-check this setting.
Outlining Fonts
The outline of the font must be done before sending the file. This step converts your text into shapes.
Otherwise, the printer’s computer may recognize your text differently and switch it to a default font not installed. Outlining ensures that the text appears just as you desired.
Step 6: Bringing Your Design Alive: Choosing a Production Partner
So, your file is now cleared for print. The final step is making your hoodie. Below are three of the most common methods to manufacture your custom hoodie.
| Method | Best For | Minimum Order | Per-Item Cost | Pros & Cons |
|---|---|---|---|---|
| Print-on-Demand | Idea Testing, Low Risk | None | High | Pro: No inventory needed. Con: Lower profit margins. |
| Local Screen Printer | Small to Medium Batches | Usually 12-24+ | Medium | Pro: High quality control. Con: Requires upfront cost. |
| Bulk Manufacturer | Established Brands | High (100+) | Low | Pro: Full customization. Con: Large investment. |
Print-on-Demand (POD) Services
POD is the best choice for the start. It is a process whereby you upload your design to a certain flat and then they print and ship the hoodies only as a customer orders. A user holds no inventory.
Check out Printful and other services like Printify that allow you to set up shop with little to no risk.
Local Screen Printers
A local print shop can be an excellent option for hands-on service. They are the best for medicinal orders, local events, or if you want to observe the quality directly.
You will have to place a minimum order but the price per hoodie is usually less than what you would pay for POD.
Bulk Production (Cut and Sew)
For those serious about it, bulk making is the way to go. The method gives the most customization options and comes with the lowest per-item cost.
There, you will be working with a custom hoodie brand manufacturer to build a completely personal garment from scratch. The same route applies if you need t-shirt manufacturers for a complete clothing line too.
Your Design Adventure Begins Now
Your design journey has just taken off, and you now have a concrete plan in place. You have followed the steps from a basic idea to a professional, print-ready file. You are equipped now to select the right producer to create your product.
The skills you have acquired allow you to emanate a statement through your hoodie design which is no longer just a clothing item.
Frequently Asked Questions (FAQ)
What’s the best software to create a hoodie design?
Starting out with beginners, Canva is a web-based tool that is friendly and works pretty well. For those who are looking to have full control and scalable graphics, Adobe Illustrator is trusted by pros. The right tool for you will depend on your skill level and project requirements.
What resolution should my design file be?
Your design file resolution should be minimum 300 DPI (Dots Per Inch) at the actual final physical print size. This will help in getting your design sharp and cleaner on the fabric, rather than blurry or pixelated. Always verify with your printer for their specific requirements.
Can I use any image I find online for my hoodie?
No, you can’t. Most images uploaded on the internet are copyrighted and infringing on such rights can create legal issues. You should use royalty-free image sites, buy licenses for graphics, or create your own original art.
What’s the main difference between screen printing and DTG?
Screen printing is a process that uses thick stencils to layamiga ink thus it’s perfect for those simple prints with few colors and cost-effective for larger quantities. Direct-to-Garment (DTG) is like a printer with a fabric medium, great for intricate multi-colored features like, photos only, no minimum order.
How much does it cost to create a single custom hoodie?
A single custom hoodie can cost between $25 and $60 or more. The price will depend on the quality of the hoodie, the printing method used (usually a DTG for a one-off), and how complex your design is. The price per hoodie drops a lot when you order in bulk.