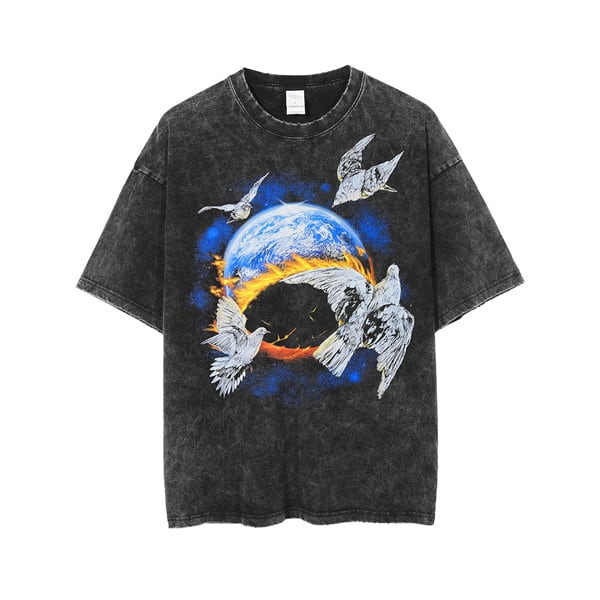
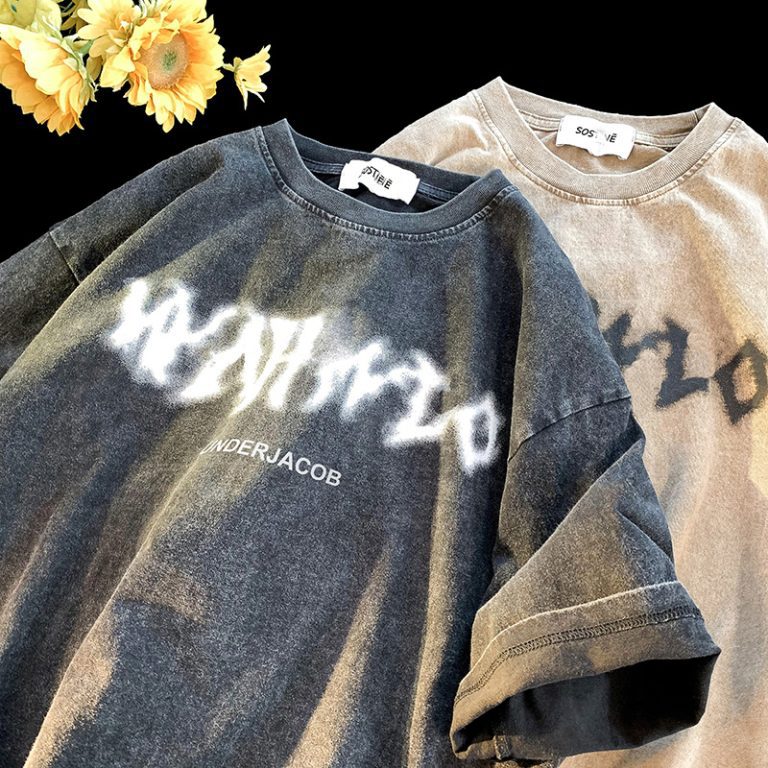
A special feeling arises whenever you witness your art getting real. Taking a design from a computer screen or sketchbook and turning it into real, wearable clothing is a very rewarding experience. It is like sharing a part of you with the world.

Printing your artwork on clothing is as easy as this guide makes it. You have our step-by-steps to follow. By the end of this guide, you will have learned how to prepare your art file. You will choose the best printing method. You will find the right company to help you. Turn your digital canvas into wearable art with ease.
The Starting Points: The 3 Main Choices
First, you need to decide on your way. Your artwork can be on clothing using three main ways. The choice rests with your aim, budget, and quantity of items.
-
1. The DIY (Do-It-Yourself) Method
- What it is: You are doing the printing yourself at home. You can print with the help of a cutting machine like a Cricut or use iron-on transfer paper.
- Best for: This is suitable for making one shirt for yourself; it works for unusual gifts and it is amazing for interesting craft projects.
- Pros: It gives you full control over the design. You can see the results immediately.
- Cons: The print may not be durable as a professional one. It can consume much time. The quality may change.
-
2. Print-on-Demand (POD) Services
- What it is: You simply add your art to a website. The rest of the work is done by the company. They will print and ship it. You will never see or touch the product.
- Best for: Artists who want to sell items without having to put in any money first. It is suitable for testing out new designs. You find out if customers like them.
- Pros: You do not have to buy or store any products. The risk is minimal. You can select from a variety of products.
- Cons: You earn less money on each purchase. You have limited control over the quality of the print. You cannot determine the time taken for shipping. A lot of creators rely on popular Print-on-Demand services for the beginning.
-
3. Work with a Local or Bulk Printer
- What it is: You will work with a printing company that offers services. You will make a quantity of shirts to order. It is generally required to reach a minimum number before you can buy.
- Best for: It is the best option for start-up companies. It is suitable for bands or events. It fits anyone who needs a larger number of clothes.
- Pros: You will be able to control the quality better. The more shirts you buy, the less you pay per unit. You also get the advice of the expert.
- Cons: Payment has to be upfront. There are many places with minimum order quantities (MOQs). You can’t just ask for one only. A brand that needs many products can achieve more value and get great expertise from a specialized .
Step 1: Equip Your Digital Canvas
The most important step is sending the right artwork file for you. The wrong file will make a bad printer print. Taking time here saves you from disappointment. It saves you from wasted money later. Your final t-shirt looks as good as your digital design does.
Valid File Formats: PNG vs. SVG
The file format you choose is what’s important. You will usually use one of the two for most printing.
A PNG is the most common picture type used. It is the best for images with a lot of color and detail. PNG can have a transparent background. This means that only your art is printed. Nothing else showing around your piece.

A Vector file such as SVG, AI or EPS is the best screen print choice. A vector file is made of vectors such as lines and shapes instead of pixels. It allows you to create them in any size, without losing their quality. They are perfect for logos and simple graphics.
Resolution Counts: The 300 DPI Rule
Resolution is the main factor determining the sharpness of your print. The industry standard is quite clear. All artworks should be 300 DPI at the printing size.
DPI means “dots per inch.” A higher DPI means the printer puts more little dots of ink in each inch of fabric. More dots create a crisp image. A lower resolution file will look blurry when printed on a shirt. Always start your art in a big, high-resolution file.
Color Modes: RGB vs. CMYK
Your computer screen and printer use different methods for producing colors. This is important to know in order to prevent surprises.
Screens use RGB (Red, Green, Blue) light to display colors for you. Printers utilize CMYK (Cyan, Magenta, Yellow, Black) to print colors. Since the two of them are different systems, some colors looking bright on your screen will be toned down when printed.
Even so, it is still better to design in RGB mode. It has more options for colors. Just keep the shift in mind. Most online printing tools will give you a pre-view. This helps you to see the end result.
A Quick Artwork Positioning Guide
The spot where you place your art on the shirt is very important. Think about how it will look like when a person wears it.
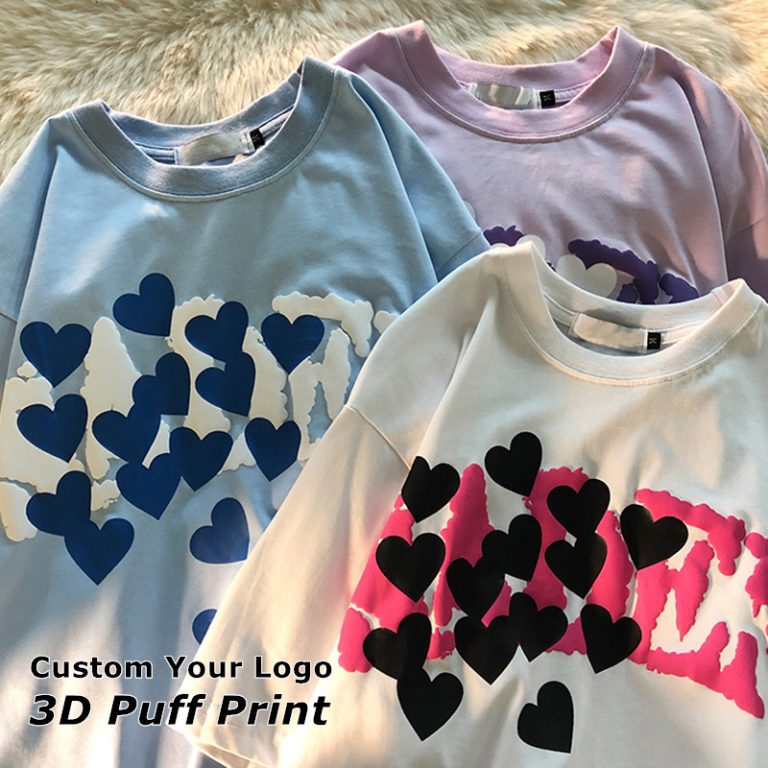
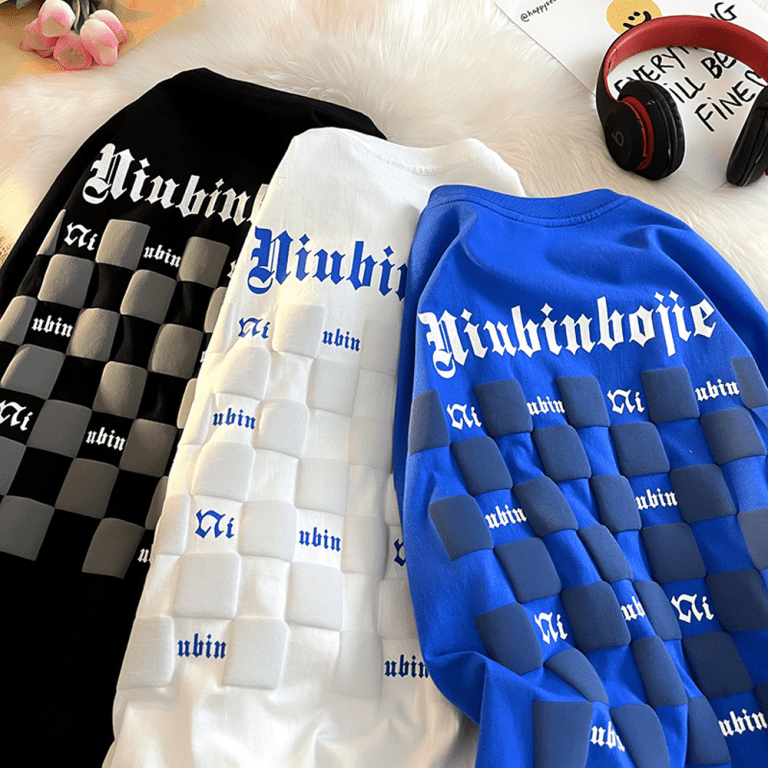
The common placements are the center of the chest and the left side of the chest (heart area). The full back is also a popular choice. Consider the shirt’s shape. Do not place key parts of your design on seams, zippers, or collars. A good printing partner can give you templates that delineate the safe print area.

Step 2: Printing Method Decision
Your choice of fabric printing method has a significant impact. It can determine how it looks, feels, and how long the print will last. When you print your artwork on clothes, selecting the right method is the utmost way to realize your vision.
Here is a concise chart that could help you make your own comparison of the printing methods.
| Method | Best For | Feel | Durability | Cost |
|---|---|---|---|---|
| Direct-to-Garment (DTG) | Full-color photos, detailed illustrations, small orders. | Soft, breathable, ink is in the fabric. | Good, but can fade over many washes. | Moderate for single items, less cost-effective for bulk. |
| Screen Printing | Simple graphics (1-4 colors), large quantities, logos. | Thicker layer of ink on top of the fabric. | Excellent, very durable. | High setup cost, but very cheap per-item in bulk. |
| Sublimation | All-over prints on polyester/synthetic fabrics. | No feel at all, dye is part of the fabric. | Excellent, will not crack, peel, or fade. | Moderate to high, depends on print size. |
| Heat Transfer Vinyl (HTV) | Bold, simple text or shapes, personalizing sportswear. | Smooth, plastic-like layer on fabric. | Good, but can crack or peel over time if not applied well. | Low setup cost, cost varies by material. |
Each technique brings a different output. To find out more details about these methods you can learn from the guide.
Step 3: Pick Your Printing Partner
As important as creating the right art file, is choosing the correct company. A proficient partner will handle the printing well. They will provide you with a quality product. They will make the process easy for you. A poor one can cause you headaches and bring you feelings of disappointment.
Assessing a Print-on-Demand Service
If you select the POD way, the next step is to find a steady platform. Here is a checklist to assist you.
- Product Catalog: Do they have the shirt, hoodie, or other items you want to sell as their products? Visit the place for brands, materials, and colors.
- Reviews & Ratings: What’s the word regarding their quality and service from other artists and customers? Search for the latest reviews.
- Mockup Generator: Is their design tool easy to use? A good tool will help you to place your art perfectly. It will also show you a realistic preview.
- Sample Policy: Can you get a product sample at a discount? It is vital to check the quality.
- Many top platforms such as Printify and those like VistaPrint have huge catalogs, just browse them.
Assessing a Local Print Shop

If you want to order in bulk, a local printer can be a good option. Here is a guide on how to locate a credible one.
- Ask to see real samples of the prints they have done. You can touch the various print types to have a better understanding of their quality.
- Talk to them about your project. A good printer is bound to give you helpful advice. They are also open to your inquires.
- Request for transparent pricing. Make sure you understand all prices. This must include the price per shirt as well as the long setup fees.
- Confirm the time frame needed to complete your order. The time it takes to receive your order is known as the turnaround time.
Step 4: From Upload to Unboxing
You made your file art. You have got the methods and the partners. It’s time to order. After these simple steps, everything will go smoothly.
In this stage, ordering a sample is the most crucial part. From my own experience, I can tell you that the step should be never skipped. It is exciting to unbox your very first sample. It’s your idea made real.
When it arrives, check it carefully. Does the color match with the one on the screen? Is the print sharp and clear? Is the art placed correctly? How is the shirt itself? Finding a small mistake on a sample is a lot better than catching it on a hundred shirts.
- Select your garment (t-shirt, hoodie, etc.). Choose the brand, size, and color.
- Upload your prepared 300 DPI PNG file with its clear background.
- Use the website’s tool to place and size your artwork on the garment.
- Important: Order ONE sample for yourself first.
- Once you inspect and approve the sample, you are ready. You can place a larger bulk order. You can make the product live in your online store.
Your Artwork is Ready to Wear
You now have the knowledge to successfully print your artwork on clothing. The process is straightforward when you break it down into steps.
Success comes from three key things. First, prepare your artwork correctly. Second, choose the right printing method for your specific design. Third, carefully check your printing partner. By following this guide, you can avoid common mistakes. You can create apparel you are proud of.
Now is the time to start. Take that first step and bring your creative vision to life. For more resources on building an apparel brand from the ground up, visit .
Frequently Asked Questions (FAQ)
1. What’s the best file format to print artwork on clothing?
For most online printers that use Direct-to-Garment (DTG) printing, a high-resolution PNG file is best. It should be saved at 300 DPI with a clear background. For screen printing, where designs need to be resized easily, a vector file like an SVG or AI is the perfect choice.
2. Can I print just one t-shirt with my art on it?
Yes! Print-on-Demand (POD) services are designed for this exact purpose. Using DTG printing, these companies can affordably print a single item for you. There are no minimum order requirements. This is perfect for personal projects or testing a design.
3. How do I prevent my design from fading or cracking?
The best way to ensure long life is to choose a durable printing method from the start. Screen printing and sublimation are known for their excellent durability. For any printed garment, proper care helps. Always wash it inside-out in cold water. Either hang it to dry or tumble dry on the lowest heat setting. Never iron directly on the printed area.
4. Is it expensive to print your artwork on clothing?
The cost varies a lot. If you order a single custom shirt using a POD service, it might cost between $20 and $30. However, if you are ordering in bulk using screen printing (for example, 50 or more shirts), the price for each shirt can drop to less than $10. Bulk orders have a higher total cost upfront but a lower cost per item.
5. What is the main difference in quality between screen printing and DTG?
DTG printing is like using a high-tech inkjet printer for fabric. It is amazing for printing complex photos and designs with many colors. The ink soaks into the fabric for a soft feel. Screen printing uses thick layers of ink applied through a stencil. This creates very bright, vibrant colors that are incredibly durable. But it works best for designs with just a few solid colors.