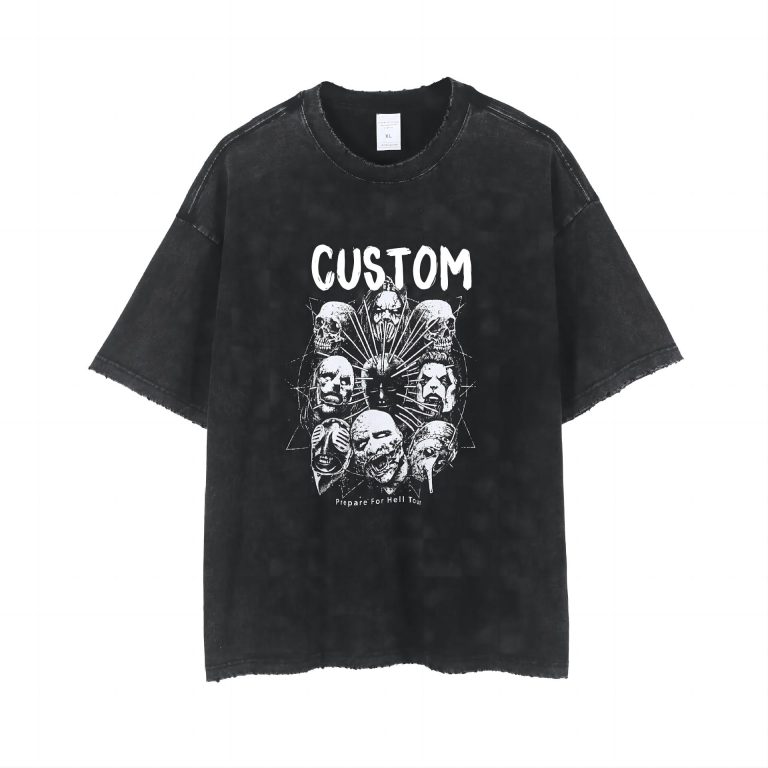
Have you ever had an awesome design but not a clue about how to print it on a tee? Well, you are not the only one. The incredible part is that now you can wear your own design. It is extremely easy.

This guide is mostly for hobbyists, DIYers, and future brand names. We will take you through the process of home clothing printing. Various DIY techniques and the items necessary for them will be discussed. You will receive well-structured instructions and quality tips for results that hold up over time.
We are TZ Streetwear where we are obsessed with custom apparel. Through sharing what we have learned over the years, we look forward to helping you kickstart your creative journey.
The Primary Key Decision: DIY or Pro
Starting out on your journey, there is one big choice to make. Should you go with DIY at home or order a professional printing service? Your budget will influence what you choose as well as the number of shirts you need and the quality you want.
Deciding right at the start will indeed save you time and also save you money. Meanwhile, this decision will help you to avoid future headaches. Advantages and disadvantages of both solutions will support you in making the right choice.
| Factor | DIY at Home | Professional Service |
|---|---|---|
| Initial Cost | Medium to High ($50 – $500+ for tools) | None |
| Price per Each T-Shirt (1) | High (due to equipment cost) | Moderate ($25 – $35) |
| Price per Each T-Shirt (10) | Moderate | Moderate ($15 – $20) |
| Price per Each T-Shirt (100+) | Low | Low ($8 – $12) |
| Quality & Durability | Varies; depends on the skill and method used | Guaranteed and superior |
| Design Complexity | Limited to straightforward and 1-2 color designs | Multi-color, complex designs are easy to handle |
| Time & Effort | Total; you do everything | Minimal; they do everything |
| Ideal For… | Unique presents, skill development, private tasks | Launching a brand, bulk orders, quality control, time management |
When to DIY
Doing it yourself is a wonderful opportunity to make personal projects. There is no better way to do it than learning a new skill by getting and making a unique gift. You have the entire creative decision power. This way, it’s only possible to make one piece or a very limited number of them at a time.
When to Get the Pro
The pro route is the path to take when it is a bigger project that you have. If you need a lot of shirts for an occasion, a team shirt, or a business, then the pro services are the right way out. They can print out designs that require multiple colors, and they will ensure that all shirts are exactly the same. If you are serious about creating a line of products, pro craft introduction options are a main first step.
4 Best Home Printing Techniques
If you decide to print your own clothes at home there are multiple methods to do it. These four methods are the most used. They are also the easiest for beginners to get started with. They offer different advantages and disadvantages.
Heat Transfer Vinyl (HTV)
What it is: This method employs a unique vinyl material. A design is out of the vinyl sheet. The vinyl is then pressed on the shirt with the application of heat. An iron can be used for this but a heat press will work better.
Best for: Basic, striking designs of one or two colors. Think text and logos. It creates a simple and outstanding out feel.

Pros:
* Highly durable and long-lasting prints.
* Works on cotton, polyester, and blends.
* Great for solid colors and crisp lines.
Cons:
* Not good for pictures or designs with many colors.
* A cutting machine is needed for best results.
Iron-On Transfer Paper
What it is: This is perhaps the most simple entry method. You will have to print your artwork on a special transfer paper with the help of a regular inkjet printer. Then you iron on the design to the shirt from the paper.
Best for: Using full-color images, photos, and complex designs for one-off projects.
Pros:
* Very low startup costs.
* Gives you the ability to make detailed, photo-quality prints.
* It is pretty easy for the uninitiated.
Cons:
* Unlike the other methods, it is not very durable. They can chip or fade with time.
* The print can be a bit crinkly on the shirt.
Screen Printing
What it is: Screen printing is a technique where a mesh eyelet is used to transfer ink on fabric. You first create a stencil of your design that will block certain spots on the screen. To, therefore, achieve the print output, you push the ink through the screen’s open areas.
Best for: For batch printing, it works best. It is a standard way of the T-shirt business.
Pros:
* This is a very cost-effective method for big batches.
* It can produce colorful but very durable prints.
* It can be used on almost all types of fabric.
Cons:
* It requires a messy and time-consuming process to set up.
* The fact that it is not advisable for single shirts or multi-color designs at home is a drawback.
We focus on DIY primarily but screen printing is one of the most used pro and common fabric printing methods in the clothing industry.
Stenciling and Block Printing
What it is: The most creative and hands-on method. You can design a stencil and then use fabric paint to put your design on it. Or you can also create a design into a block (like wood or linoleum) and then you ink it and stamp it onto the fabric.

Best for: Designing original, artistic products with a handmade added touch.
Pros:
* Only minimal special equipment is needed.
* Total artistic freedom.
* Each print is truly one-of-a-kind.
Cons:
* It can be time-consuming.
* It is difficult to make exactly the same prints.
Step-by-Step Guide: Printing with HTV
We will run through a hands-on project. Heat Transfer Vinyl (HTV) is our method of choice since it delivers an excellent mixture of quality and ease for beginners. By doing the following steps you can have a wonderful time printing your clothes.
Step 1: Gather Your Supplies
There are some essentials required to kick off.
* A blank t-shirt (it is best to use 100% cotton or a cotton/poly blend).
* A sheet of Heat Transfer Vinyl (HTV).
* A cutting machine (Cricut or Silhouette) or alternatively a sharp craft knife and cutting matt.
* A weeding tool (a tool with a sharp point to pick out small vinyl pieces).
* A home iron or a heat press.
* Parchment paper or a Teflon sheet.
Step 2: Prepare and Cut Your Design
In the initial stage, create your design on a computer. If you use a cutting machine, establish the cut with its software. Here is a critical fact, you have to mirror your design before cutting because this way you will cut it in the right way. This is a common mistake that beginners make! If you forget this step, your design will appear on the shirt backward.
Step 3: Weed Your Design
Once your machine has cut the design, you need to “weed” it. This means using your weeding tool to remove all the extra vinyl that is not part of your design. Take your time to do this, especially with small letters or details.
Step 4: Position and Press
Initially, pre-wash the shirt to avert any chance of shrinking after applying the design. Lay the shirt on a flat surface, and iron it first to remove any moisture and wrinkles. Next, fold the shirt in half vertically so you can create a center line that is not so visible. This will guide you to position your design correctly.
Lay your weeded design on the t-shirt. Cover it with parchment paper. If you use an iron, turn it off steam and set it to cotton. Press it down with firm pressure for about 15-20 seconds. If you are using a heat press, follow the time and temperature guides in accordance with your specific vinyl. Achieving a consistent pressure is essential.
Step 5: The Peel and Final Cure

Some vinyls are “hot peel” while others are “cold peel”, meaning you can either peel the clear backing sheet off immediately or wait until it cools off. Refer to the vinyl instructions; you need to know. When you peel it, let the shirt rest for 24 hours before washing since this is a way to allow the design to cure well. The heat transfer vinyl (HTV) printing method is very flexible and rewarding for home projects.
5 Pro Tips to Avoid Common Mistakes
Success in printing your own clothes comes down to the small things. Here are five tips based on our experience that would prevent the most common issues.
1. The Type of Fabric is Important—Very Much
The way temperature and ink affect different fabrics is not the same. For the majority of the processes, 100% cotton is the best option. Blends with polyester are also good, however, pure polyester can be thermally sensitive. Ensure you check the compatibility of your printing method with your fabric. Learning about fabric printing methods and how they work with different materials is the starting point for a long-lasting print.
2. The Quality of Your Source Image is Key
In order to get a clear and sharp print, you should start with a good quality image file. A low-resolution image will be cloudy and “pixelated” when printed. To get the best quality, you should aim for a resolution of 300 DPI (dots per inch). This is crucial, especially for the transfer paper.
3. Skipping the Test Print is a Bad Move
Before you apply your design on your final shirt, you should do a test. Use a small piece of scrap fabric of the same type. This will allow you to check your colors, heat settings, and pressure without taking the risk of messing up your good garment.
4. Control Your Heat and Pressure
When dealing with heat-transfer methods, right temperature, and pressure are very much needed. If you use too little heat, your design will never stick. On the contrary, if you use too much heat, you risk burning the fabric or melting the vinyl. Always follow the rules for your materials. A heat press will give you much more even results compared to an iron.
5. Curing and Aftercare Should Be In-Place
Your print can ruin in the washing machine. After you print, allow the garment to cure for at least 24 hours. Next, when you wash it inside out, use cold water and tumble dry low or hang it to dry. This will make your custom design look good for longer.
Beyond That: Hoodie Printing
When you learn how to make t-shirts, you can use the same methods on other items too. The same procedures can also be applied to totes, sweatshirts, and hoodies.
But, the thicker items like hoodies can be a bit harder for home equipment to deal with. Sometimes, an iron may not give enough pressure evenly. That is where professional help can come in handy. In case you want to create a custom hoodie the right way with the help of a specialized custom hoodie manufacturer it is possible without a hassle.
Frequently Asked Questions (FAQ)
What is the cheapest way to print my own clothes?
If it is a one-time project, the cheapest way would be to use iron-on transfer paper. The paper comes at a low price, and you can use your existing inkjet printer and iron. If you are printing in small batches of 10-20 shirts with the same design, then DIY screen printing is a more cost-effective option in the long run.
Can I print on dark-colored clothes at home?
Yes, but it requires you to use special materials. Transfer paper for dark fabrics must be bought for iron-ons that have a white, opaque background. For HTV, you can use any kind of vinyl, as it is not see-through. For screen printing, you may need to print a white layer first to let the other colors show clearly.
How do I make my custom prints last longer?
The most critical steps are proper curing and washing. Be certain to go through the right steps concerning the heat, pressure, and time for your printing method. Acknowledge that you should wait 24 hours before the first wash. After that wash the garment inside out, in cold water, on a gentle cycle. Hang it up to dry or tumble dry on low heat.
Do I need a heat press to print my own clothes?
Not always. With the use of a home iron you can manage to get started with iron-on transfers and HTV. But, on the other hand, a heat press offers even more reliable and well-distributed heat and pressure. Therefore, this technology leads to a far better above the average finish. Should you decide to go into mass production of clothes, or sell them, a heat press tech can be a good investment.
What file format is best for my design?
It relies on the design. A vector file (.SVG, .AI, .EPS) is best for simple graphics with clean lines, such as logos. The vector files are resizable to any size without the losing of quality at all. For photographic or complex, multi-color images, a high-resolution raster file (.PNG with a transparent background is ideal, or a .JPG) set to 300 DPI is required.